How to Export a Framer Site to Static HTML and Self-Host It
How to Export a Framer Site to Static HTML and Self-Host It
I tested ExFlow because I wanted a Framer site I could move onto cheaper infrastructure without rebuilding the design from scratch. The goal was simple: keep the visual work, export the site cleanly, and own the hosting path instead of being locked to one platform forever.
If you are in the same place, ExFlow gives you a practical exit ramp. It exports Framer sites as static content, including pages, CSS, JavaScript, images, and media. Depending on the plan you choose, it can also sync the export to Git, S3, or FTP, or host the site directly on ExFlow.
When exporting Framer makes sense
Exporting is usually worth it when you care about one of three things: cost control, portability, or a cleaner backup. If your site is already stable and you do not want to pay for a hosted builder forever, a static export gives you a version you can keep, move, and deploy elsewhere.
I also like this path when I need a real fallback. A Framer project that only exists inside the editor is still dependent on the platform. A static export gives you a second copy that can live on your own hosting, in your own repo, or in a bucket you control.

What ExFlow actually exports
For a Framer site, the important part is not just the HTML. You want the supporting files too. ExFlow is built around that reality, so you can pull the page content, CSS, JavaScript, and media assets into a static package that still behaves like the site you designed.
- Static pages with
.htmloutput - CSS and JavaScript files
- Images and media assets
- All pages, not just the homepage
- Optional removal of the "Made with Framer" badge
- Optional custom
script.jsandstyle.cssfiles - Git, S3, FTP, and hosted deployment options depending on plan
That combination matters. A lot of exporters can save a page snapshot. Far fewer give you a deployment-ready bundle that still has room for custom scripts, cleaner URLs, and actual hosting choices afterward.
My export checklist
The workflow is straightforward once you know what to turn on. I would start with the Framer URL, then work through the settings in a fixed order so nothing important gets missed.
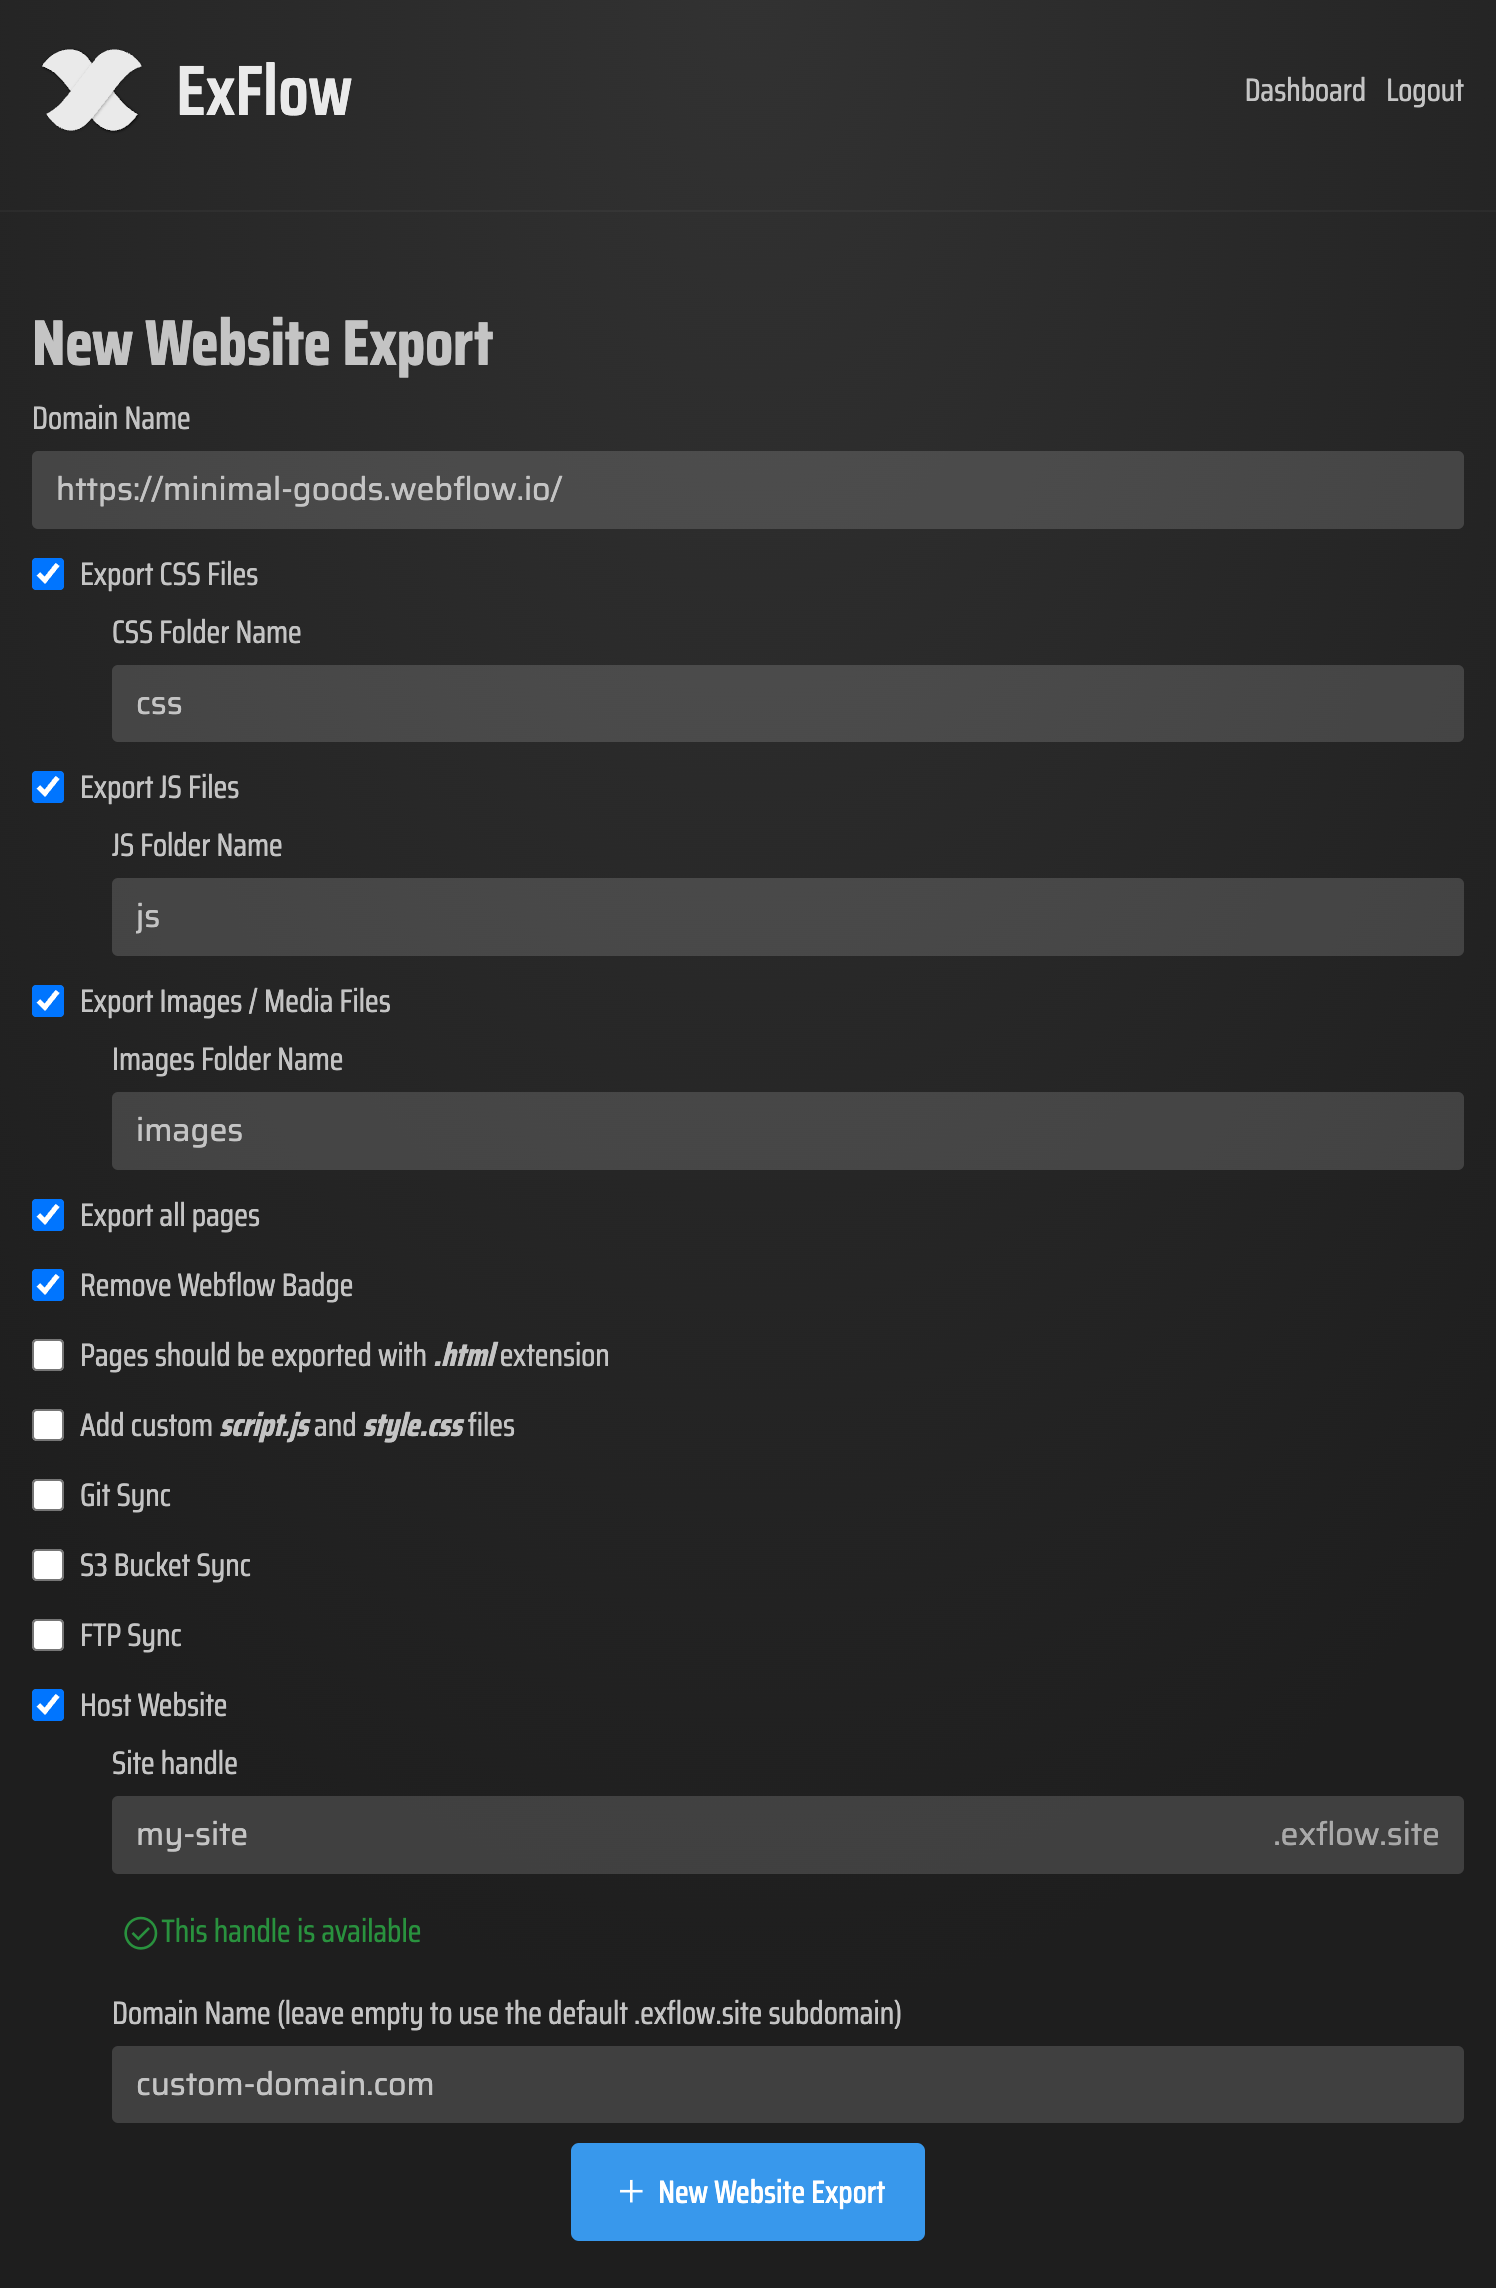
- Paste the Framer site URL into ExFlow.
- Turn on CSS, JavaScript, and images or media export.
- Export all pages if the site has more than one page or section you want to preserve.
- Enable the
.htmloption so the pages land as normal static files. - Remove the badge if you want the exported version to look cleaner.
- Add custom scripts or styles only if you already know the site needs them.
If I had to reduce that to the minimum safe set, it would be CSS, JavaScript, images, all pages, and .html. Everything else is useful, but those four items are what keep the export from feeling like a partial copy.
Do not skip the cleanup step
After the export, I check the site like an operator, not like a designer. That means I look for broken asset references, missing pages, unexpected navigation behavior, and anything that should have been removed during export but was not.
The badge removal option is part of that cleanup mindset. It is not about pretending the site was never built in Framer. It is about making the exported version feel intentional if you are going to host it yourself.
How I choose the hosting target
Once the export is in hand, the next question is where it should live. I would not decide that blindly. The right option depends on how much control you want and how often you expect to redeploy.
- ExFlow hosting: use it when you want the fastest path from export to live site.
- Git sync: use it when version control and repeatable deploys matter more than simplicity.
- S3 sync: use it when you already run static sites in AWS or want cheap object storage.
- FTP sync: use it when you already have a server and want to drop the files into place.
For small teams, the big benefit is not just hosting flexibility. It is being able to choose the path after you have verified the export instead of having to redesign the site around the hosting platform.
Why I would not use HTTrack for this
HTTrack is fine for straightforward websites, but Framer sites often rely on assets and interactions that a generic copier can miss or mangle. If the page is doing more than serving simple HTML, a purpose-built exporter is the safer tool.
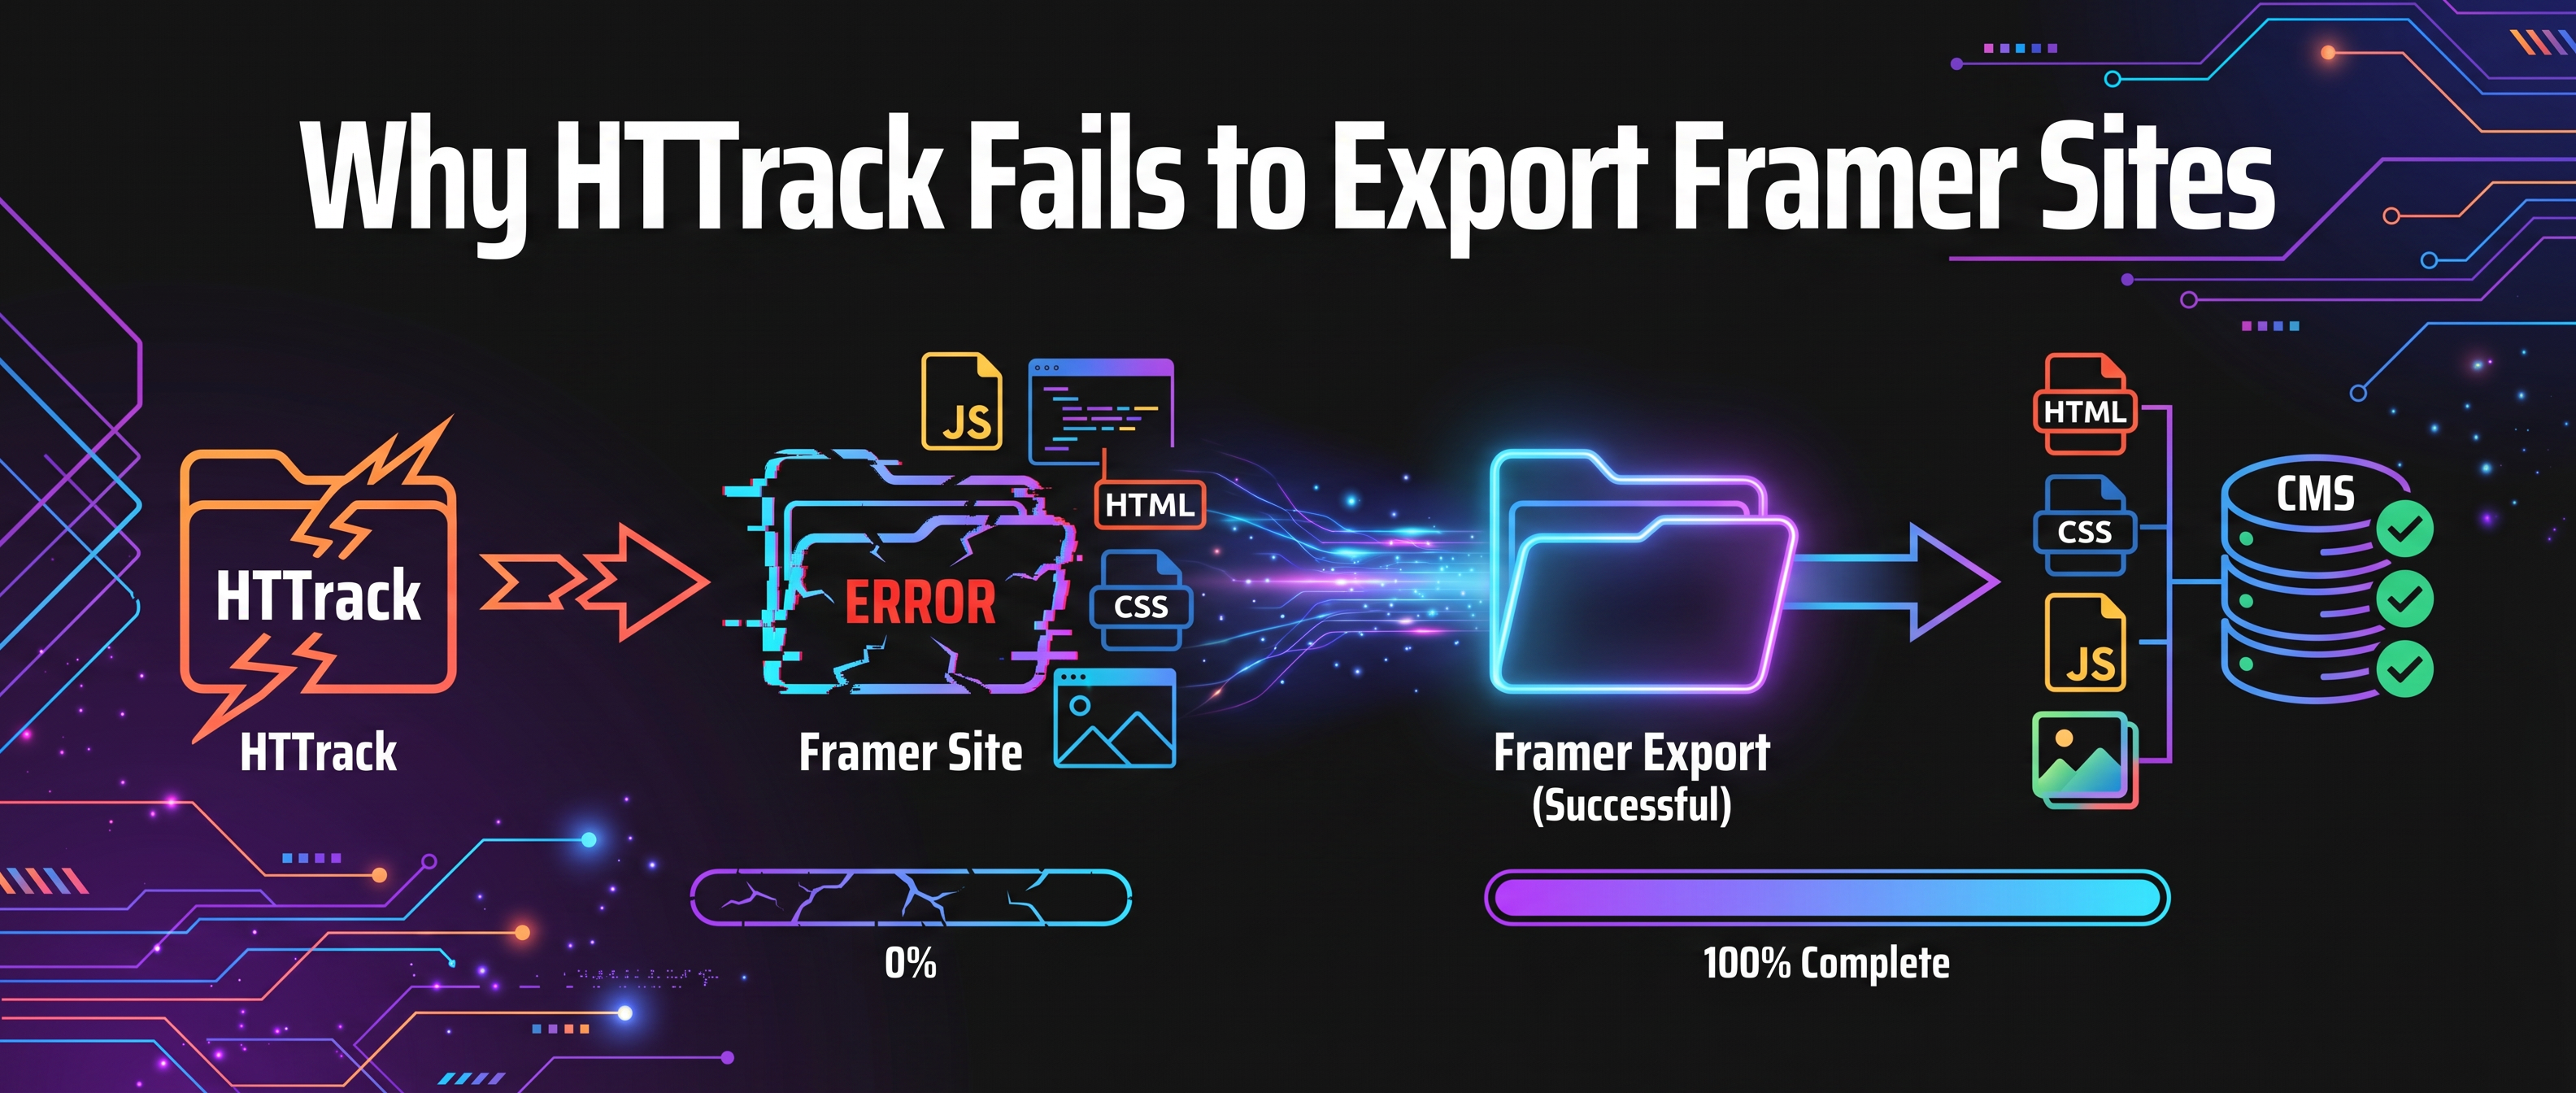
That is the main reason I would use ExFlow instead of trying to force a general-purpose mirroring tool into the job. You are paying for a Framer-specific export path, not a best-effort page grabber.
Related reading
- How to Export a Webflow Site to Static HTML with ExFlow
- How to Download a Webflow Site and Host It Yourself with ExFlow
- How to Export a Framer Site and Host It Yourself with ExFlow
Bottom line
If your Framer site is ready to leave hosted builder lock-in, export it once, verify the files, and pick the hosting path after you know the static copy is sound. That keeps the decision practical instead of ideological.
Try ExFlow.site if you want to test the Framer export flow on a real project and keep the result portable.


Comments
Post a Comment