How To Create High Converting Shopify Product Photos At Home
If your product photos look flat, inconsistent, or disconnected from real-life use, you’re leaving conversions on the table. The good news: you don’t need a studio or a big budget to create high-converting Shopify product photos at home. With a simple DIY setup and the right AI workflow, you can produce crisp, on-brand images that increase CTR, add-to-cart rate, and overall revenue.
Pro tip: After you capture your DIY shots, supercharge them in minutes with AI. Install Supra AI Photo Studio on Shopify here: https://apps.shopify.com/supra-ai-photo-studio and explore the live demo here: https://supra-ai-photo-studio.sktch.io/
Why high-converting product photos matter
- Your images are your first impression. Crisp, consistent, and contextual photos can lift conversion rates without changing copy or price.
- Great visuals reduce returns by setting accurate expectations—true color, texture, and size cues.
- Lifestyle scenes build desire and answer the shopper’s unspoken question: how will this fit into my life?
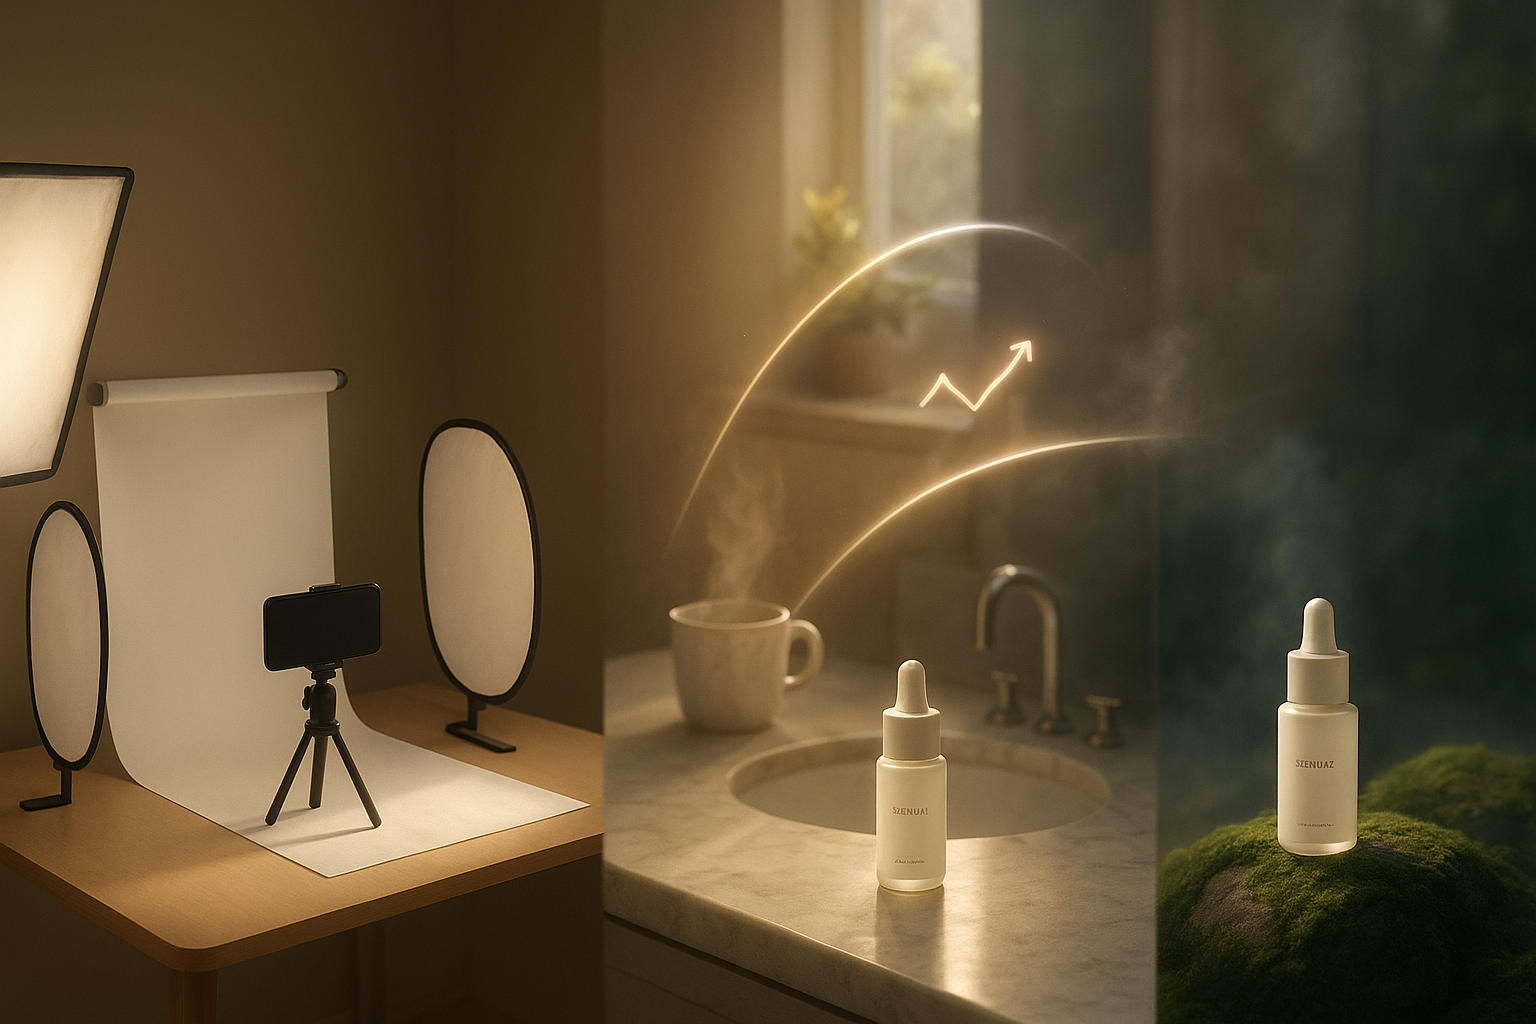
Step-by-step: Shoot pro-level product photos at home 1) Light like a pro (with window light)
- Use indirect daylight from a north- or east-facing window. Avoid harsh midday rays.
- Diffuse with a sheer curtain or a cheap white shower curtain to soften shadows.
- Bounce light back with white foam board to fill shadows on the opposite side.
- Avoid mixed lighting. Turn off warm ceiling lights; keep color temperature consistent.
- No good window? Use a 5600K LED panel with a softbox or DIY diffusion.
2) Build clean backgrounds and surfaces
- Keep a rollout of white, beige, or light gray seamless paper for catalog shots.
- For lifestyle, try textured surfaces: wood, concrete tile, linen, marble slab. Keep colors on-brand and complementary.
- Raise small items on acrylic risers to add depth and a gentle shadow.
3) Lock in camera/phone settings
- Clean the lens. Turn on gridlines. Use a tripod for tack-sharp images.
- Lock focus and exposure; lower exposure slightly to protect highlights.
- Shoot at the highest resolution; use RAW/Pro mode if available.
- Keep ISO as low as possible; stabilize with a timer or remote to avoid shake.
4) Compose for clarity and conversion
- Cover the essentials: front, 45-degree hero, profile, back, detail macro, and a scale shot (e.g., in hand or next to a common object).
- Leave negative space when you might add text overlays for ads.
- Keep a consistent angle and distance across variants to align your catalog.
5) Color accuracy = trust
- Set white balance with a gray card (or correct later consistently).
- Don’t oversaturate. Keep colors true-to-life to reduce returns.
6) Style with restraint
- Use 1–3 small props to tell a story without stealing the spotlight.
- Steam apparel, dust products, and use a lint roller on fabrics.
- Wipe fingerprints from glossy surfaces between shots.
Shopify-ready image specs that boost speed and SEO
- Dimensions: Use square images around 2048 × 2048 px for product pages (supports zoom and looks crisp). Shopify allows larger sizes, but keep file size in check.
- Format: JPEG for photos, PNG for transparency. Consider WebP for faster loads.
- File size: Aim under 1–2 MB per image; Shopify’s max is 20 MB.
- Alt text: Write descriptive alt text with key attributes and target phrases (e.g., “Hand-poured soy candle in matte ceramic jar, 8oz, sandalwood—lifestyle photo”). Avoid keyword stuffing.
- Consistency: Use the same aspect ratio across your catalog for grid harmony.
Turn DIY shots into studio-grade images with AI (in minutes) Supra AI Photo Studio streamlines your post-production and creative variations right inside your admin. Try it free: https://apps.shopify.com/supra-ai-photo-studio
Here’s a fast, repeatable workflow for high-converting visuals:
1) Import and isolate the product
- Upload your DIY images into the Supra editor and use the background remover to isolate the product cleanly. This helps downstream tools keep details accurate.
2) Auto enhance and upscale
- One click to denoise, deblur, fix color cast, and improve sharpness. Upscale soft phone shots to look tack-sharp on retina screens without artifacts.
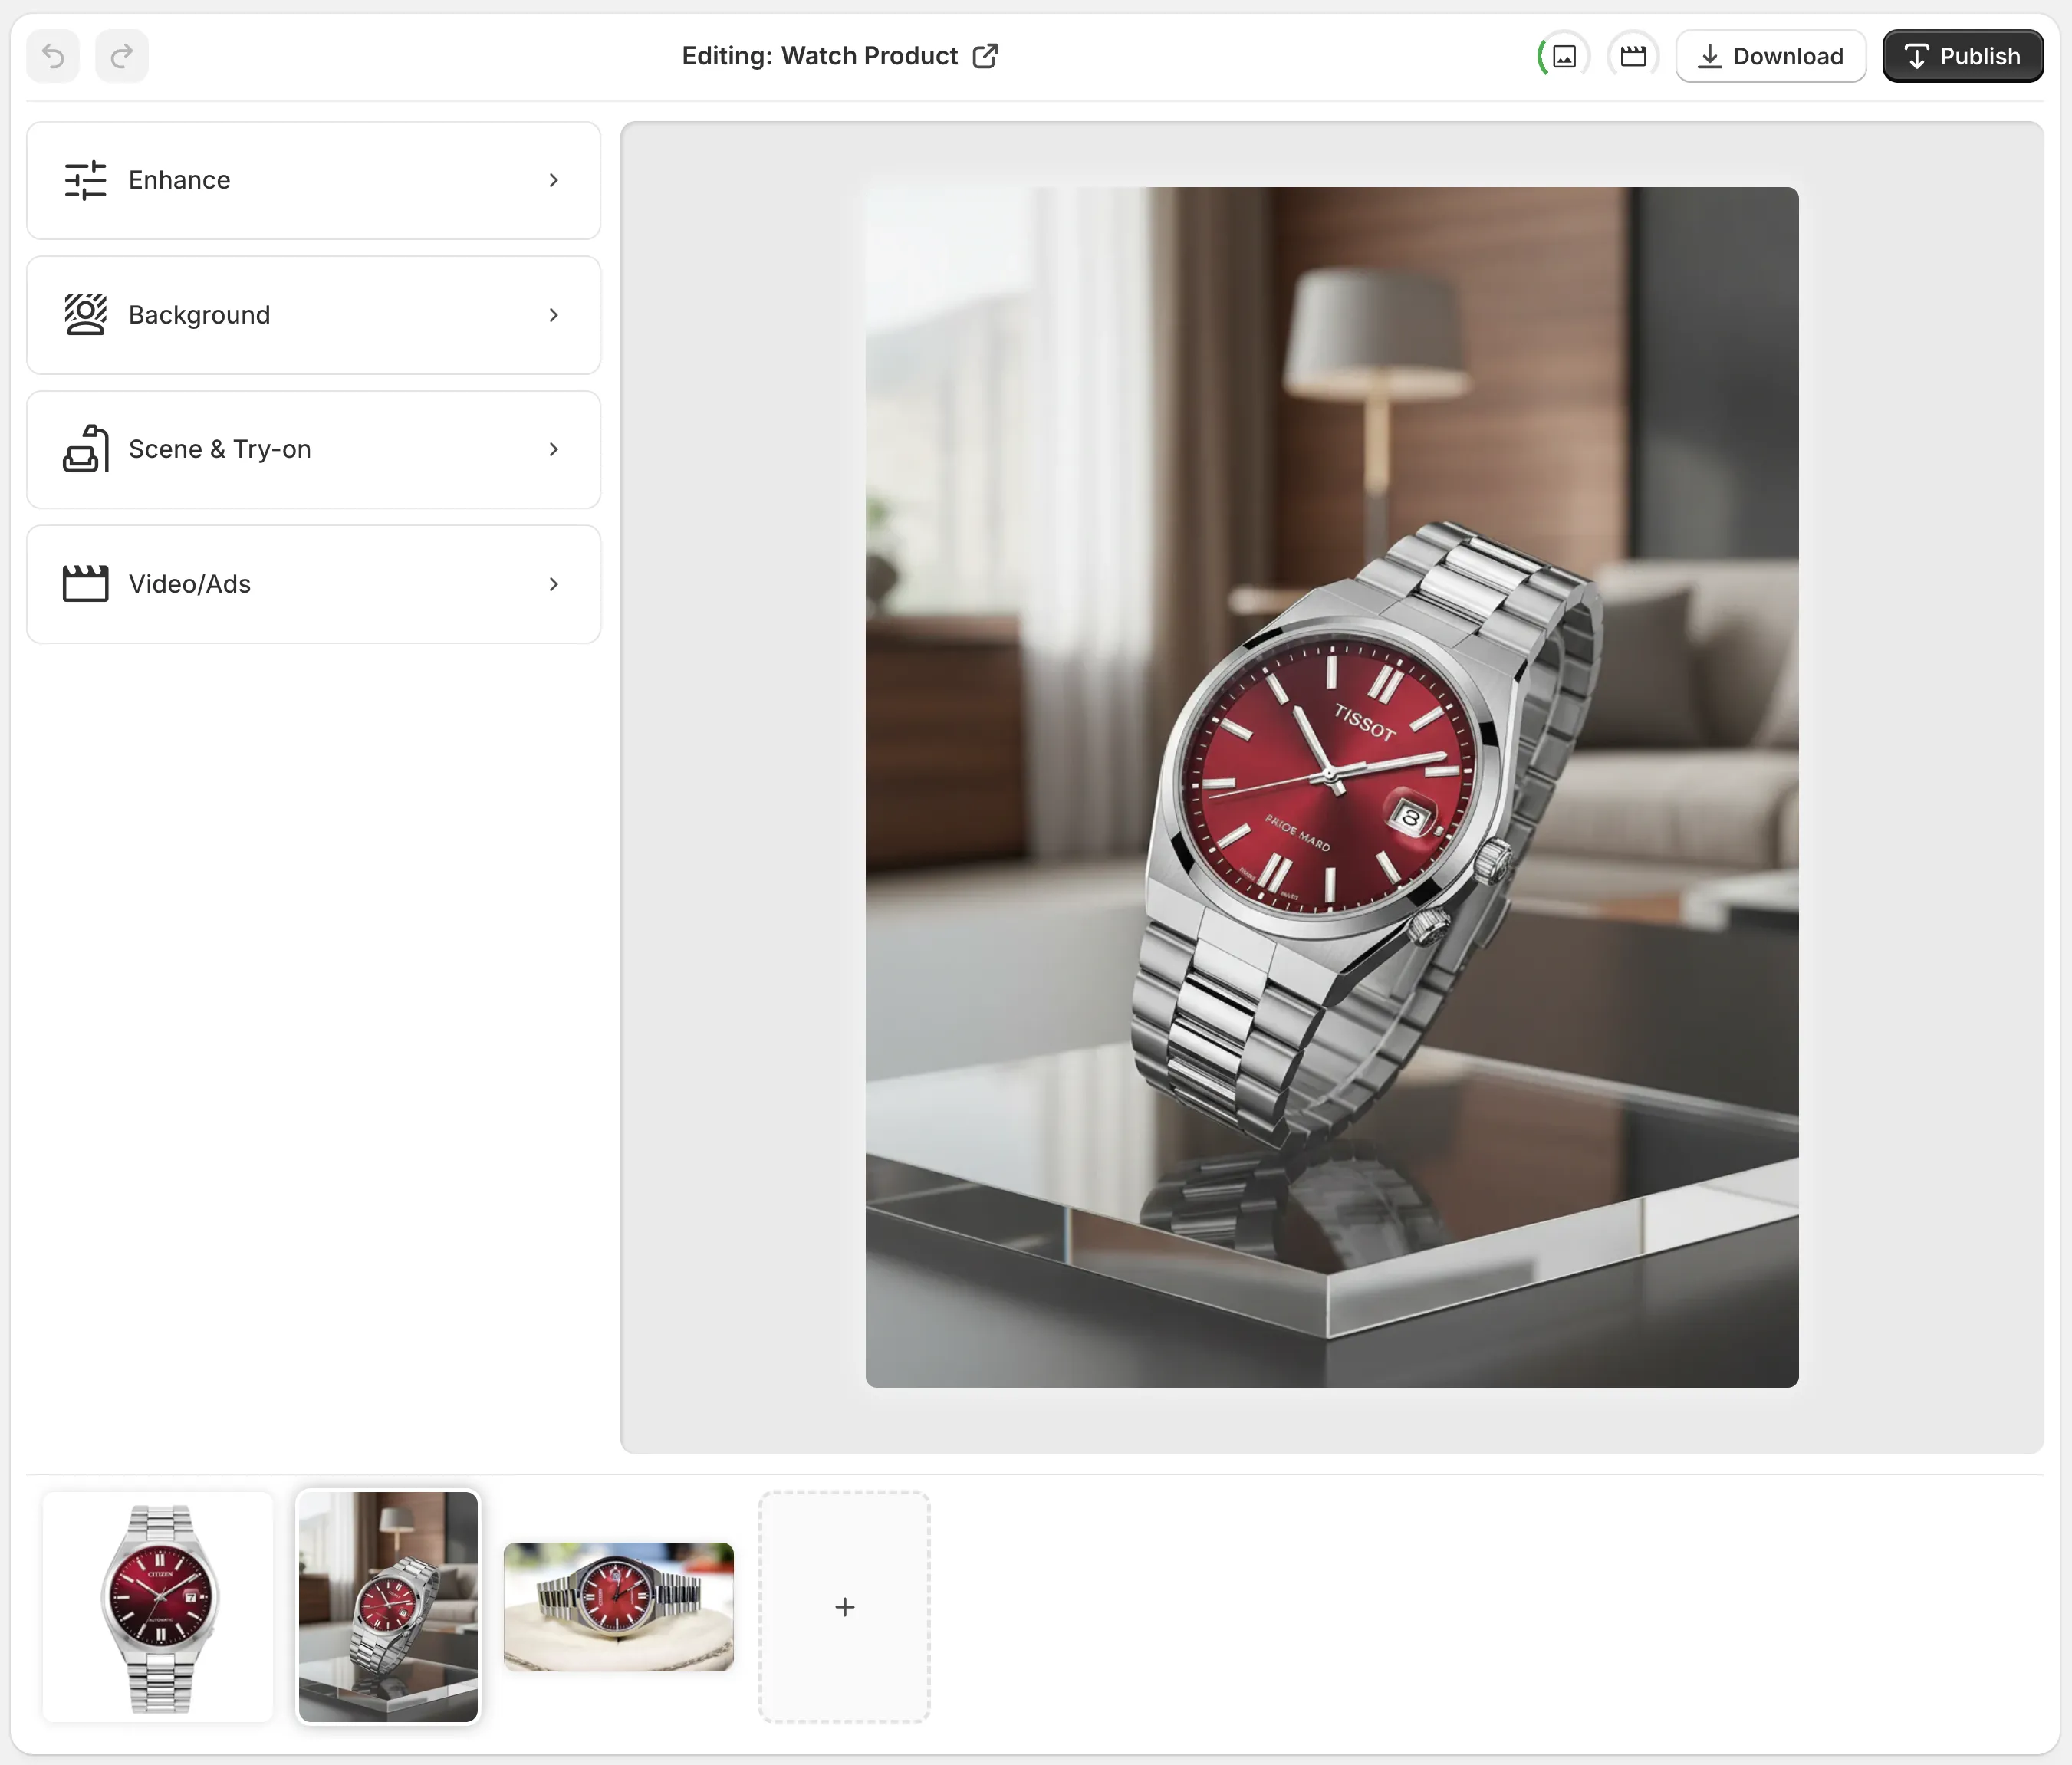
3) Create lifestyle scenes with object placement
- Drop your isolated product into kitchens, studios, boutiques, bathrooms, offices, or outdoors. Choose surface type, camera angle, and lighting (e.g., soft morning, hard noon, moody evening) to match your brand.

4) Try-on images for fashion (lookbook in minutes)
- Put apparel, jewelry, and accessories on photoreal AI models. Adjust body type, skin tone, and pose while preserving garment details and fit integrity.

5) Generate short videos that sell
- Make UGC-style videos and cinematic b-roll directly from your images. Choose vibe and setting for influencer-style clips, or add dust/liquid/smoke splashes for dramatic product reveals—perfect for Reels and ads.
- Watch the quick demo trailer: https://www.youtube.com/watch?v=M2ISy20la78
6) Publish straight to your product page
- Download or push images/videos to your product media in a click, keeping your catalog consistent.
Helpful tip: Start by isolating the product before object placement or try-on. This improves realism, preserves edges, and speeds up iteration.
Conversion optimization checklist for product media
- Lead with clarity: First image should be a clean, well-lit product-on-neutral background.
- Follow with context: Second image shows lifestyle use or model try-on.
- Add proof: Include detail macros, size-in-hand, and key USPs as overlays on one image.
- Speed matters: Compress to WebP and lazy-load below-the-fold images. Keep mobile in mind.
- SEO: Unique alt text per image; include attributes like material, size, color.
- Accessibility: Ensure text overlays (if any) meet contrast guidelines.
A/B test your visuals like a pro
- Hypothesis: Lifestyle first image vs. studio first image will increase CTR from collection pages.
- Method: Duplicate the product template or use a testing app to split traffic 50/50.
- Run time: At least 2 weeks or until you hit statistical confidence.
- Metrics: Collection CTR, product page bounce rate, add-to-cart rate, conversion rate, and time on page.
- Iterate: Keep the winner and test another variable (angle, background tone, or presence of a hand for scale).
Real-world example workflow (15-minute upgrade)
- Capture: Shoot a 45-degree hero, a flat front, and one detail macro by a window with diffusion.
- Clean: Use background remover and auto enhance.
- Context: Create one lifestyle shot (e.g., bathroom vanity, soft morning light) via object placement.
- Social: Generate a 6–10s b-roll clip with a slow top-down reveal and subtle dust particles.
- Publish: Order images in this sequence: neutral hero, lifestyle context, detail macro, video.
Common mistakes that kill conversions (and easy fixes)
- Busy props stealing attention → Remove or mute them; keep the product dominant.
- Color shifts across variants → Use consistent white balance; apply the same AI enhancement profile.
- Crops that clip edges → Leave breathing room; crop consistently at the end.
- Heavy noise or blur → Use a tripod, low ISO, and AI upscaling for crisp results.
Ready to turn home shots into high-converting visuals?
- Install Supra AI Photo Studio: https://apps.shopify.com/supra-ai-photo-studio
- Explore the live demo and features: https://supra-ai-photo-studio.sktch.io/
With a simple home setup and an AI-first editing workflow, your product photos can look studio-made, tell a persuasive story, and convert more shoppers—without the studio price tag.


Comments
Post a Comment