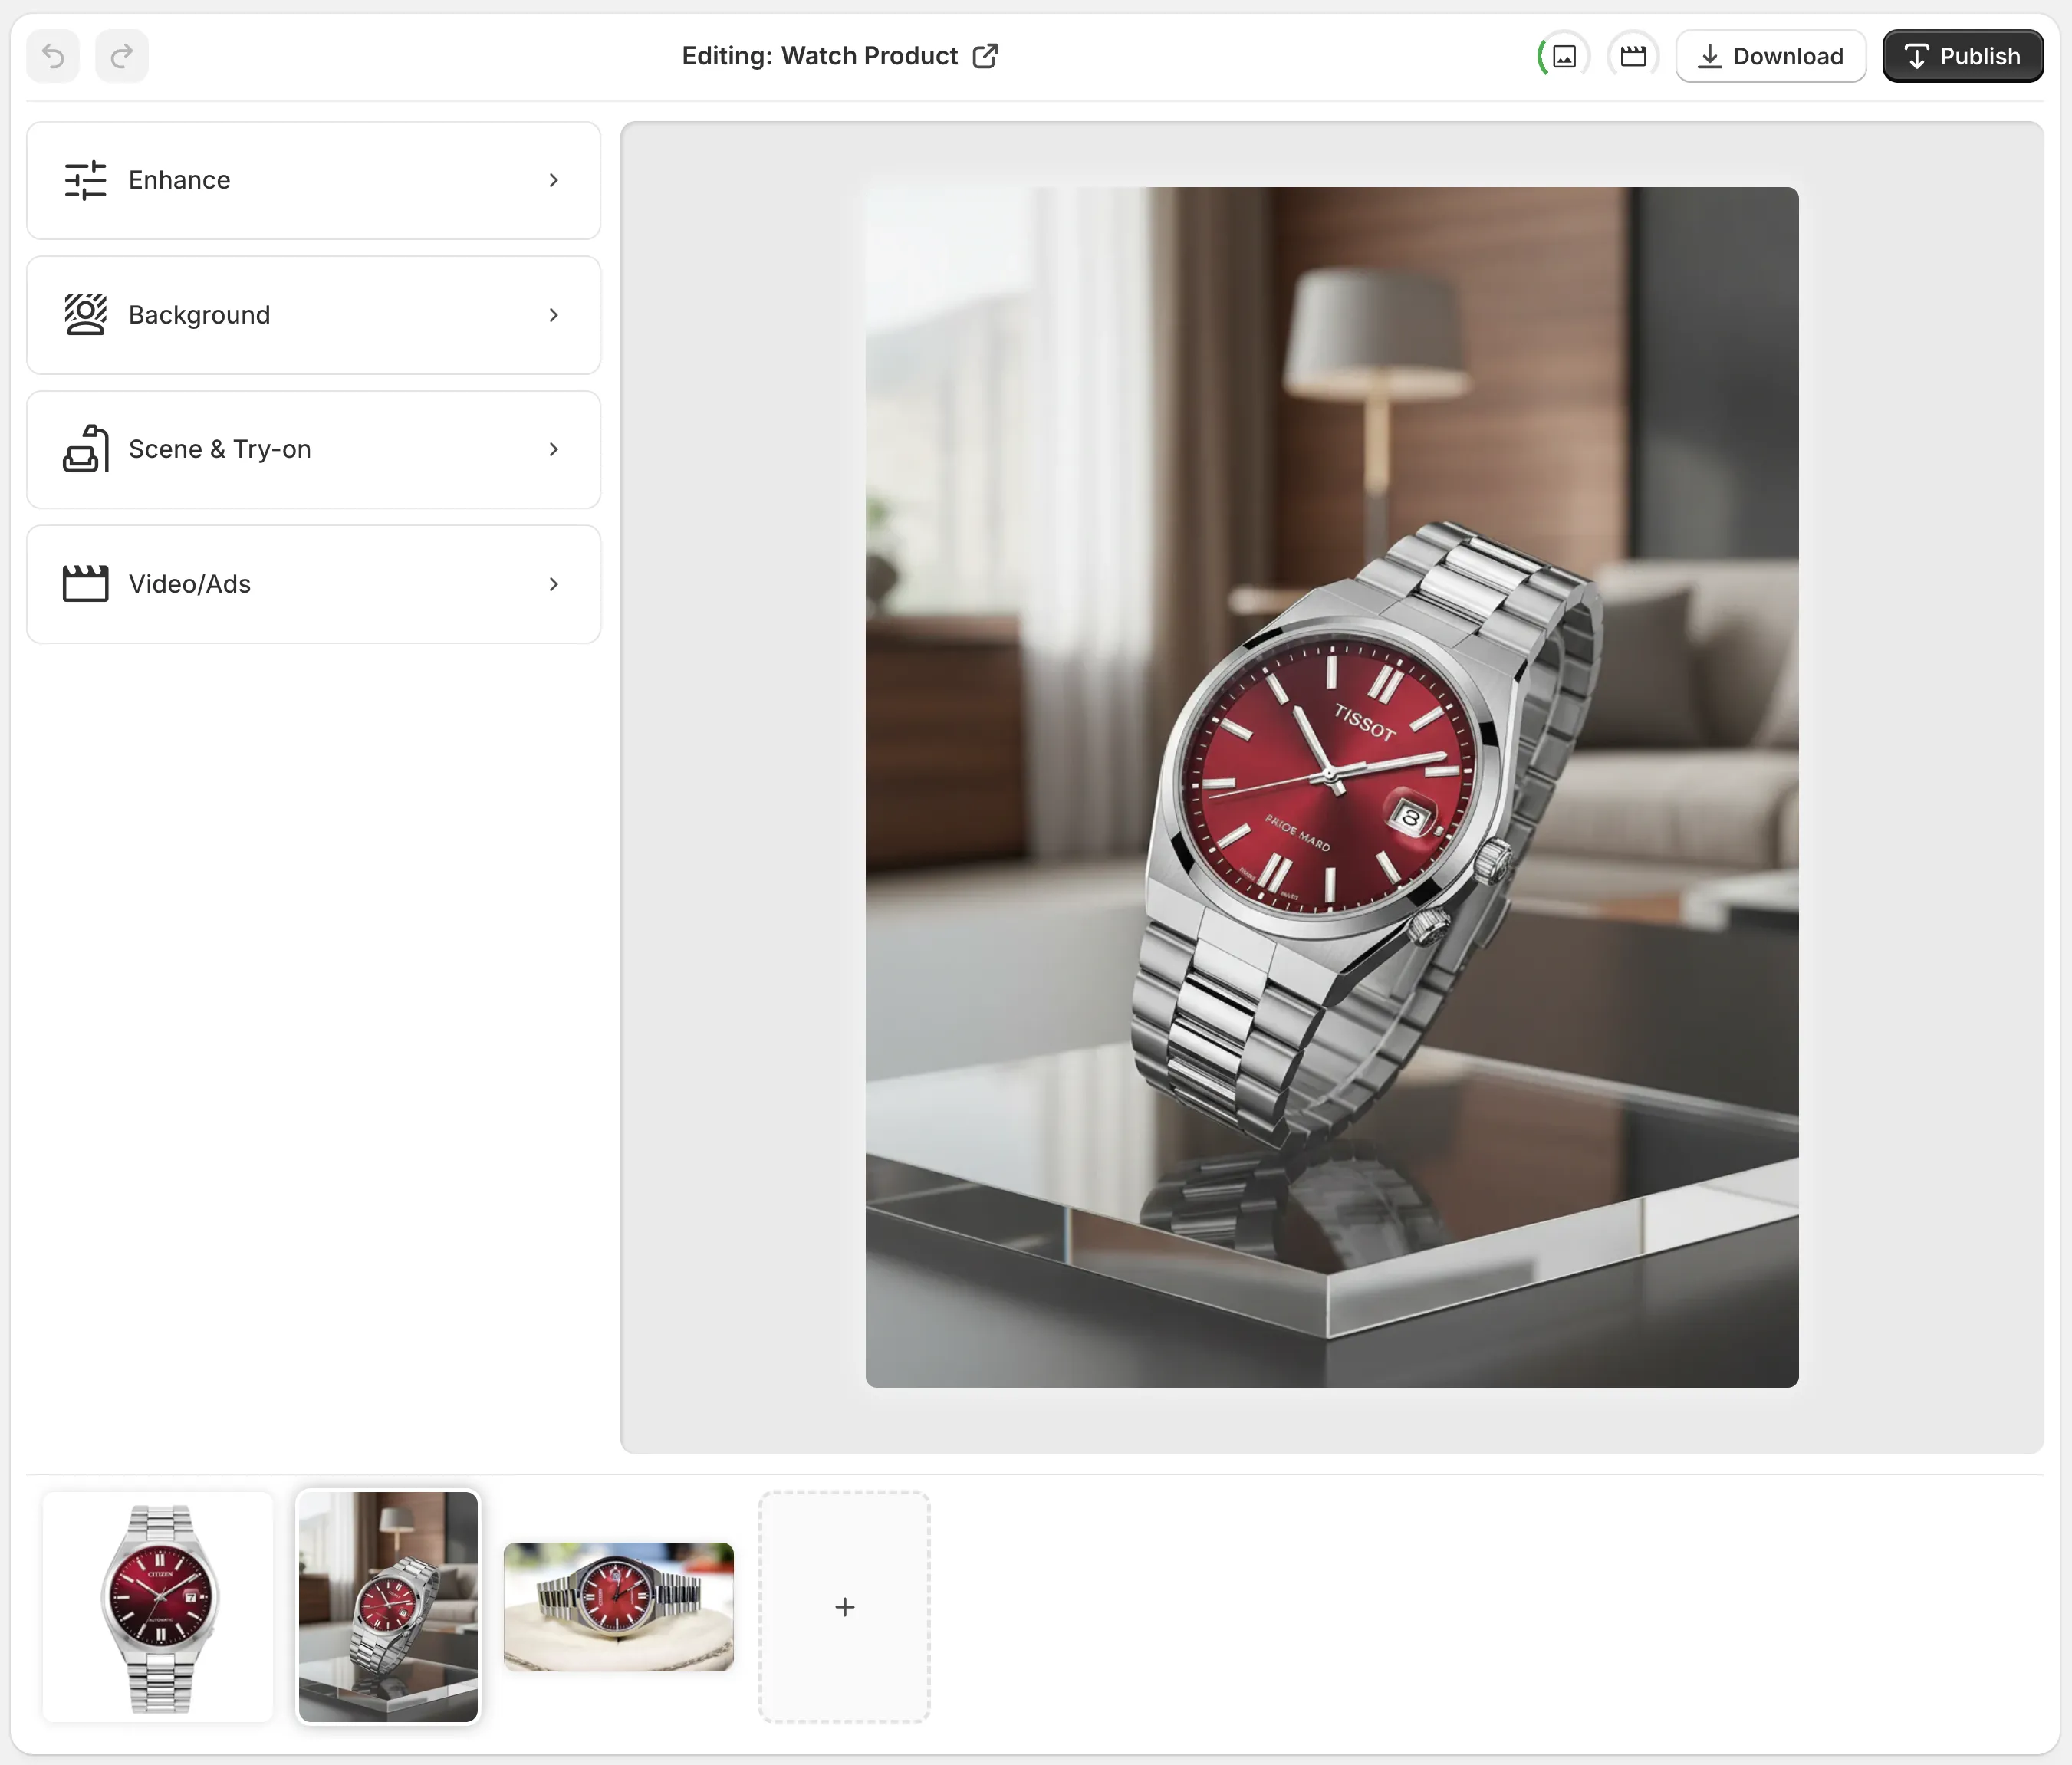
AI Try On Tips For Accurate Apparel Product Photography
If your apparel product photos don’t reflect real fabric, fit, and color, shoppers bounce. The good news: you can achieve studio-grade, on-model visuals with AI try-on—without booking a photoshoot. In this guide, you’ll learn proven tips to keep your AI try-on images accurate, consistent, and conversion-ready, using Supra AI Photo Studio for Shopify.
Helpful links to get started:
- Install on Shopify: https://apps.shopify.com/supra-ai-photo-studio
- Explore the landing page: https://supra-ai-photo-studio.sktch.io/
- Watch the demo trailer: https://www.youtube.com/watch?v=M2ISy20la78
What “accuracy” means in AI try-on photography
To earn trust (and reduce returns), aim for these pillars:
- Color fidelity: The garment’s hue and saturation match the real item in daylight.
- Fabric behavior: Knit vs. satin vs. denim should drape, fold, and reflect light correctly.
- Scale & fit: Prints, logos, and seams keep their size; hems and sleeves sit where they should.
- Lighting continuity: Model, garment, and background share believable light direction and contrast.
- Edge integrity: Clean, natural transitions at collars, cuffs, hairlines, and hands.
Prep your source images for precision
Great inputs power great outputs. Before try-on, prep your files:
- Start high-res: 2000–4000 px on the short edge helps preserve detail for upscaling and crops.
- Shoot neutral: Even lighting, minimal shadows, white or light gray background.
- Smooth the garment: Steam out wrinkles that don’t represent how the piece should fit.
- Include multiple angles: Front, back, and any key detail shot (embroidery, pattern alignment).
- Keep colors honest: Photograph in daylight or 5500K lighting; avoid strong color casts.
Tip: Inside Supra AI Photo Studio, use Auto Enhance to denoise, deblur, and correct lighting for a clean baseline before try-on.
Step-by-step: A reliable AI try-on workflow
Use this repeatable flow in Supra AI Photo Studio to maximize realism:
1) Isolate the garment
- Use
Isolate Productto cleanly remove the background so the AI focuses on true edges and seams.
2) Clean and calibrate
- Apply
Auto Enhanceto improve clarity and micro-contrast. - If the image is small, run
Upscaleso textures (ribbing, stitching) hold up in close-ups.
3) Choose a realistic model
- Open
AI Try-Onand select a model that matches your target audience. Adjust pose, skin tone, and body type for realistic sizing.

4) Set pose and camera angle first
- Keep camera height and angle consistent with your catalog (e.g., mid-torso level, slight downward tilt).
- Choose natural poses that match how the garment is meant to drape.
5) Preserve garment truth
- Keep trims, buttons, and logos perfectly aligned. Avoid over-slimming or stretching.
- For patterns, ensure stripes, plaids, and prints remain to-scale and straight.

6) Match light and shadow
- In
Object Placementor background settings, choose environments with light direction matching your model. Add soft shadow under hems, sleeves, and along side seams.
7) Create context when needed
- Use
Object Placementto place the model or the product in lifestyle scenes (studio, boutique, outdoors). Keep horizon lines rational and scale realistic versus props.
8) Final pass and export
- Zoom to 200% and check collars, cuffs, hair, hands, and complex edges.
- Export at 2048–3000 px on the long edge for crisp PDP zoom.
Visual metaphor: What perfect AI try-on looks like
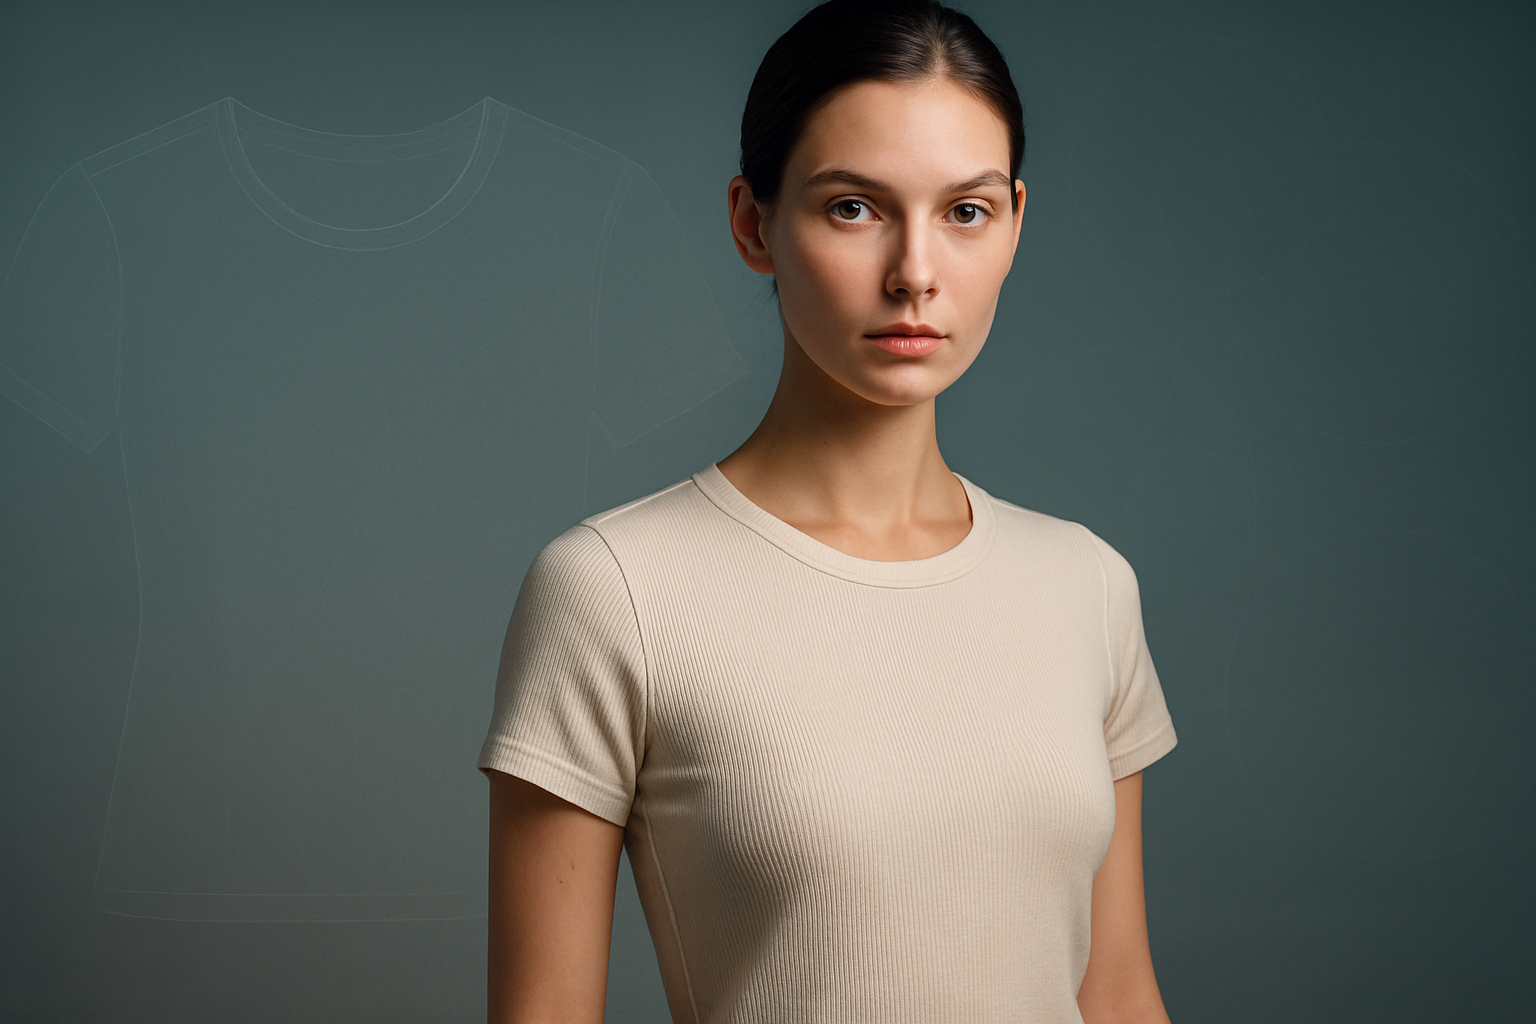
The 12-point accuracy checklist (use this before publishing)
- Fabric realism: Does the material (knit, denim, satin) reflect light correctly?
- Color match: Compare to in-hand or a calibrated reference under neutral light.
- Pattern alignment: Stripes and logos are straight and to-scale.
- Seams and hems: Natural curves; no melted or wavy stitching.
- Neckline and cuffs: Clean, intact edges without blur or halos.
- Shoulder fit: Seam lands at the anatomical shoulder—no drifting.
- Sleeve/hem length: Matches size chart and brand guidelines.
- Wrinkle logic: Folds radiate from tension points (shoulders, waist, elbows) realistically.
- Shadow coherence: One light direction; soft falloff that matches the scene.
- Hands/hair intersections: No artifacts where hair crosses the collar or hands touch fabric.
- Background cohesion: Perspective and horizon feel right; scale with props is believable.
- Zoom test: At 200%, details hold up (weave, stitching, small logos).
Lifestyle context that converts
White-background images are essential, but lifestyle shots boost add-to-cart rates by helping shoppers imagine fit and feel. With Supra AI Photo Studio, use Object Placement to stage:
- Studio lifestyle: Neutral backdrops with subtle gradients to spotlight color.
- Boutique vibes: Warm wood textures and soft bokeh for premium appeal.
- Outdoor energy: Natural light, shallow DOF, airy tones for athleisure.
Keep it credible: match light direction, keep scale consistent, and avoid overly busy scenes that distract from the garment.

SEO and PDP optimization tips
- File names: Use descriptive keywords (e.g., womens-crewneck-tshirt-ivory-model-front.webp).
- Alt text: Describe color, fit, and angle naturally (e.g., “Ivory women’s crewneck t‑shirt on model—front view, short sleeves”).
- Image size: Serve WebP or AVIF around 120–300 KB when possible; keep a larger zoom asset on PDP.
- Consistency: Use similar crop ratios and camera height to strengthen brand identity.
- A/B test: Try a white-background first image vs. studio lifestyle to see which lifts CTR.
Bonus: Short-form videos that sell
Static images convert, but motion seals the deal on social and ads. In Supra AI Photo Studio:
UGC Video Generator: Turn a product image into influencer-style clips with voice and vibe options—great for TikTok and Reels.B‑Roll AI Videos: Create cinematic product drops with liquids, dust, or slow-motion effects while preserving garment details.
See examples in the demo: https://www.youtube.com/watch?v=M2ISy20la78
Why Supra AI Photo Studio for AI try-on?
- Accurate model try-ons: Put clothing onto lifelike AI models while maintaining product truth.
- Studio-quality enhancements: Background removal, lighting correction, upscaling.
- Lifestyle control: Drop products into kitchens, boutiques, or outdoor scenes in minutes.
- Video built-in: Generate UGC and b‑roll for ads—no separate tools required.
- Zero design skills needed: Intuitive editor right inside your Shopify admin.
Pricing that scales with you—there’s even a Free plan to try core features:
- Free: 4 image generations/month
- Standard, Professional, Agency: Higher quotas and video options as you grow
Ready to upgrade your apparel photography with trustworthy AI try-on? Install Supra AI Photo Studio on Shopify: https://apps.shopify.com/supra-ai-photo-studio — or explore more on the landing page: https://supra-ai-photo-studio.sktch.io/


Comments
Post a Comment