How I Score Shopify Products Before Turning Them Into 3D Models
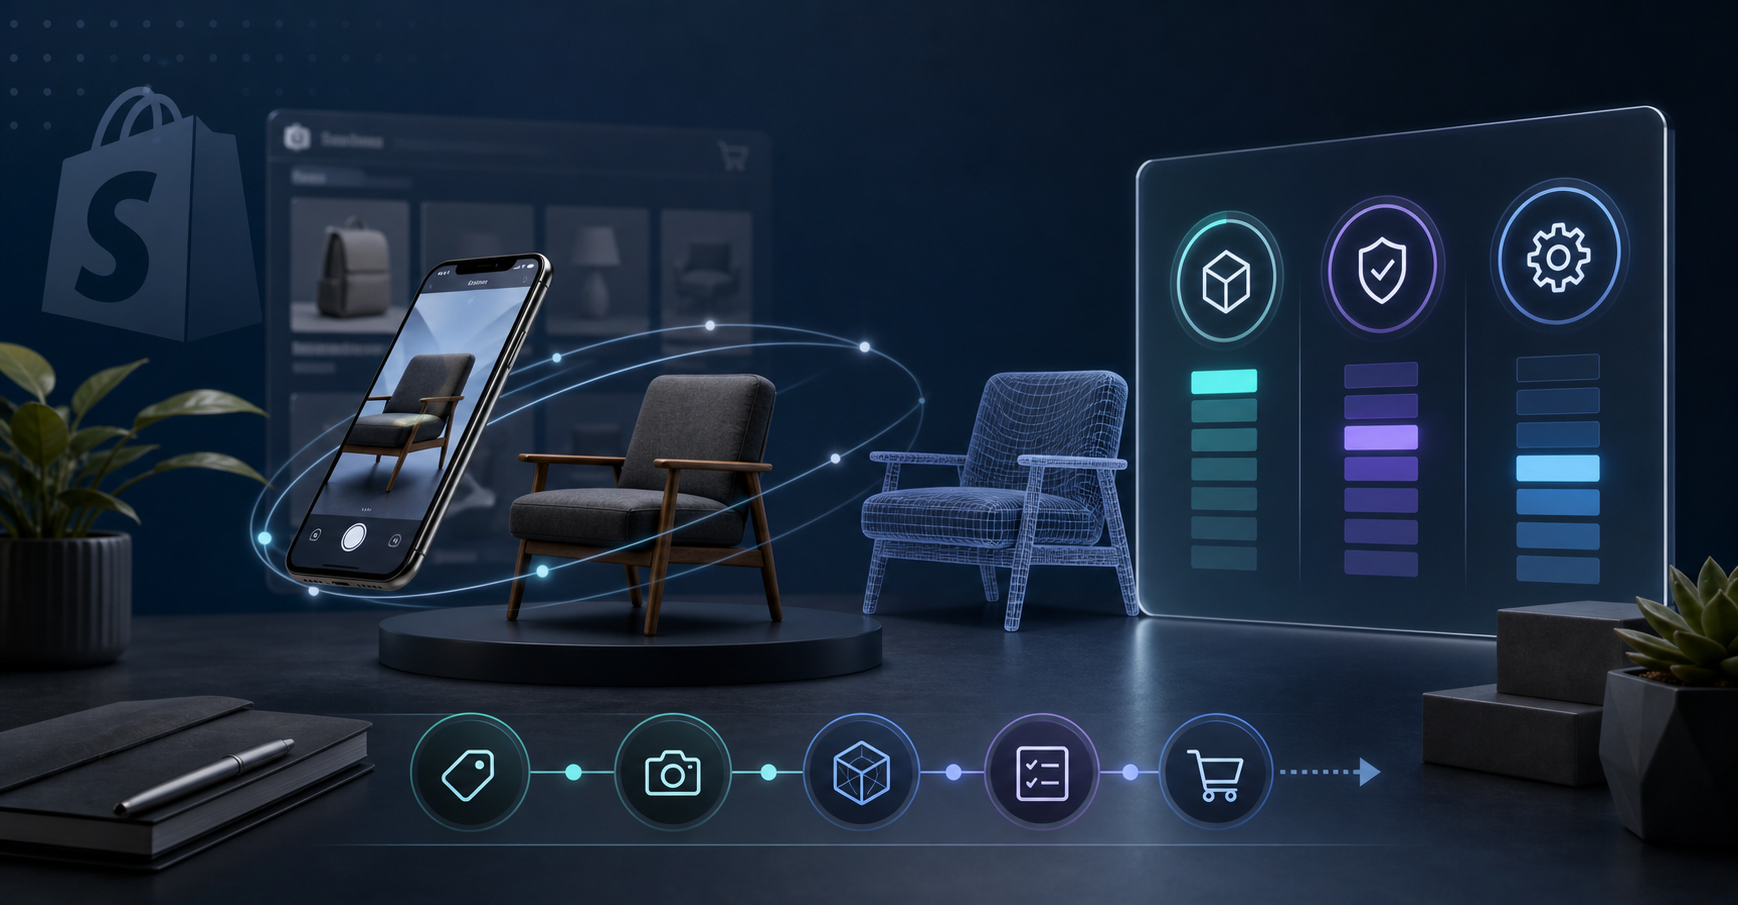
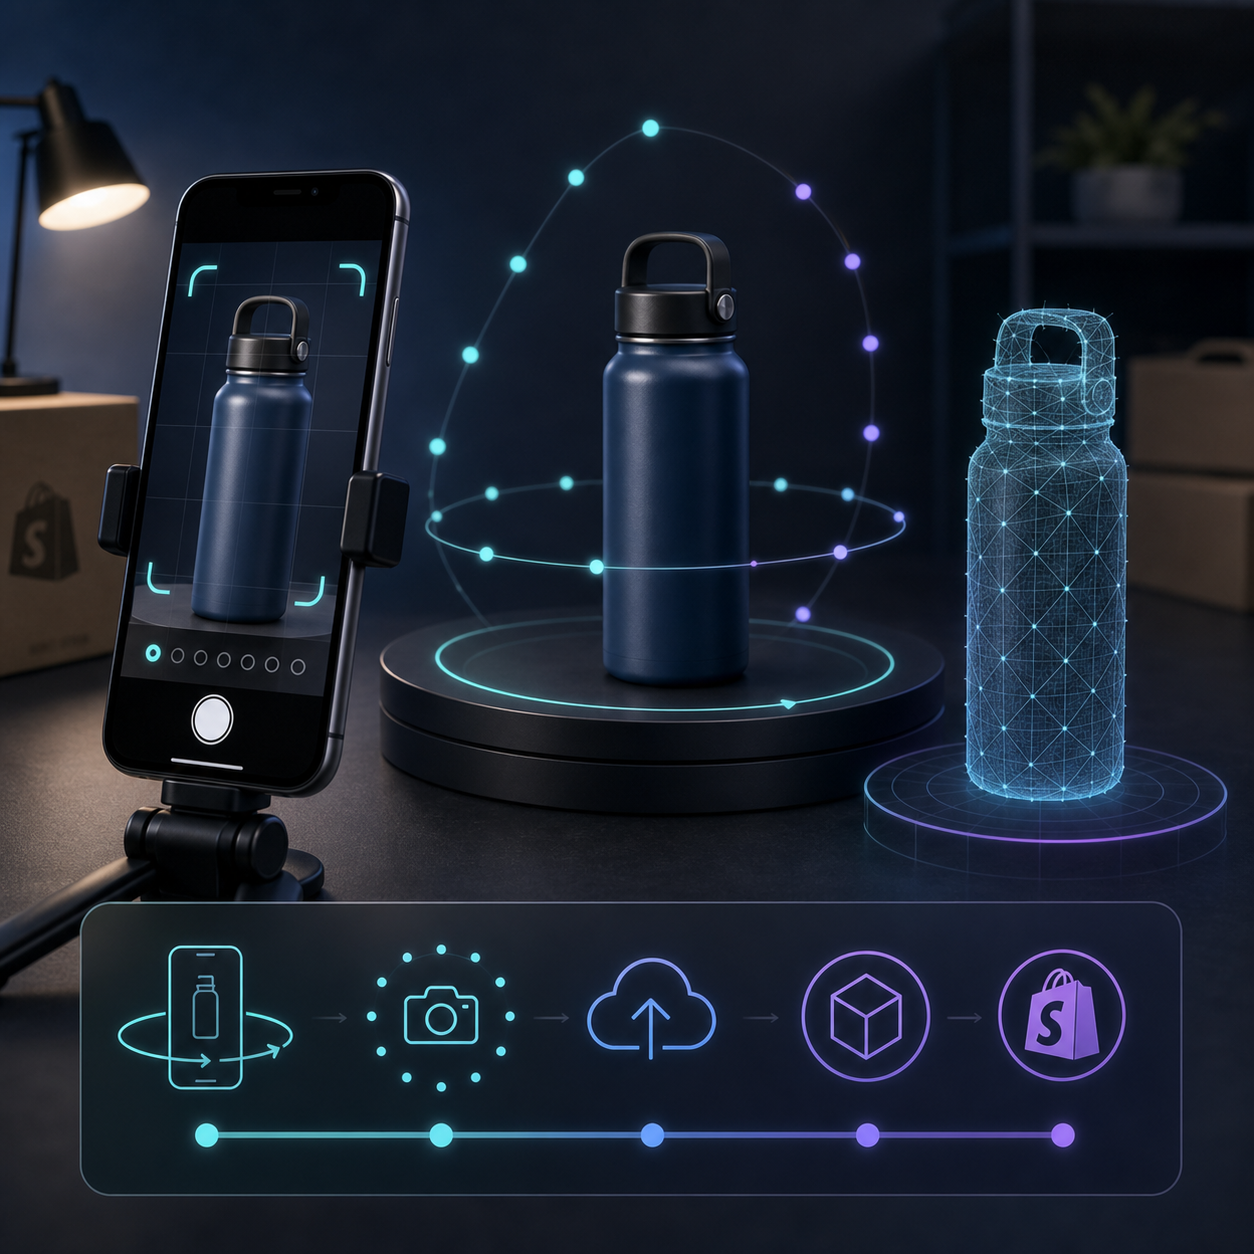
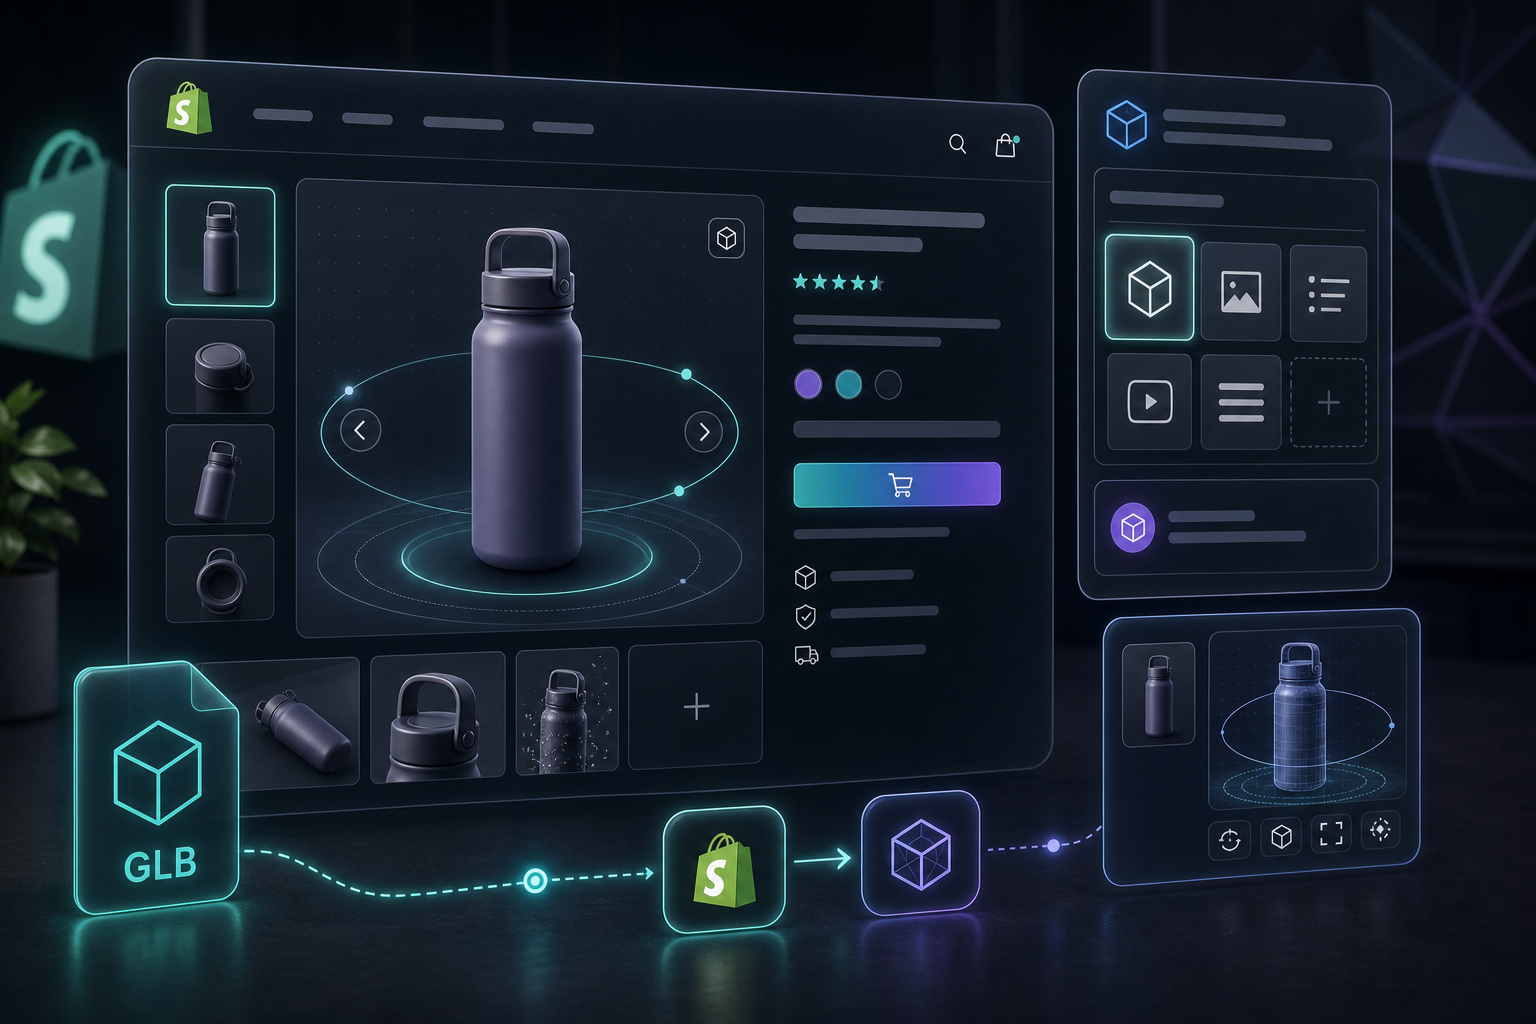
I use Supra 3D Capture when a Shopify product needs more than flat photos to answer the shopper's main question. The app turns a guided set of phone photos into a web-ready GLB, then publishes it into Shopify product media so the page can use the native 3D viewer or an Online Store 2.0 app block.
But I do not start with the scan. I start with prioritization. If I only have time to model a few SKUs, I want the ones where 3D reduces confusion, not the ones that merely look interesting in a demo.
The simple score I use
I score every candidate on three things: shape importance, return risk, and capture effort. Each one gets a score from 1 to 5. The point is not mathematical precision. The point is to avoid arguing with myself about gut feel.
- Shape importance: does the silhouette, depth, or underside matter to the purchase decision?
- Return risk: would a buyer be more likely to say “not what I expected” after only seeing flat images?
- Capture effort: can I get clean 10+ photo coverage with a normal phone and decent light?
If a product scores high on the first two and low on the third, it goes to the top of the queue.

If you want the broader filter behind that scorecard, How to Decide Which Shopify Products Deserve 3D Models First is the companion piece I would start with. It is the same decision, just framed one step earlier.
What gets a high score
I prioritize products where the shopper needs to understand proportion before buying: furniture, bottles, bags, decor, shoes, appliances, and anything with a profile that changes the decision. That is also why I avoid products that are already obvious in a flat gallery. If one angle explains the item, 3D is a nice-to-have, not a priority.
I also watch for products that are hard to explain in text. If a title and description need extra copy just to clarify size, shape, or finish, the page is already telling me the gallery is doing too little. That is a good sign that 3D will help.
For the capture sequence itself, How to Capture a Shopify Product in 3D Without a Studio and How to Set Up a Shopify 3D Capture Session That Scans Cleanly are the two references I would keep nearby.
The point of the first test is not perfection. The point is to see whether the product reconstructs cleanly enough to be useful on the page. A clean capture on a normal phone is enough to prove the workflow.
What I skip first
I usually push these down the list:
- Flat or text-heavy products.
- Highly reflective or transparent items on the first pass.
- Cheap SKUs where return cost is tiny and 3D will not change the economics.
That does not mean those products can never be modeled. It means they are bad first tests. I want the first few scans to prove value, not create extra work just to satisfy the tool.
The capture workflow
- Pick three products, not thirty.
- Capture 10+ guided photos with a regular smartphone.
- Process the photos into a clean GLB.
- Publish the model into Shopify product media.
- Check the page in the native viewer or theme app block and compare it against the flat gallery.
That sequence is exactly why the app is practical for merchants. You do not need a 3D artist, LiDAR, or modeling software. You need a product that benefits from depth and a setup that gives the pipeline enough information to reconstruct it.
Once the GLB is in product media, the model lives where the customer is already browsing instead of in a separate demo environment. I like that because it keeps the test inside the storefront and makes the result easier to compare against the normal gallery.
If you want the page-layout side of the workflow, How I Build a Shopify Product Page Around a 3D Model is the next article I would read. It shows how the 3D media fits into the rest of the PDP.
How I decide the test was worth it
I am not looking for a guaranteed conversion lift. I am looking for evidence that the page answers questions faster: fewer “how big is this?” questions, more confidence around shape and finish, and less uncertainty before checkout.
The first win is usually engagement. The second is clarity. If the product becomes easier to understand, the 3D test paid for itself even before you calculate broader revenue effects.
Supra 3D Capture has a free plan with 3 scans per month and 1 saved model, so the cheapest way to validate the scoring system is to start small. If the first three SKUs work, step up to Base or Pro only when the catalog justifies it.
If you want to try it, start with the product that is hardest to explain from photos alone, then run it through Supra 3D Capture or install it from the Shopify App Store. If the model makes the page easier to trust, you picked the right SKU.


Comments
Post a Comment