How to Turn One Product Photo Into a Shopify Creative Kit
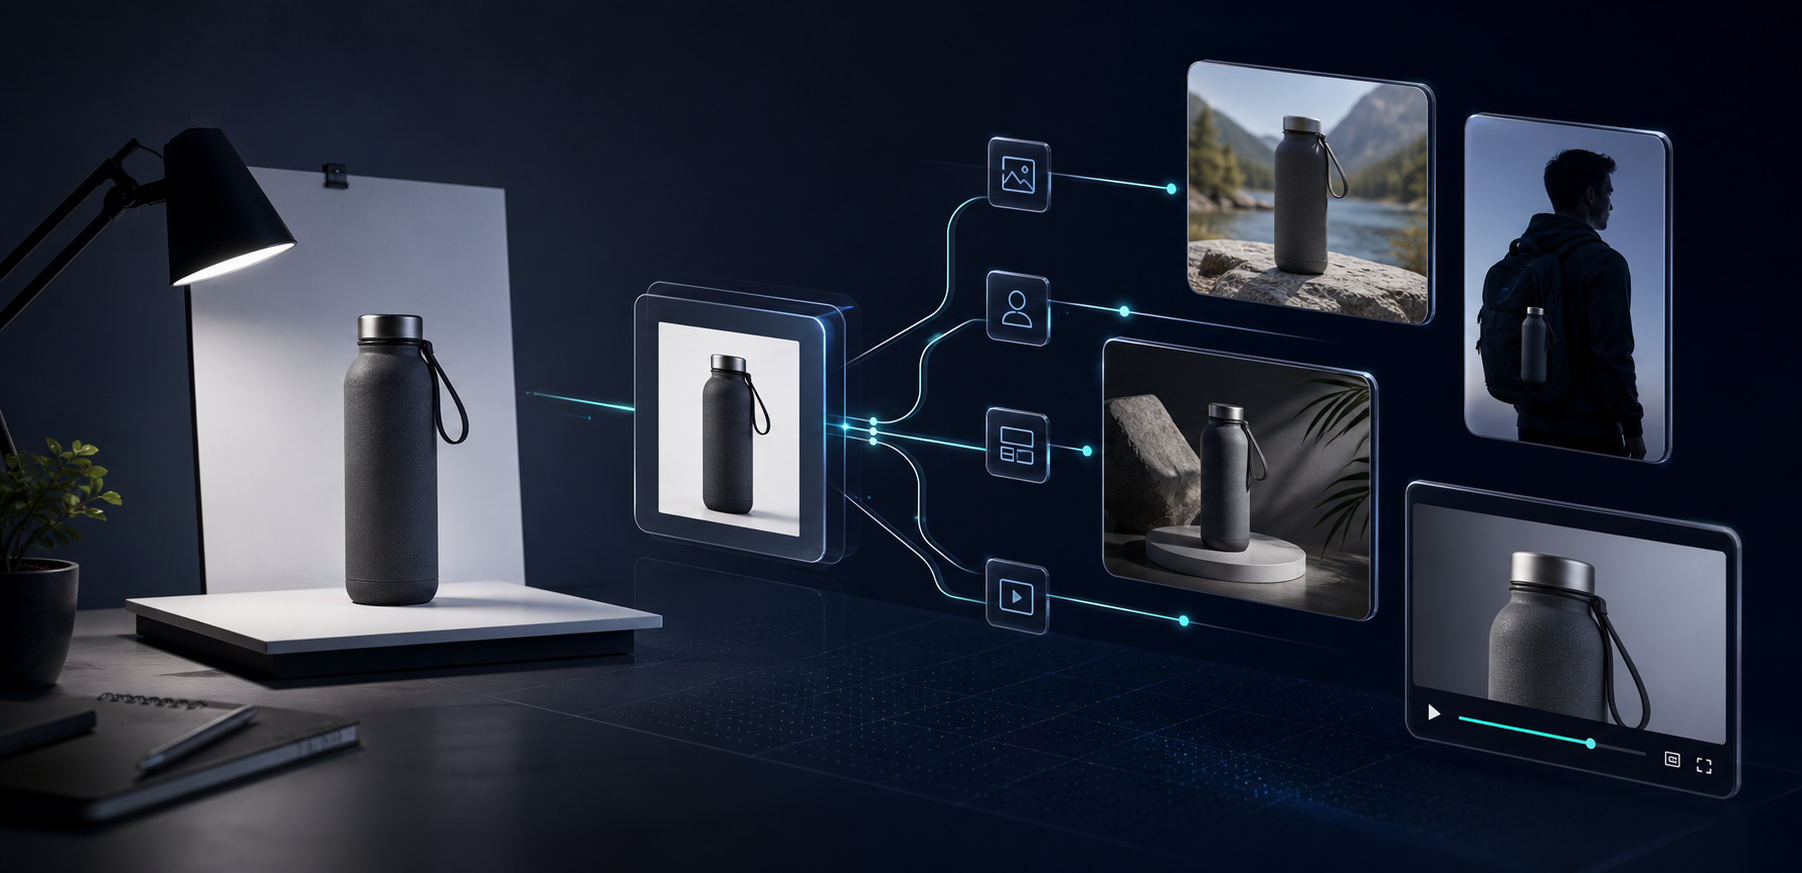
If you only have one decent product shot, you do not need a new photoshoot to get more mileage out of it. The practical move is to turn that image into a small creative kit: a cleaner catalog version, a lifestyle placement, a try-on or model scene, and a short ad-ready video asset.
Supra AI Photo Studio is built for that workflow inside Shopify. It gives merchants background removal, upscaling, auto enhance, try-on, object placement, and AI video tools in one place, so the work stays tied to the product instead of bouncing between apps.
If you want a quick walkthrough first, the demo trailer shows the app in action.
1. Start With The Cleanest Source You Have
The fastest way to waste time is to feed the app a photo that is already blurry, poorly lit, or cropped too tightly. Start with the cleanest version you have, then use the editor to isolate the product before you build anything else.
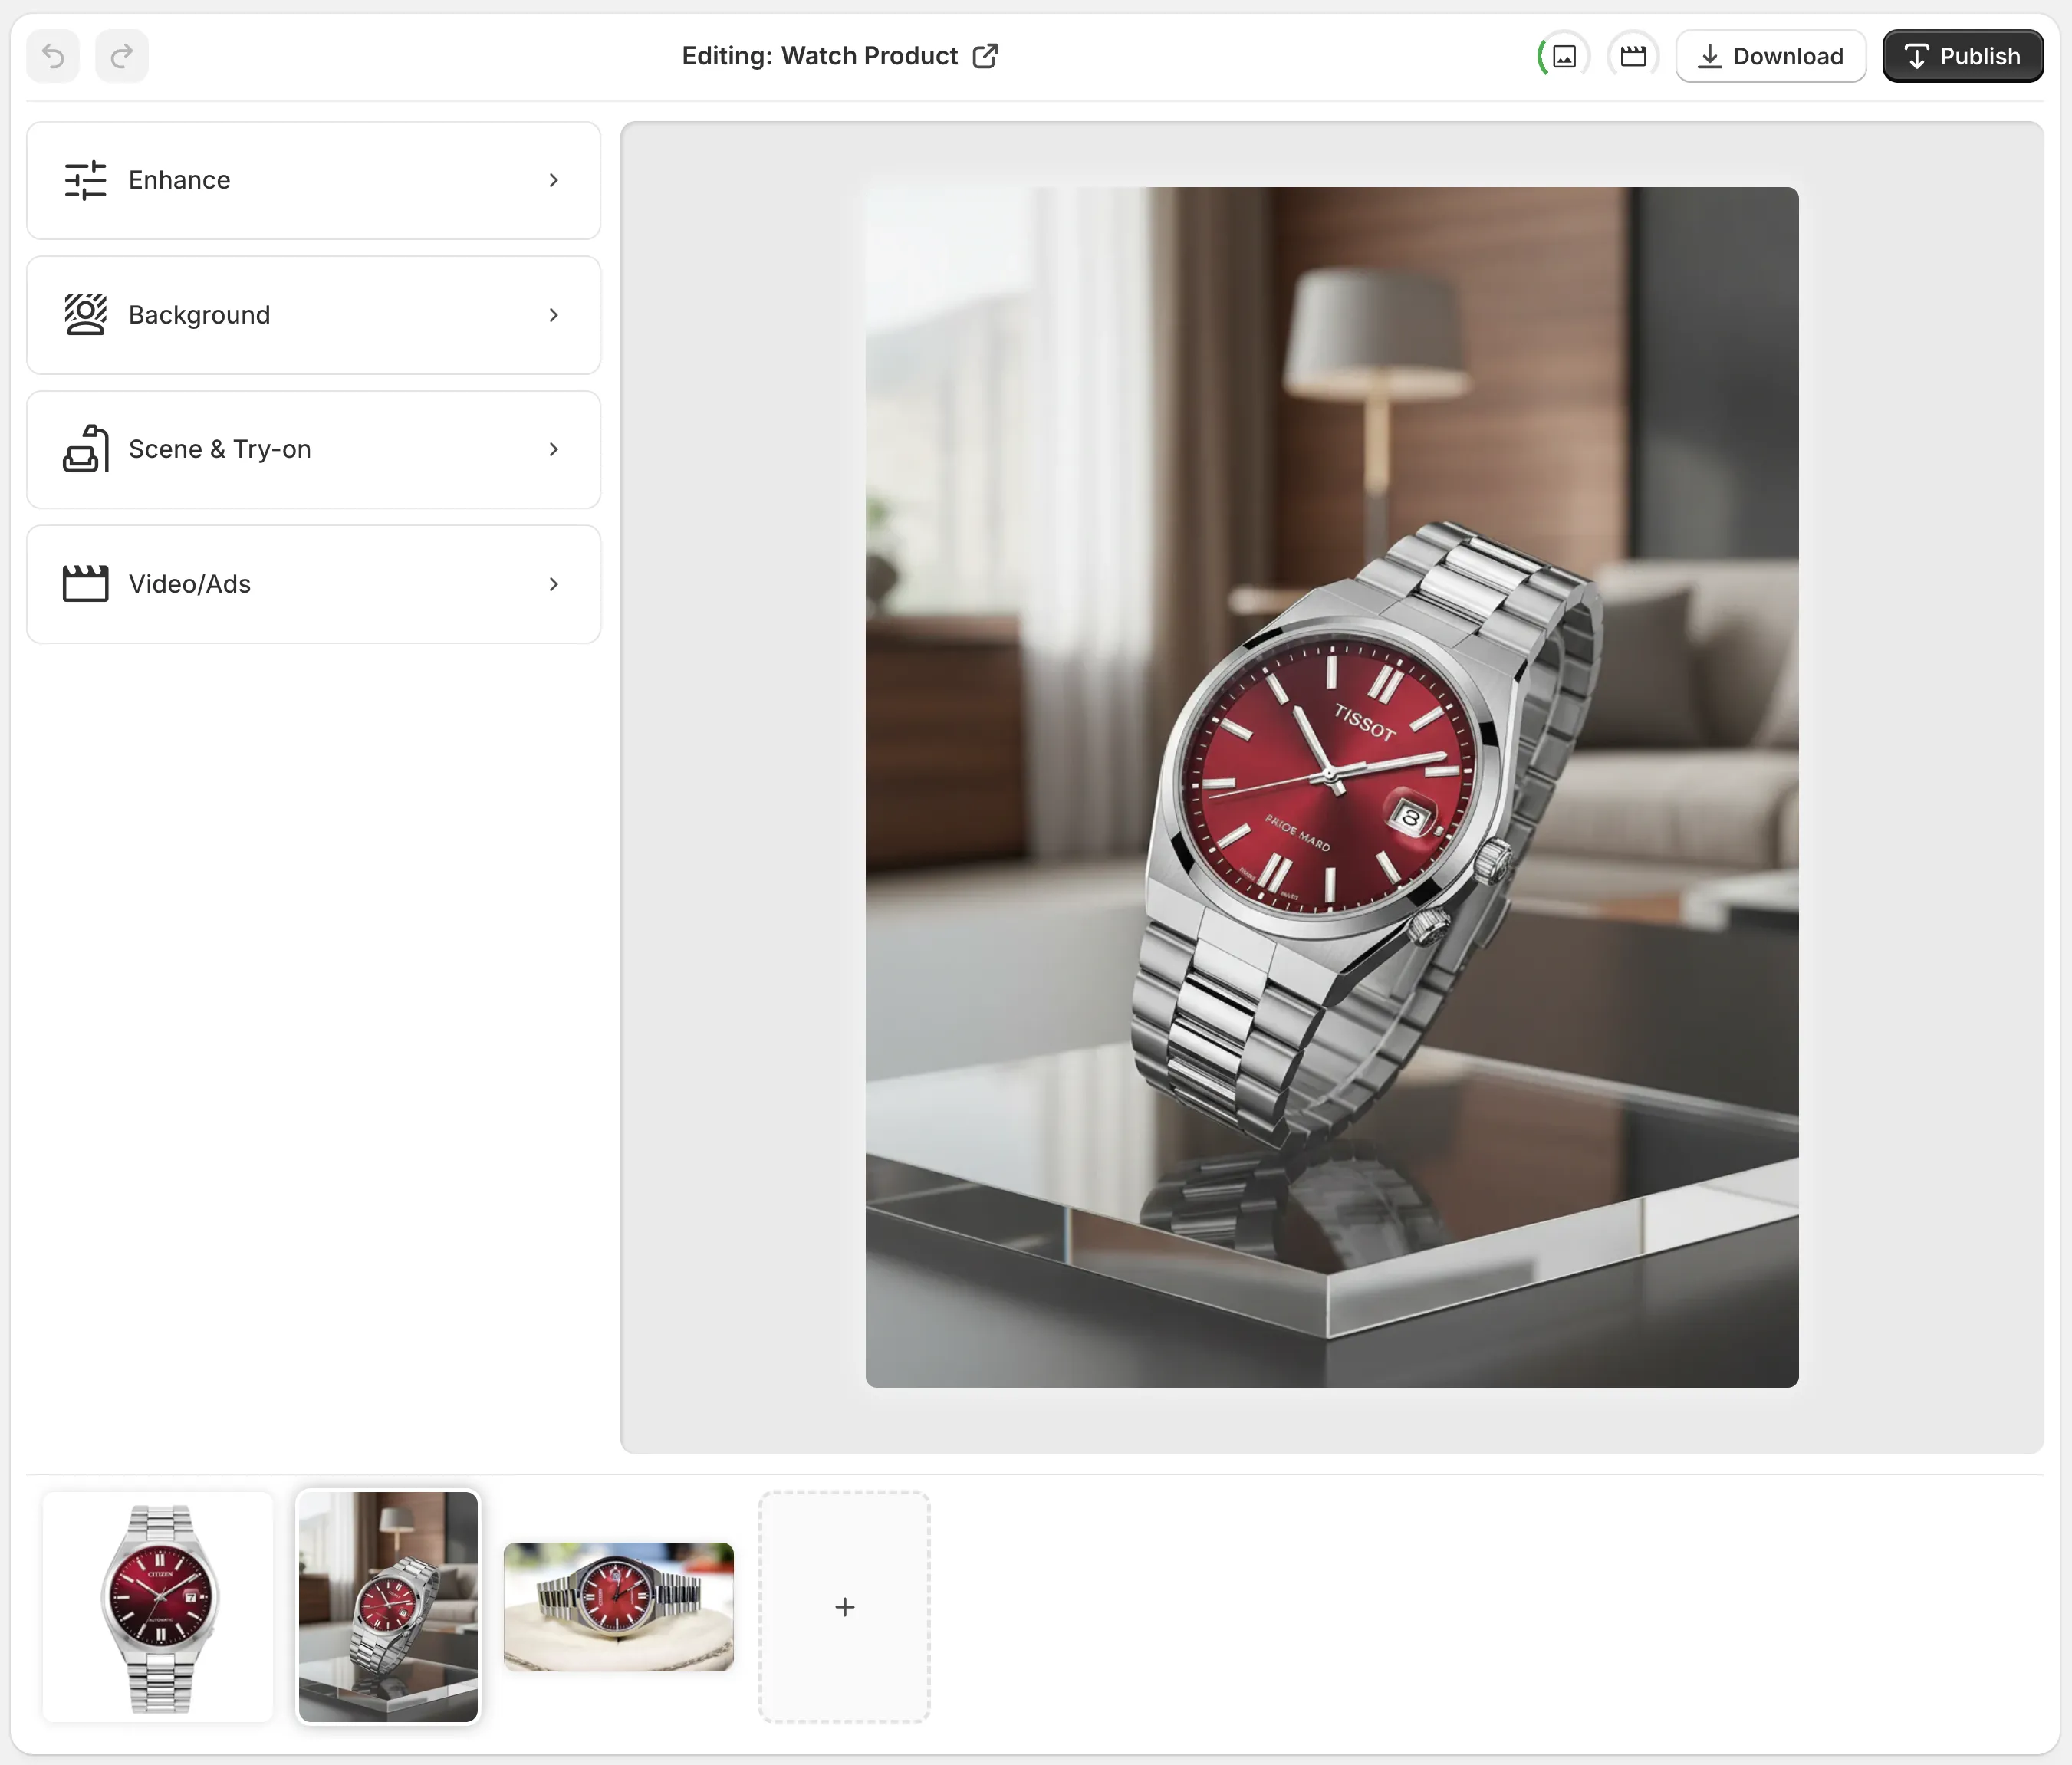
The help guide shows the editor split into four practical zones: tools on the left, canvas on the right, a top bar for undo, download, and publish, plus an image gallery at the bottom. That matters because it keeps the workflow simple. You are not designing from scratch. You are cleaning up a product photo and deciding what it needs next.
- Remove or replace the background first if the source image is distracting.
- Use upscaling and auto enhancement when the photo is soft, noisy, or flat.
- Keep the product shape faithful before you move into creative variations.
2. Build The Base Catalog Shot First
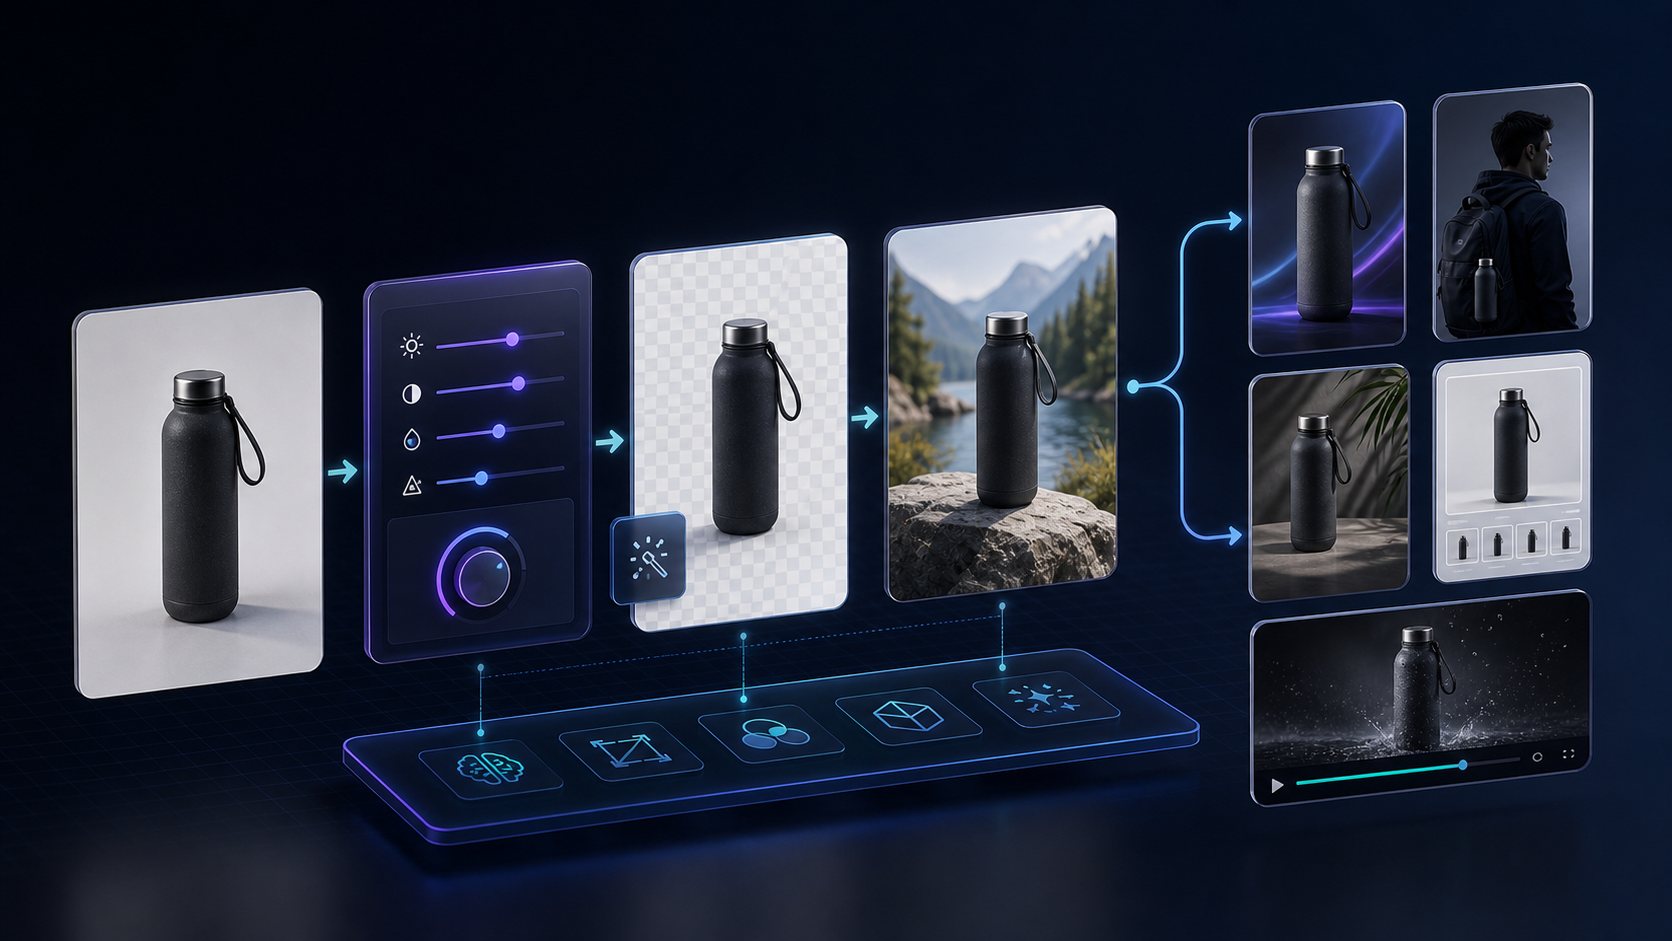
Before you make anything glamorous, create the version that should live on the product page. That usually means a clean background, more accurate lighting, and better sharpness. The point is not to make the photo look artificial. The point is to make the product easier to understand quickly.
Once that base image is stable, you can reuse it across the rest of the kit. It becomes the anchor for the lifestyle version, the model version, and the video version. If you skip this step, every later asset inherits the same flaws from the original image.
For merchants who already think in terms of content systems, this is the part that keeps the creative stack consistent. It is the same logic I used in How I Build a Shopify Product Photo Pipeline That Feeds Every Channel and How I Turn One Product Photo Into a Channel-Ready Shopify Asset Set.

3. Choose Between Try-On And Placement
This is where the app becomes useful for more than cleanup. If the product is wearable, try-on can show how it sits on a real-looking model. If the product is not wearable, object placement can put it into a kitchen, boutique, studio, or outdoor scene that matches how buyers will actually use it.
Use try-on when fit, drape, or human context is the selling point. Use placement when the product needs environment, scale, or mood. That distinction keeps the output from feeling random. It also saves time because you are not generating every possible version. You are generating the version that answers the buyer's question.
If you want a deeper decision framework for that choice, How I Decide Whether a Shopify Product Photo Needs Try-On, Placement, or Video covers the trade-offs well.
4. Turn The Same Asset Into Ad Material
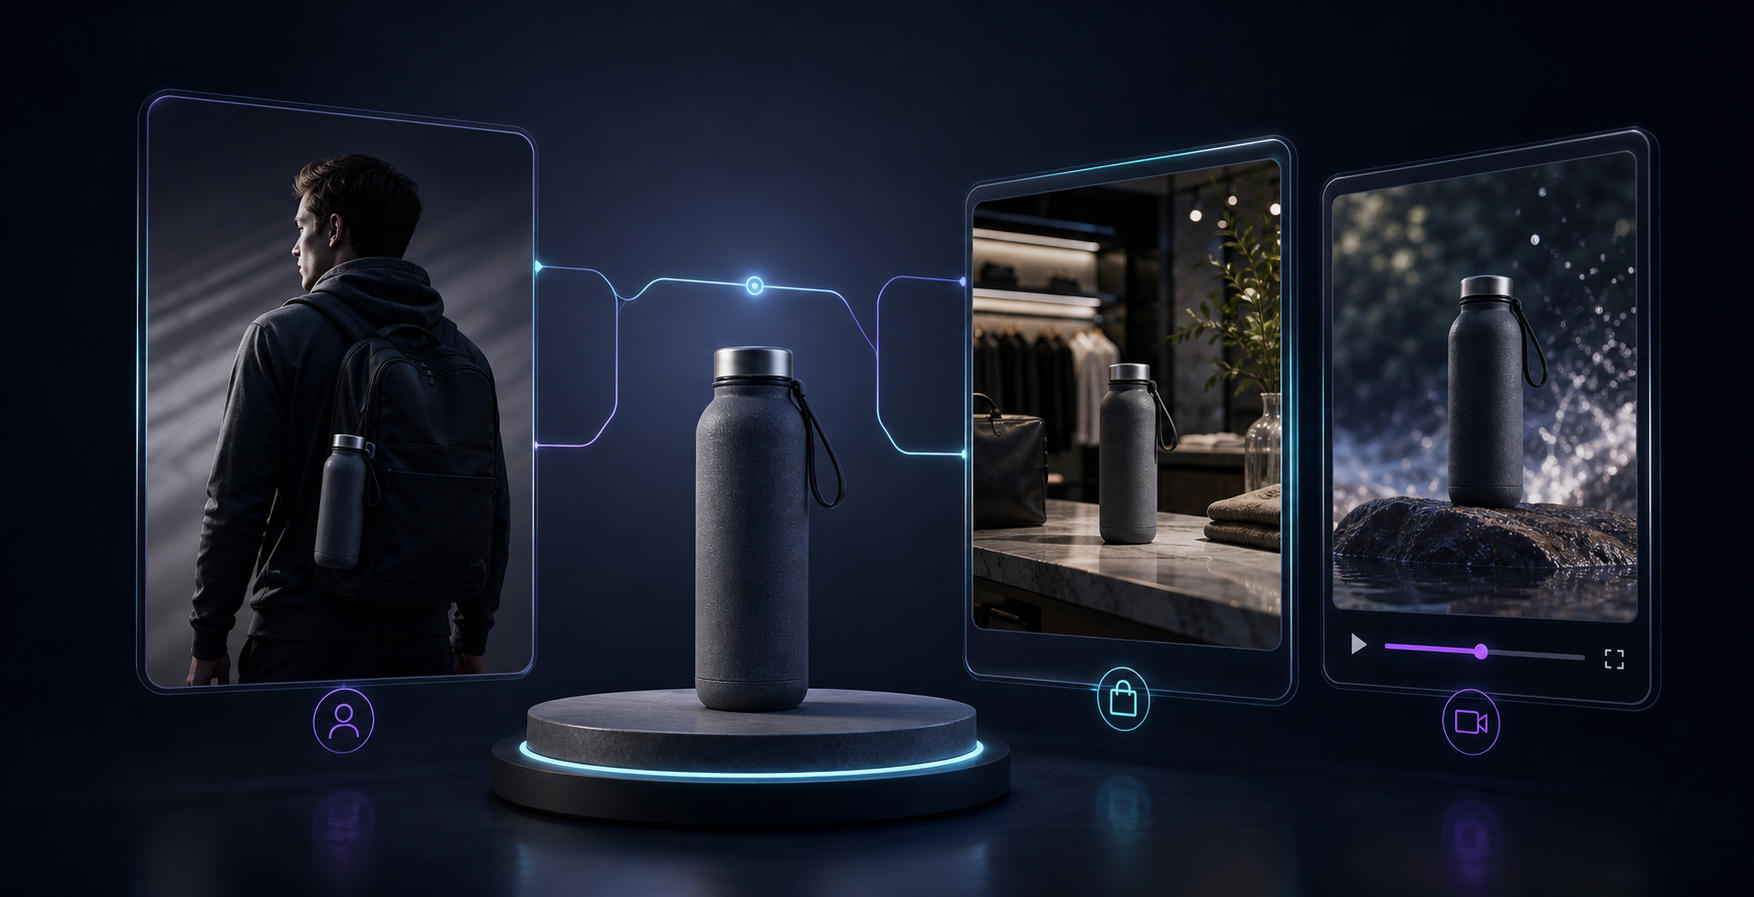
Once the static images are sorted, move the same product into motion. Supra AI Photo Studio includes UGC videos and b-roll videos, which makes it easier to create something that feels native to social and ad placements instead of recycling the same catalog image everywhere.
The useful test here is not whether the video looks cinematic. It is whether the video helps a shopper understand the product faster. A short motion asset can show texture, scale, shine, packaging, or use case in a way a static frame cannot.
That is the same pattern I leaned on in the channel-ready pipeline and in How I Turn Basic Shopify Product Photos Into Better Assets: keep the source consistent, then create just enough variation to fit each channel.
5. Decide What Makes The Kit Worth Keeping
Not every generated image deserves to ship. The strongest kits usually pass the same simple review:
- The product still looks like the product.
- The lighting feels believable for the scene.
- The background supports the item instead of competing with it.
- The image answers a specific channel need, like product page clarity, lifestyle context, or ad attention.
If an output fails one of those checks, discard it. A smaller set of consistent assets is more useful than a pile of clever variations that do not hold together.
For a more complete system view, the related post How I Build a Shopify Product Photo Pipeline That Feeds Every Channel is the closest match, and How I Turn One Product Photo Into a Channel-Ready Shopify Asset Set shows how to package the outputs once they are ready.
6. Keep The Workflow Repeatable
The real value of an app like Supra AI Photo Studio is not that it makes one good image. It is that it makes the next product easier. If you keep the same review pattern, the same output types, and the same decision rules, you can move through a catalog without reinventing the process for each SKU.
That is also why it helps to start from a single photo instead of a blank canvas. You have a concrete source, a clear product identity, and a repeatable checklist for deciding what to generate next.
For a broader content-system angle, you can also compare this post with How I Turn Basic Shopify Product Photos Into Better Assets and How I Decide Whether a Shopify Product Photo Needs Try-On, Placement, or Video.
Bottom Line
One product photo is enough to build a useful Shopify creative kit if you treat it like a workflow: clean the source, create the catalog version, branch into lifestyle or try-on output, and finish with a motion asset when the channel needs it.
If you want to test the workflow yourself, start with the Supra AI Photo Studio app listing or the landing page. The free plan is enough to see whether the process fits your store before you commit to more volume.

Comments
Post a Comment