How to Build a Shopify 3D Model Backlog That Actually Ships
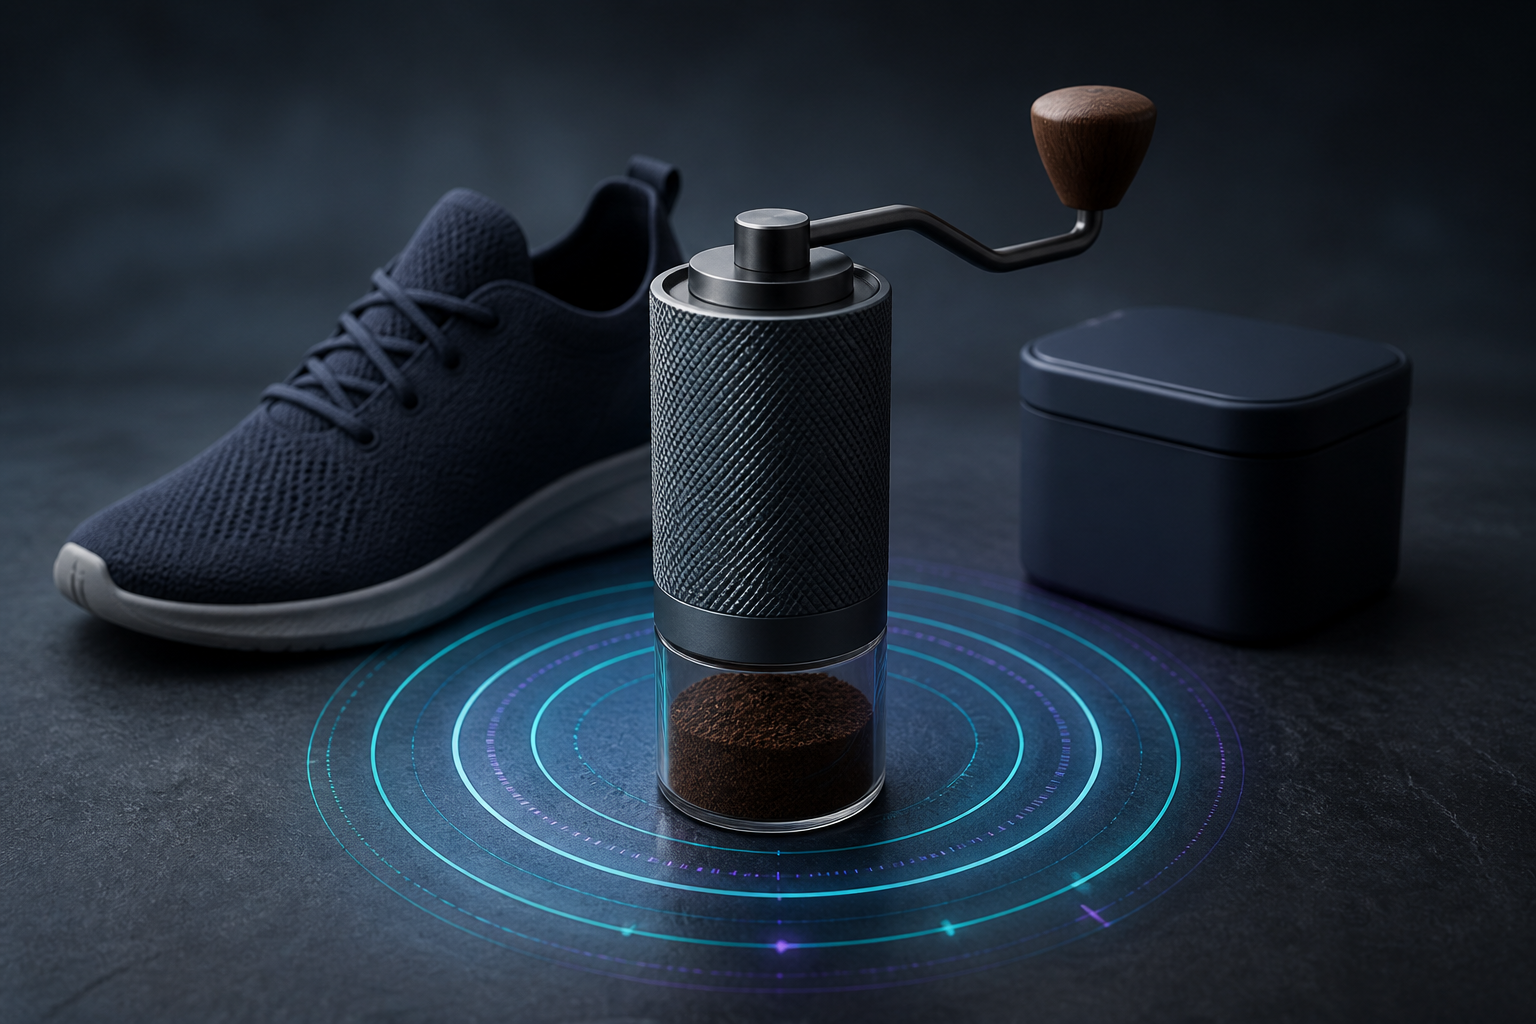
Shopify 3D media is easy to make sound like a giant catalog project: choose products, find a 3D artist, update a theme, and hope the models eventually arrive. That framing is why many merchants never get past a few interesting tests.
A better approach is to treat 3D product media as a small, repeatable production backlog. Pick products where a shopper has real questions about shape, scale, texture, or moving parts; capture them with a consistent process; then publish only after a basic quality check. Supra 3D Capture is built for this smaller operational loop: guided phone photos go through photogrammetry and return as a web-ready GLB that can be attached to Shopify product media or placed with an Online Store 2.0 app block.
Start With a Backlog, Not Your Whole Catalog
The first decision is not technical. It is deciding which SKU deserves an interactive model first. Prioritize products that create a gap between what shoppers see and what they need to understand.
- The product has a distinctive silhouette, surface, or construction detail.
- Buyers need to inspect dimensions, depth, handles, closures, or components.
- Static images leave angles hidden or make scale difficult to judge.
- The SKU already receives meaningful product-page traffic.
- The item is practical to photograph in even, diffuse light.
This follows the risk-reduction idea behind a phone-first Shopify 3D media pilot: start with one product that can teach you something, rather than betting on a large rollout. Score candidates from 1 to 3 for shopper questions, product-page traffic, visual depth, and capture readiness. The highest combined score goes to the top of the queue.
Create Four Simple Workflow Columns
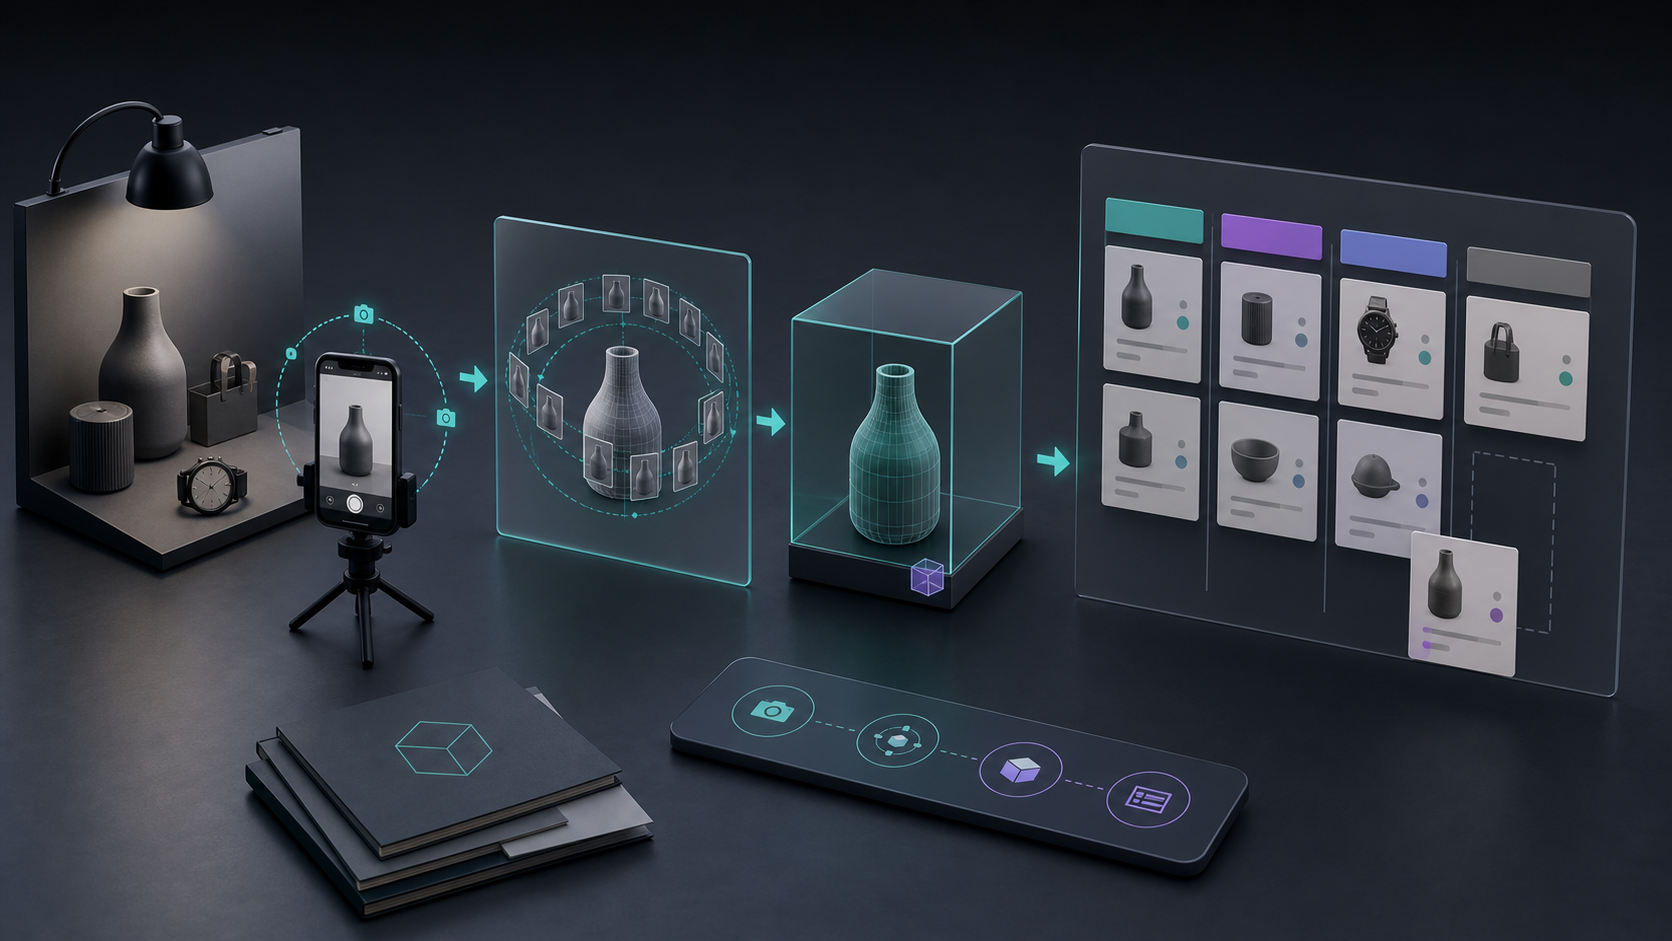
Use four columns: Candidate, Ready to Capture, Processing, and Ready to Publish. That is enough detail to show where work is stuck without turning a media experiment into a project-management system.
A product becomes Ready to Capture only when it is clean, available, and can be photographed against a stable background in good light. This avoids wasting a capture session on a sample that has changed colors, missing parts, or reflective packaging. Move especially shiny, transparent, or fuzzy items out of the first batch; those materials can be more demanding for photogrammetry.
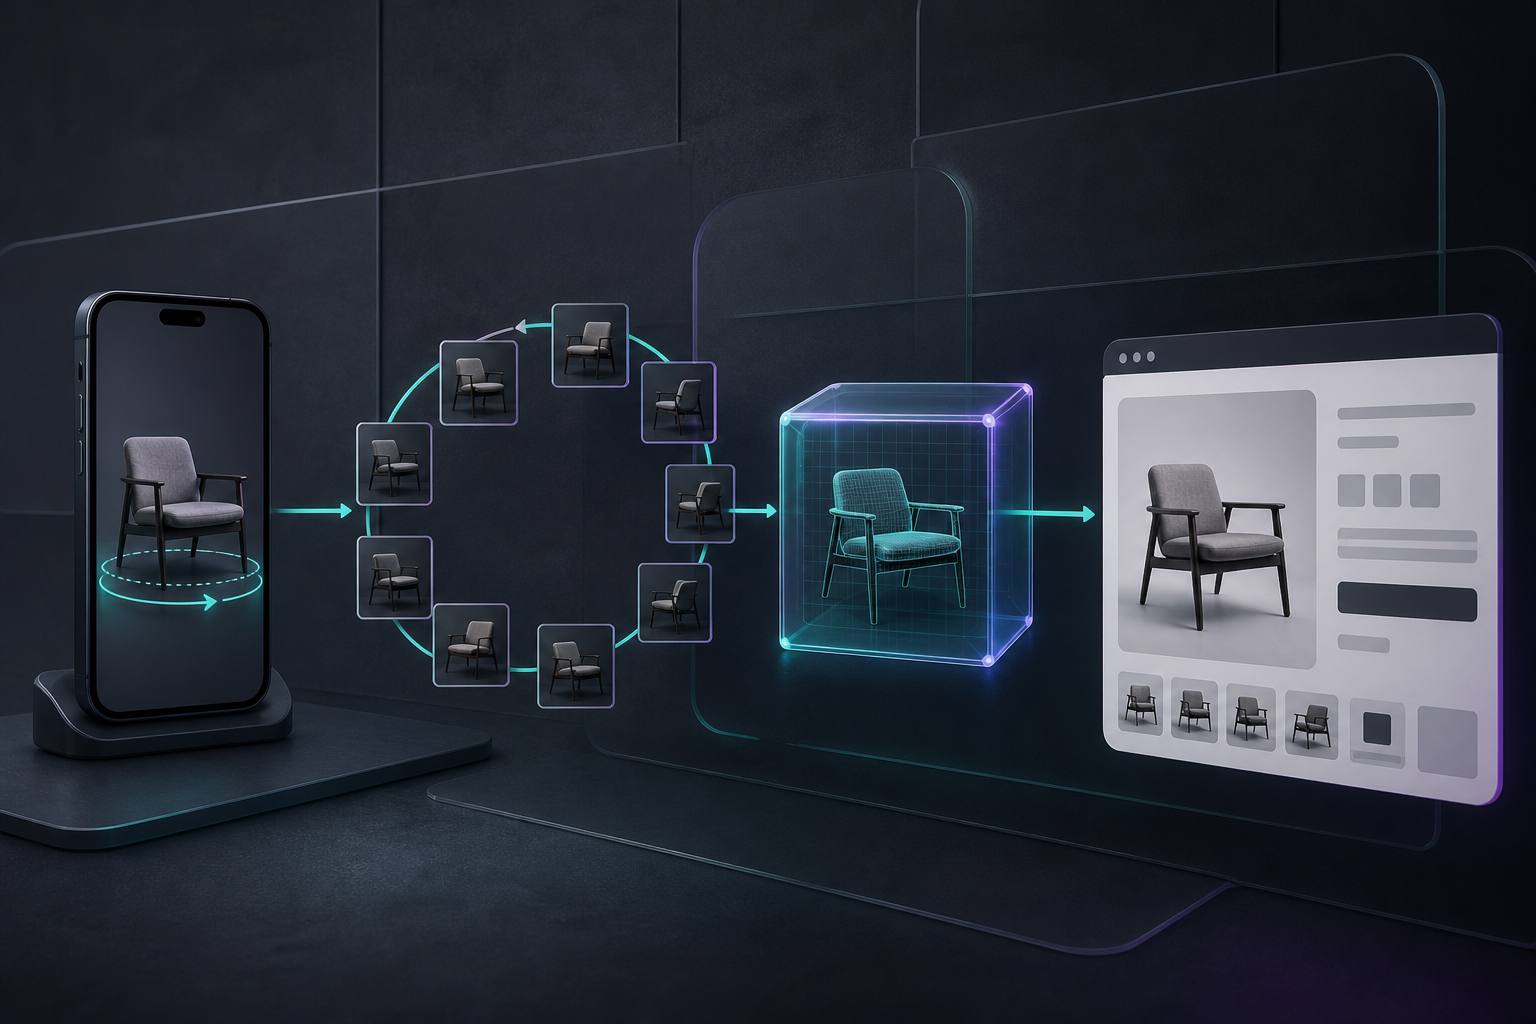
Use a consistent orbit around the product. Supra 3D Capture guides a phone-based session and asks for 10 or more photos while you move around the item. The goal is overlap between views, not an artistic photo shoot. See this guide on adding a Shopify 3D model shoppers can actually use for a closer walkthrough of the output.
Set a Definition of Done Before You Capture
Without a definition of done, every model invites a new round of subjective feedback. Define the publishing standard while the item is still in the backlog.
- The model clearly represents the current sellable product, including important shape and texture cues.
- It rotates cleanly and does not contain obvious holes, floating fragments, or confusing geometry.
- It is attached to the correct Shopify product, or intentionally placed with the theme app block.
- The product page still communicates price, variants, shipping, and the normal image gallery. The model adds inspection; it does not replace core merchandising.
Native 3D media is most useful alongside the photos and copy that already answer color, use case, and purchasing questions. The Shopify 3D capture checklist is a solid preflight reference.
Keep the Weekly Batch Deliberately Small
Start with one to three products per week, especially if one person is managing product prep, photo capture, and Shopify publishing. A short batch lets you compare the time required for different materials and product shapes before you commit to a monthly cadence.
Track SKU, owner, capture date, model status, publish date, and one note about what made the capture easy or difficult. Watch product-page engagement, customer questions, and return reasons alongside the model rollout; those signals help you decide whether to expand. A Shopify product photo QA pipeline pairs naturally with this workflow.

Publish, Review, Then Promote the Model
Once the GLB is ready, publish it to Shopify product media if your theme supports Shopify's native 3D viewer. If the model needs a dedicated location, use the app's Online Store 2.0 block. Check the live product page on desktop and phone: open the model, rotate it, confirm it loads in the intended position, and make sure the surrounding buy flow remains clear.
A small backlog lets you fix one placement or capture issue, update the definition of done, and use that improvement on the next SKU. The process becomes an operating habit rather than a one-off 3D project.
The Practical Next Step
Choose three candidates this week and score them for shopper questions, visual depth, traffic, and capture readiness. Prepare the top one, take a guided phone-photo orbit, and turn the result into a reviewable GLB with Supra 3D Capture. Once you have one live model, you will have a real baseline for planning the next batch.
A small, visible backlog is what makes Shopify 3D media repeatable: the right SKU, a consistent capture loop, a clear publish check, and one completed item at a time.

Comments
Post a Comment