How to Build a Scriptable Claude Code Workflow With dash-p
How to Build a Scriptable Claude Code Workflow With dash-p
If you already use Claude Code in the terminal, dash-p is the kind of tool that makes you stop asking for a second API and start asking a simpler question: can I script the interactive session I already trust?
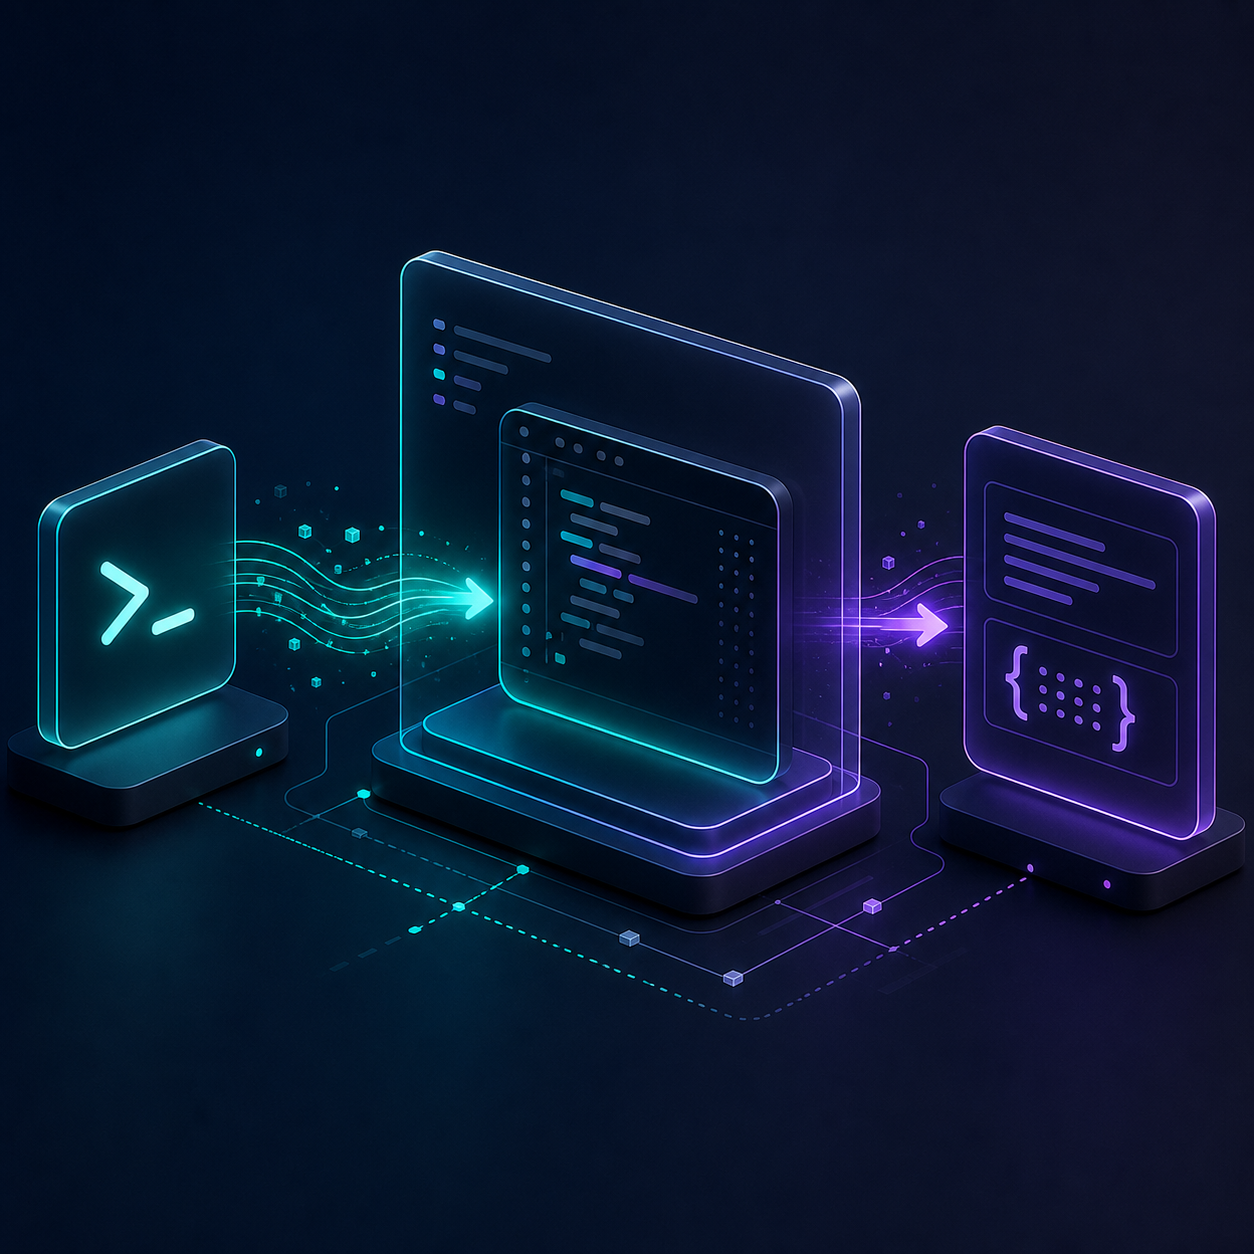
dash-p does exactly that. It launches the official claude command, feeds input into the real TUI, and turns the rendered terminal output into something your shell or TypeScript code can use. The result is a local automation layer that keeps the same account, auth flow, and permissions you already use in Claude Code.
That makes it a good fit for developers who want automation without leaving the workflow they already understand. If you want the shell-only version of the idea, see How to Automate Claude Code From a Shell Script. If you want the policy-level view of the split itself, How I Keep Claude Code Scriptable After the Agent SDK Split goes deeper on the trade-offs.
What dash-p Is Good At
dash-p is not an official Claude product, and it is not a headless shortcut around authentication or permissions. It is a bridge: powerful because it uses the real interface, and fragile for the same reason.
That makes it useful for:
- repo summaries before a review
- one-off local scripts that need an LLM step
- TypeScript utilities that want
query()ergonomics - small automation tasks where the terminal session is the product
Because dash-p reads the real TUI, the sweet spot is local developer work. If you are building production infrastructure or a server-side API contract, the UI-driven approach is the wrong tool. If you are thinking in terms of pipelines, How to Turn Claude Code Into a Local Shell Pipeline is a useful related read.
Install It In Two Shapes
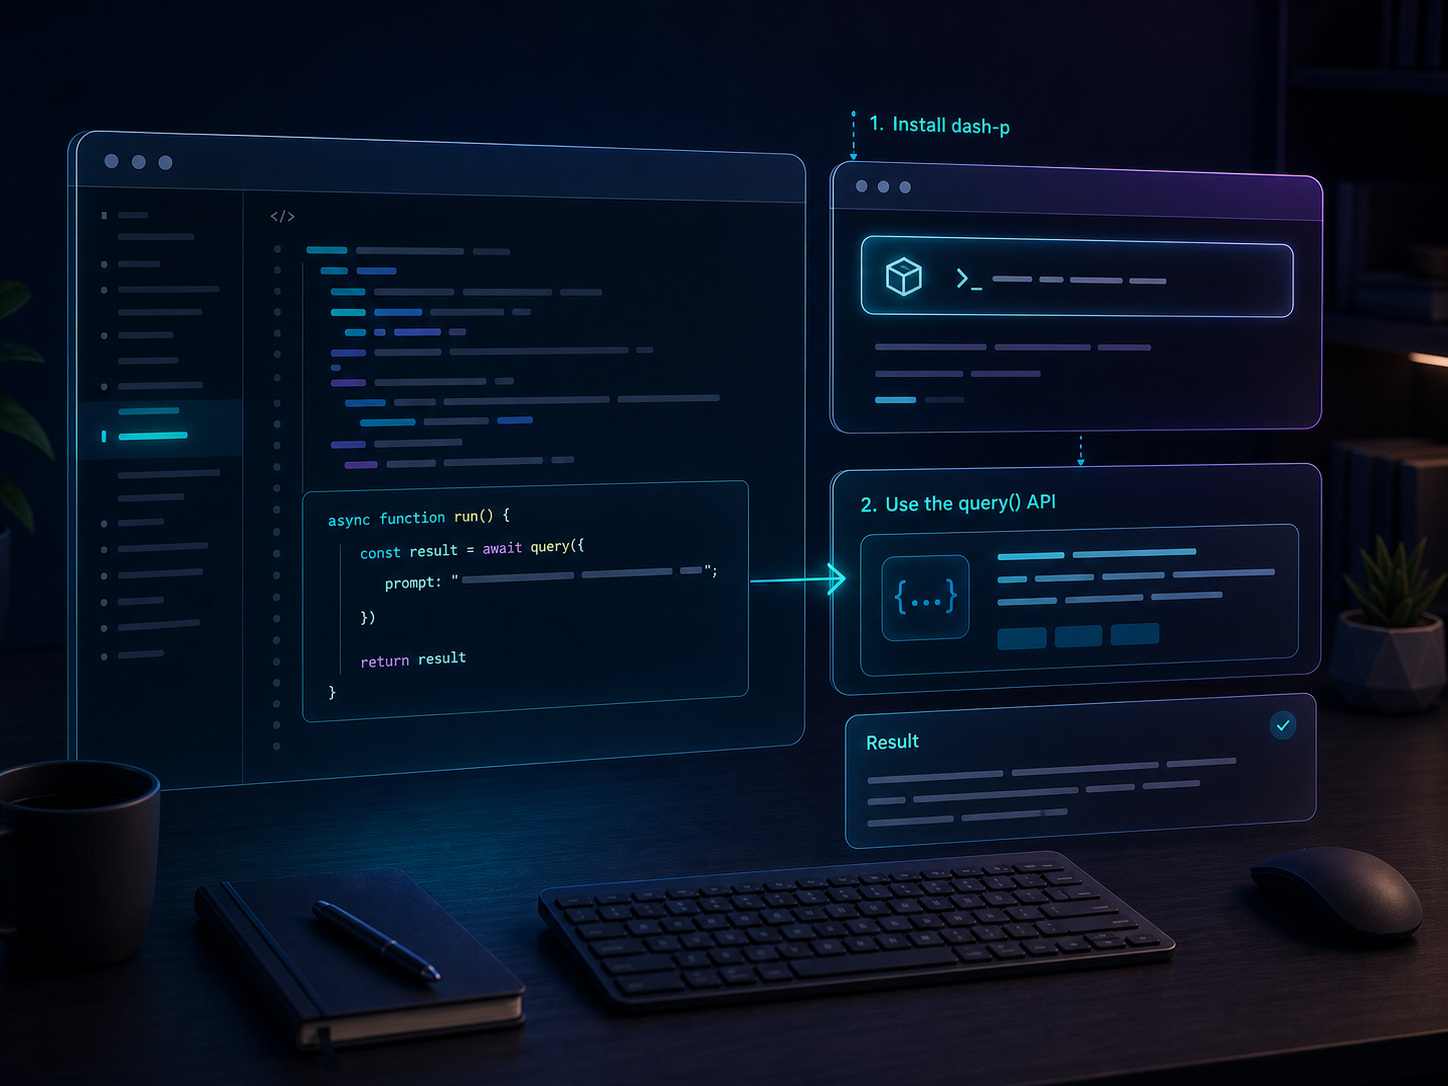
The package is available as both a global CLI and an npm library:
npm install -g @ybouane/dash-p
dash-p "summarize this repo"
If you prefer to call it from a project or a build script:
npm install @ybouane/dash-pThe project page lives at github.com/ybouane/dash-p, and the install command above is the shortest path.
The practical difference is simple. A shell command is good when you want a quick local answer. A library call is better when you want that answer to flow into a script, a prototype, or an internal tool. For a narrative take on that pattern, How I Script Claude Code Locally With dash-p is the cleanest follow-up.
Use query() When You Want Structure
The strongest part of dash-p is not just that it runs Claude Code. It is that it gives you a structured loop you can program against.
import { query } from "@ybouane/dash-p";

for await (const msg of query({
  prompt: "In one sentence, what is a pseudo-terminal?",
  options: { model: "sonnet", includePartialMessages: true },
})) {
  if (msg.type === "result") console.log(msg.result);
}
That shape is useful when you want to:
- collect the final answer and attach it to another step
- show streaming progress in a local tool
- standardize outputs from repeated prompts
- keep the workflow close to the same Claude Code account and session you already use
That is also why dash-p feels like a workflow tool rather than a prompt toy. You can keep your local scripts small and still get a repeatable interface. If you want the shell-pipeline angle, How to Automate the Claude Code TUI With dash-p and How to Turn Claude Code Into a Local Shell Pipeline frame it from different directions.
Where It Fits, And Where It Does Not
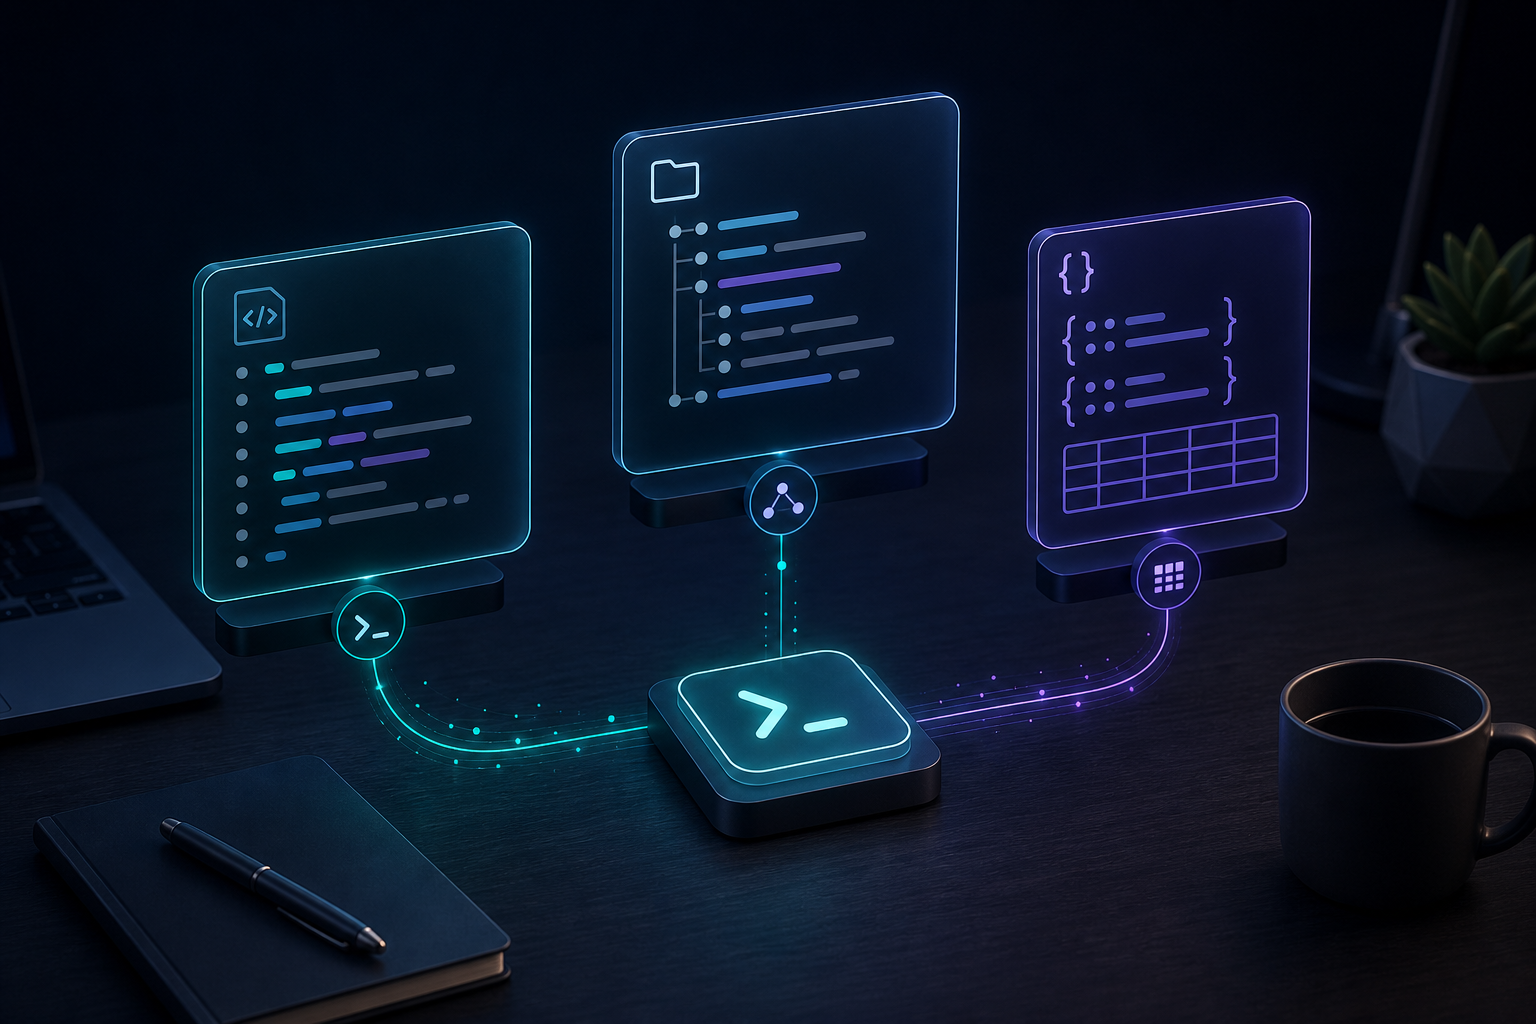
dash-p is a good fit when you care about the interactive Claude Code experience and want to wrap it with scripts.
Use it for:
- repo summaries
- codebase triage
- local helper commands
- lightweight developer utilities
- experiments where the TUI itself is part of the workflow
Do not use it when you need a stable server-side API contract, unattended production automation, or anything that should survive UI changes without maintenance. Because dash-p drives the real terminal interface, it inherits the strengths and weaknesses of that interface.
That is the trade-off worth understanding. You get the same local session, auth flow, and tooling permissions that Claude Code already uses, but you also accept that the terminal UI is a moving target. In practice, that is usually fine for personal scripts and internal tooling.
If you care about the billing side of Claude's ecosystem, keep Anthropic's usage credit help article handy and treat billing details as something to check before you design a workflow around them. The more stable takeaway is simpler: dash-p keeps your automation close to the interactive Claude Code session instead of forcing you into a different mental model.
A Practical Starting Point
A sensible first use is boring on purpose: point dash-p at a repo and ask for a concise summary, then use that output to write a note, open a ticket, or decide whether the repo needs a deeper pass.
That keeps the automation small and testable. You are not building a replacement for Claude Code. You are making Claude Code scriptable enough to fit into the work you already do.
Start with the GitHub repo at github.com/ybouane/dash-p, then try one local script that saves you a repetitive terminal task. If you already live in Claude Code, that is usually the first payoff.
The fastest next step is to replace one repeated Claude Code prompt with a local dash-p script and see whether the workflow feels natural enough to keep.

Comments
Post a Comment