How to Add Interactive 3D to Shopify Products Without a 3D Team
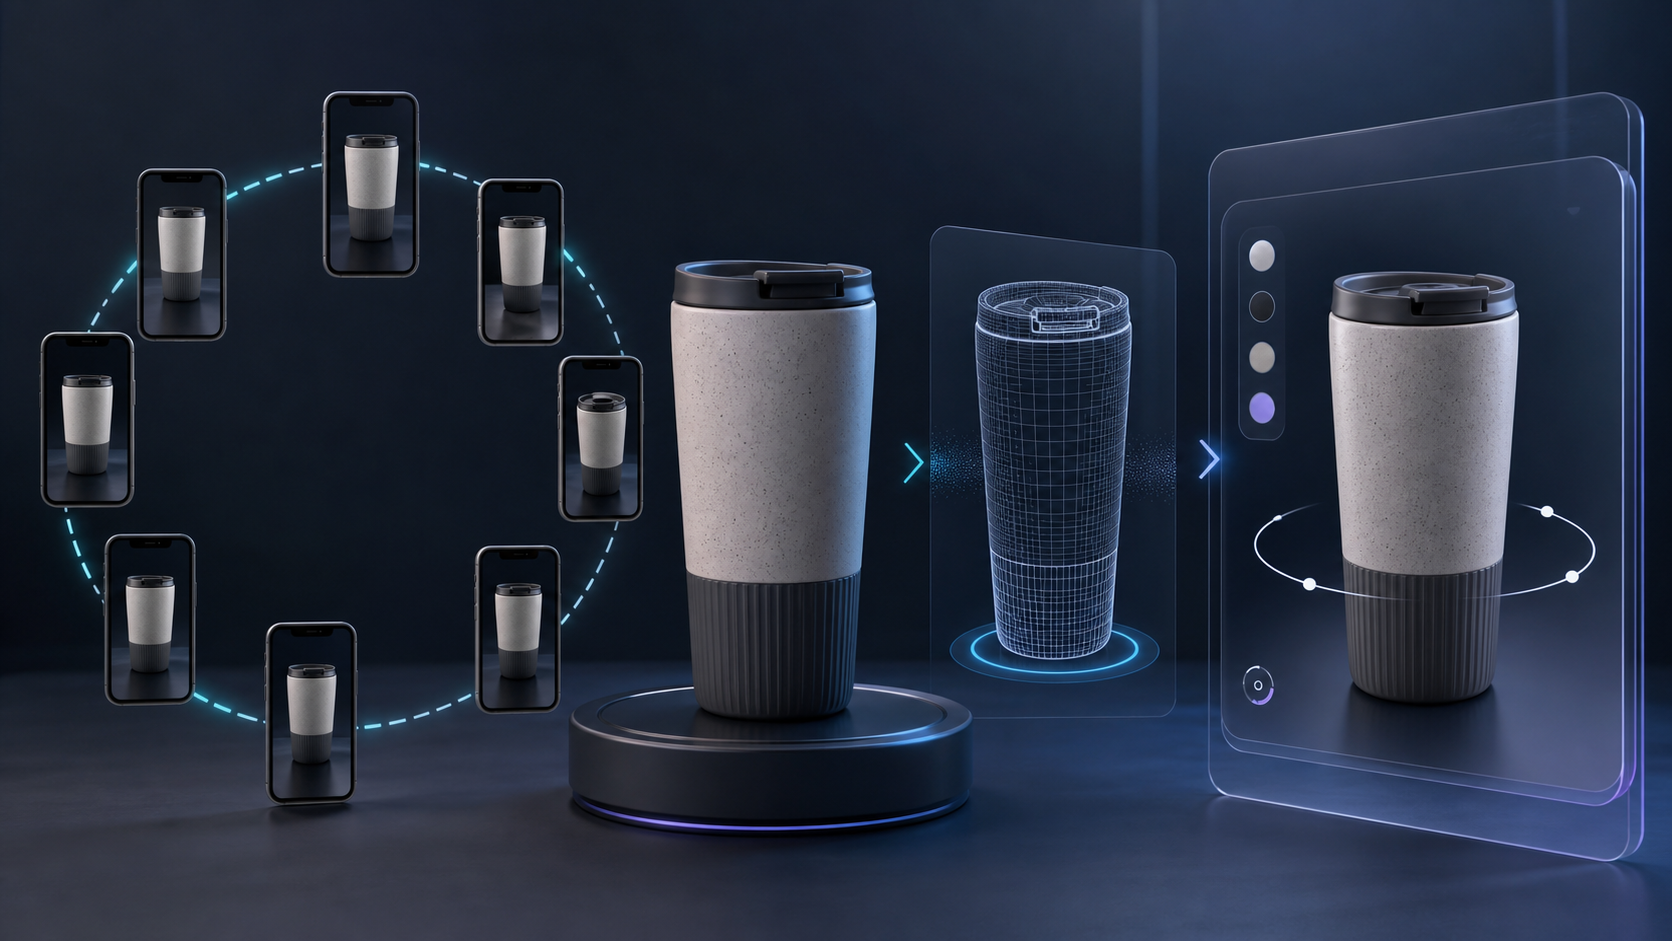
Flat product photos are quick to publish, but they leave shoppers to guess at depth, scale, texture, and the details on the far side of an item. The practical answer is not to build a giant 3D program. It is to choose a small group of products where inspection changes buying confidence, then use a repeatable capture-and-publish workflow.
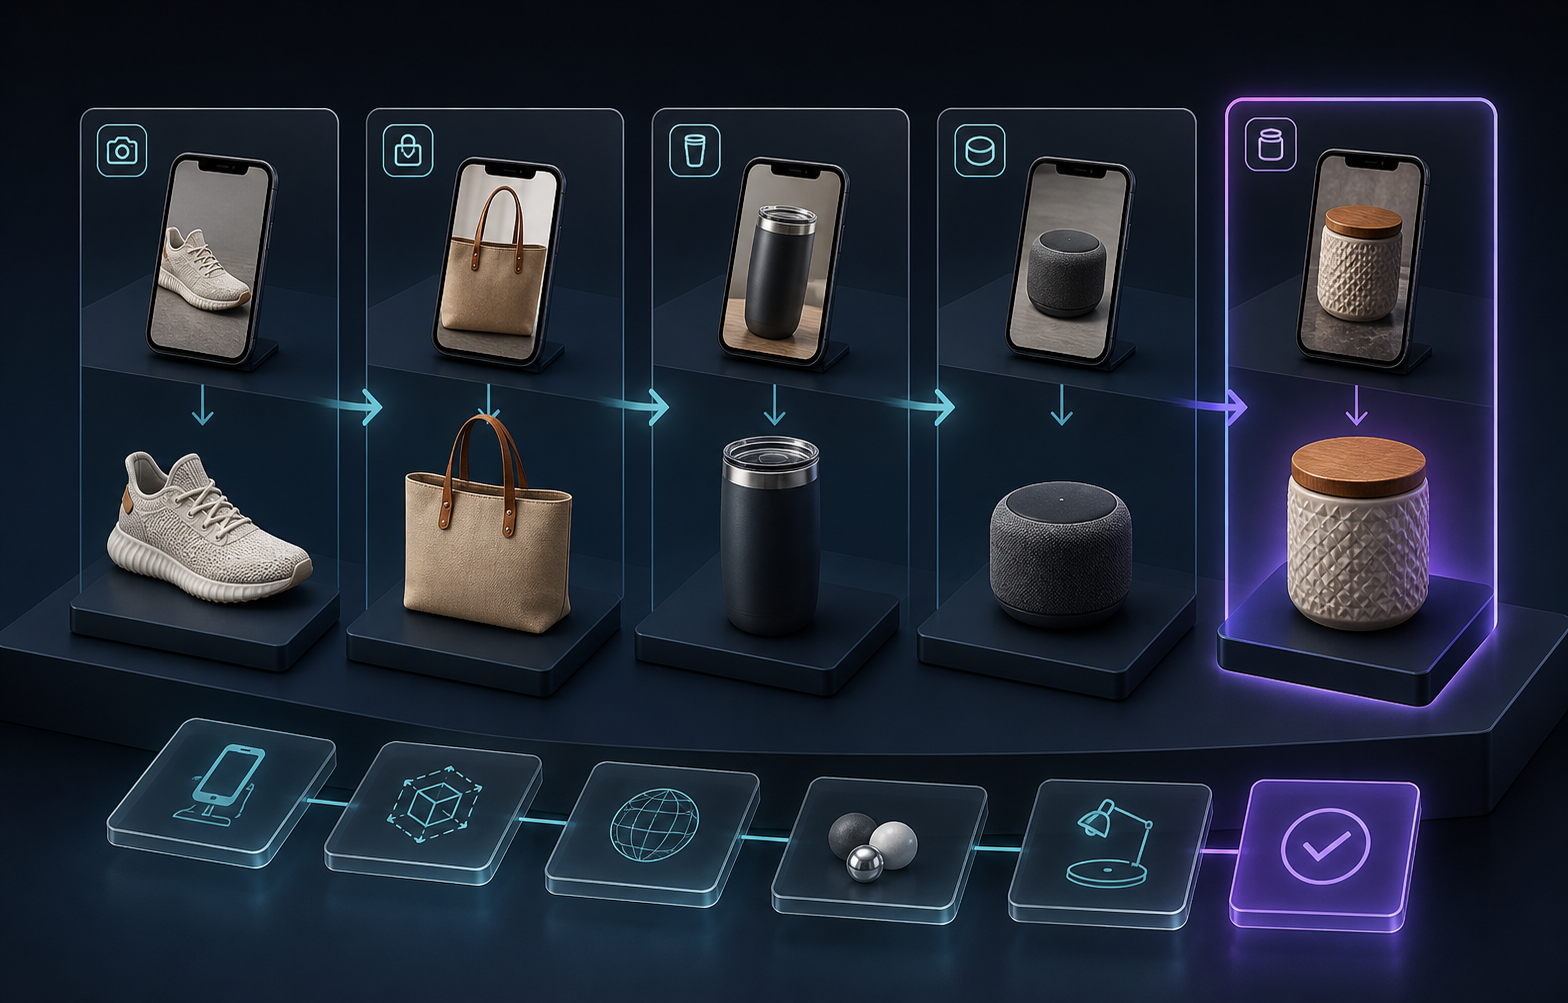
Supra 3D Capture is built for exactly that starting point: guided phone photos are processed into a web-ready GLB model, which can be attached to Shopify product media or placed through an Online Store 2.0 app block. You do not need LiDAR, specialist gear, or a 3D artist to test the workflow.
Start With Products That Need More Than a Photo
Do not begin by scanning every SKU. Start with five products that have a clear shopper question a static gallery does not answer well. Good candidates are items with visible shape, multiple sides, texture, construction details, or a meaningful sense of scale: bags, footwear, homeware, small equipment, and products with pockets, handles, closures, or layered materials.
A flat notebook may be perfectly clear in photos; a structured bag is usually not. Put the latter at the front of the queue. That prioritization prevents a 3D experiment from becoming another open-ended catalog project. It is a useful extension of a Shopify 3D model backlog that actually ships: rank candidate SKUs by how much customer uncertainty the model can remove, not by how photogenic they are.
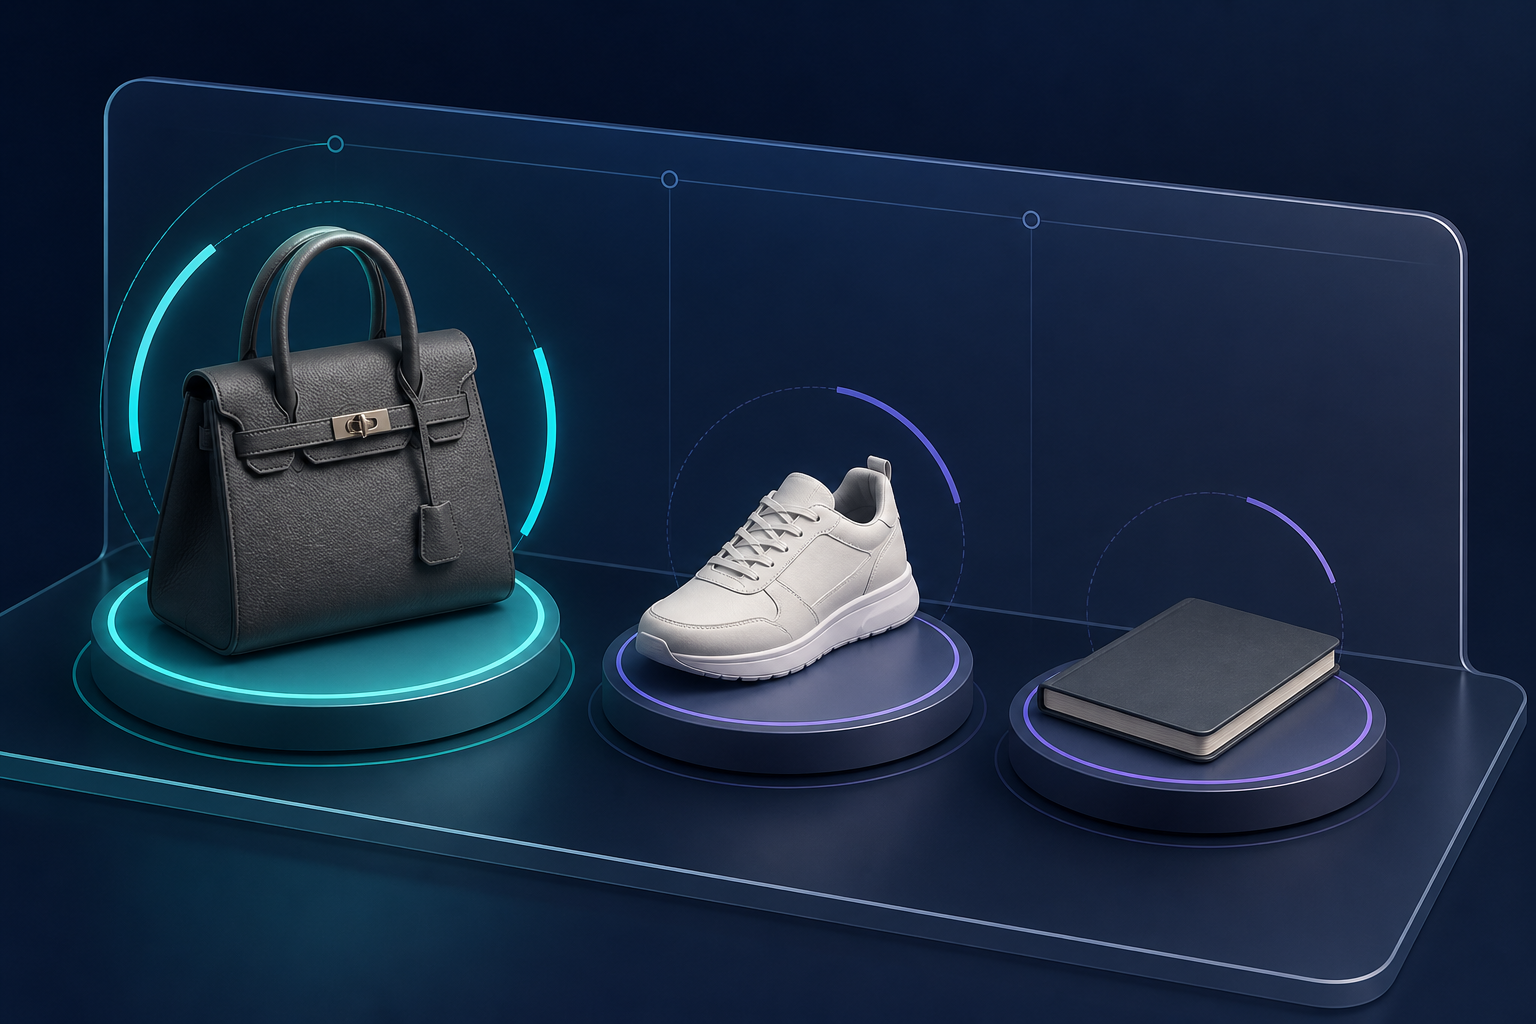
Use three quick questions for each candidate:
- Does the product’s shape or scale affect the purchase decision?
- Are shoppers likely to want to inspect another angle before buying?
- Can you photograph it in even light without glare, transparency, or loose fuzzy detail getting in the way?
If the answer is yes to the first two and the third is manageable, add it to the pilot.
Capture a Consistent Phone-Photo Orbit
The important operational habit is consistency. Place the product in steady, even light, keep the background simple, and move around the item rather than changing the product’s position. Supra 3D Capture guides a capture session so you can collect 10 or more phone photos around the object, upload them, and let the photogrammetry pipeline reconstruct the model.
That is a much more approachable entry point than commissioning a manual model for a first test. It also makes the work easy to delegate to the person who already owns product photography. For capture setup, use the same practical discipline as a Shopify product photo QA pipeline: clean the product, check the lighting, and review the files before they become public media.
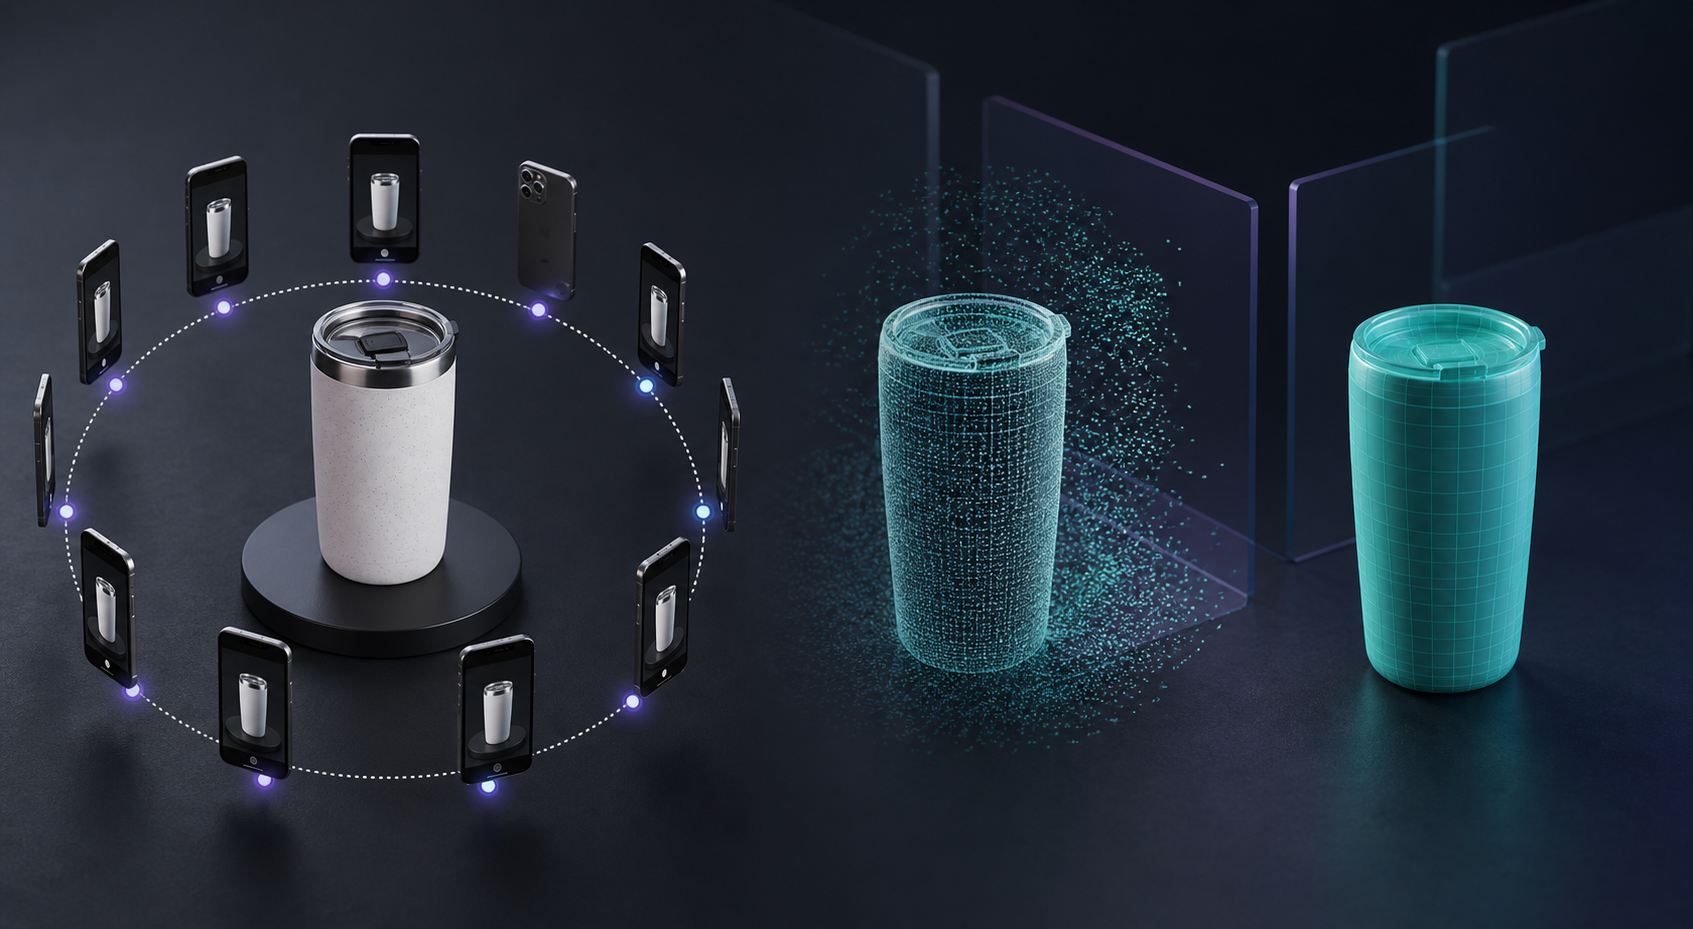
A simple pre-scan checklist keeps the pilot reliable:
- Remove packaging, dust, and temporary labels.
- Avoid harsh shadows and changing light during the orbit.
- Keep the product still while you move around it.
- Use enough overlapping angles to show the front, sides, back, top, and base.
- Flag reflective, clear, or fuzzy products for a separate test rather than forcing them into the first batch.
Publish Native Shopify 3D Media, Then Check the Shopper Experience
After processing, the result is a GLB model designed for the web. Attach it to the Shopify product so shoppers can use the native 3D viewer when the theme supports it, or surface it with the dedicated app block. The technology matters less than the customer-facing outcome: a shopper should be able to drag, rotate, and understand the item without leaving the product page.
Before calling the job complete, inspect the live page on both desktop and phone. Rotate the model yourself. Check the product’s profile, seams, handles, bases, and other decision-making details against the physical item. Make sure the model complements the photo gallery rather than replacing the photos that explain color, lifestyle context, or fine material detail.
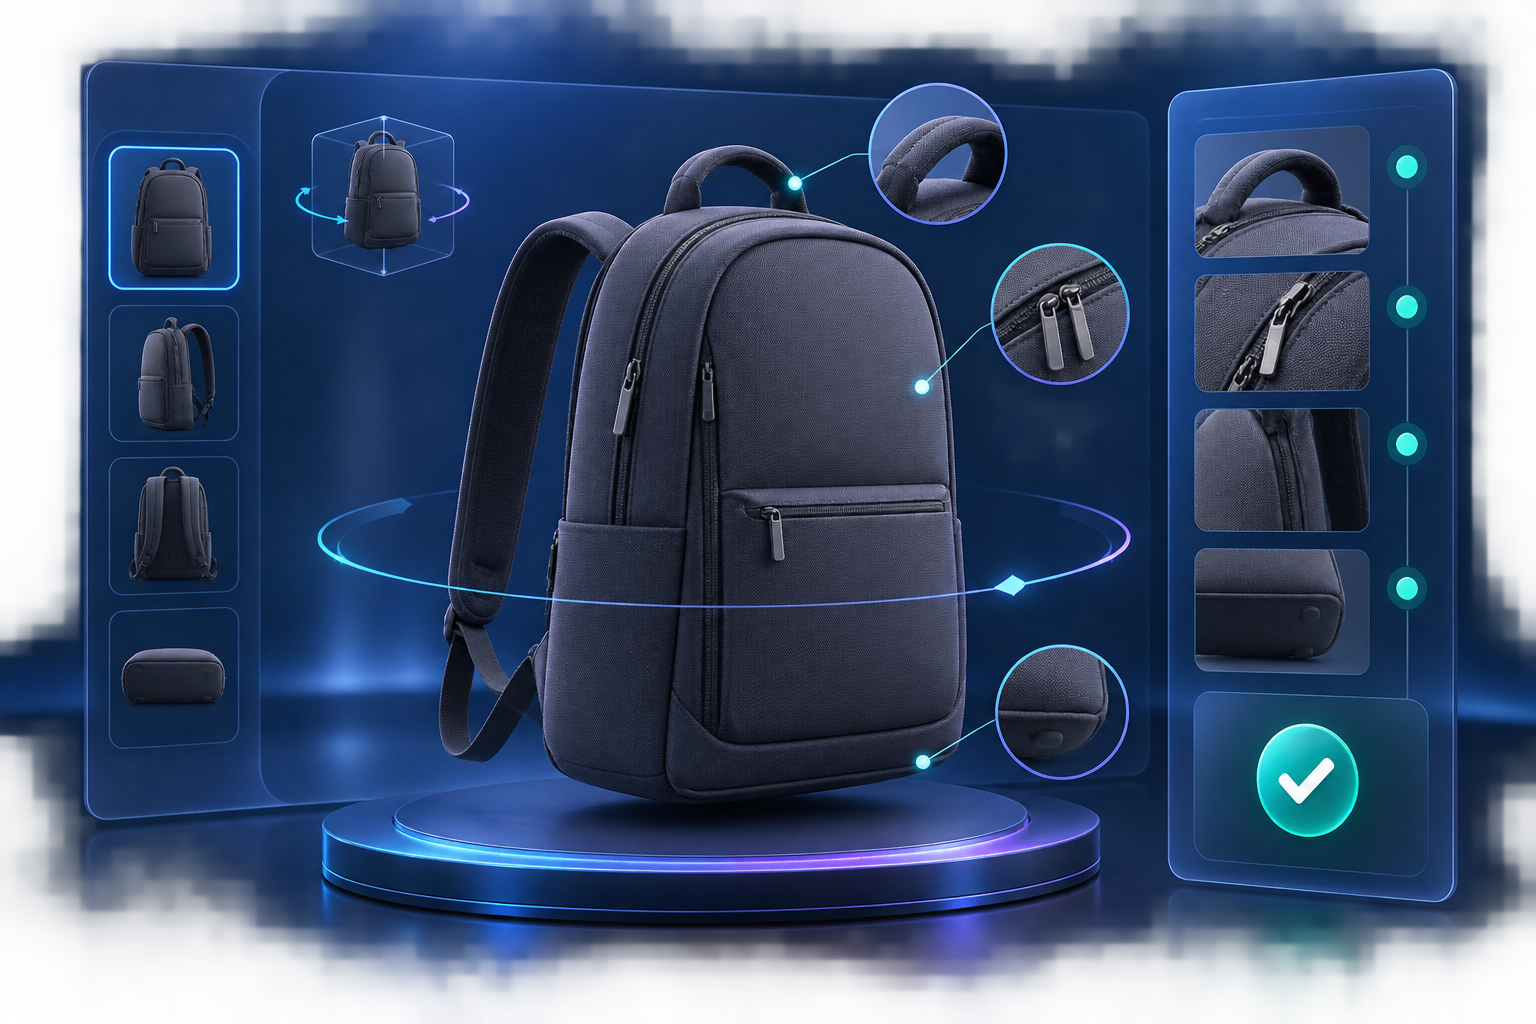
This review step is why a small pilot beats a big migration. It gives the team a visible standard for what good 3D product media looks like before the workflow reaches more products. If you are planning the theme work, this guide on adding a Shopify 3D model shoppers can actually use is a helpful companion.
Measure Confidence Signals, Not a Guaranteed Conversion Lift
Interactive media can make a product page more engaging and help reduce expectation gaps, but it is not a responsible promise of an automatic conversion lift. For a first five-SKU rollout, watch practical signals instead: product-page engagement, questions that mention dimensions or angles, feedback from support, and return reasons related to fit, scale, or appearance.
Compare those signals with similar products that still use a photo-only gallery. Pair the model with clear copy, a size chart where appropriate, and enough standard images to make color and finish easy to judge. For apparel-adjacent items, a size-chart release gate can keep the rest of the product information just as trustworthy.
Turn the Pilot Into a Repeatable Production Queue
Once the first five models pass QA, document the setup that worked: lighting location, capture owner, product-prep checklist, model-review checklist, and Shopify publishing step. Then schedule the next five based on the same priority rules. This turns 3D from a one-off design experiment into a predictable product-media workflow.
The best next action is modest: choose one product that is hard to understand from a photo, run a guided phone capture, and review the finished model on its live Shopify page. You can explore Supra 3D Capture and its Shopify App Store listing to see whether that phone-to-GLB workflow fits your catalog.

Comments
Post a Comment