How to Plan a Consistent Shopify Photo Batch for Product Launches
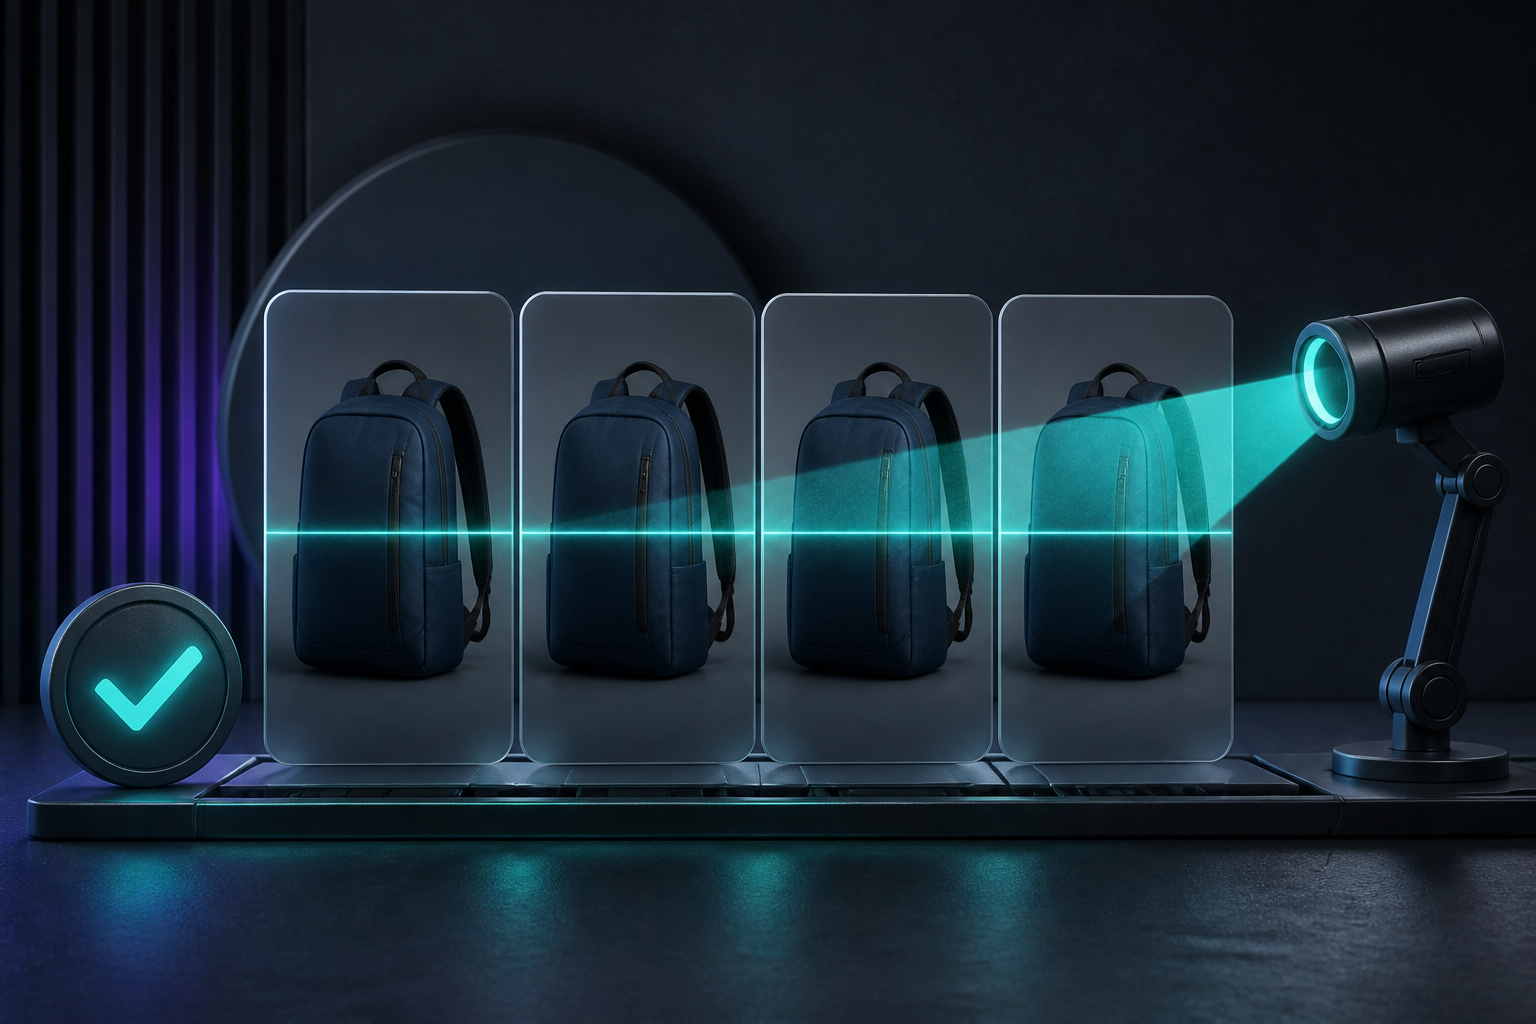
When a product launch needs a clean hero image, a few lifestyle scenes, and social crops, the slow part is rarely creating the first image. The real bottleneck is keeping every variation recognizably the same product. A mismatched color, altered detail, or random lighting style can make a new collection look improvised before a shopper has even read the product description.
The practical answer is to treat image generation as a small production workflow, not an endless prompt experiment. Start from one approved source image, decide exactly which outputs the launch needs, and check each variation against that source. Supra AI Photo Studio keeps that work close to the Shopify catalog: merchants can choose a product or upload an image, then use background removal, enhancement, object placement, or try-on tools from one editor.
Start With One Approved Source Image
Do not feed every old product photo into a generation tool and hope the strongest result emerges. Choose one source that already earns your confidence: the product is sharp, its main color is reliable, important details are visible, and the angle makes sense for the category. For apparel, that may be a clean front view. For a candle or bottle, it may be a straight-on pack shot with the label area unobstructed.
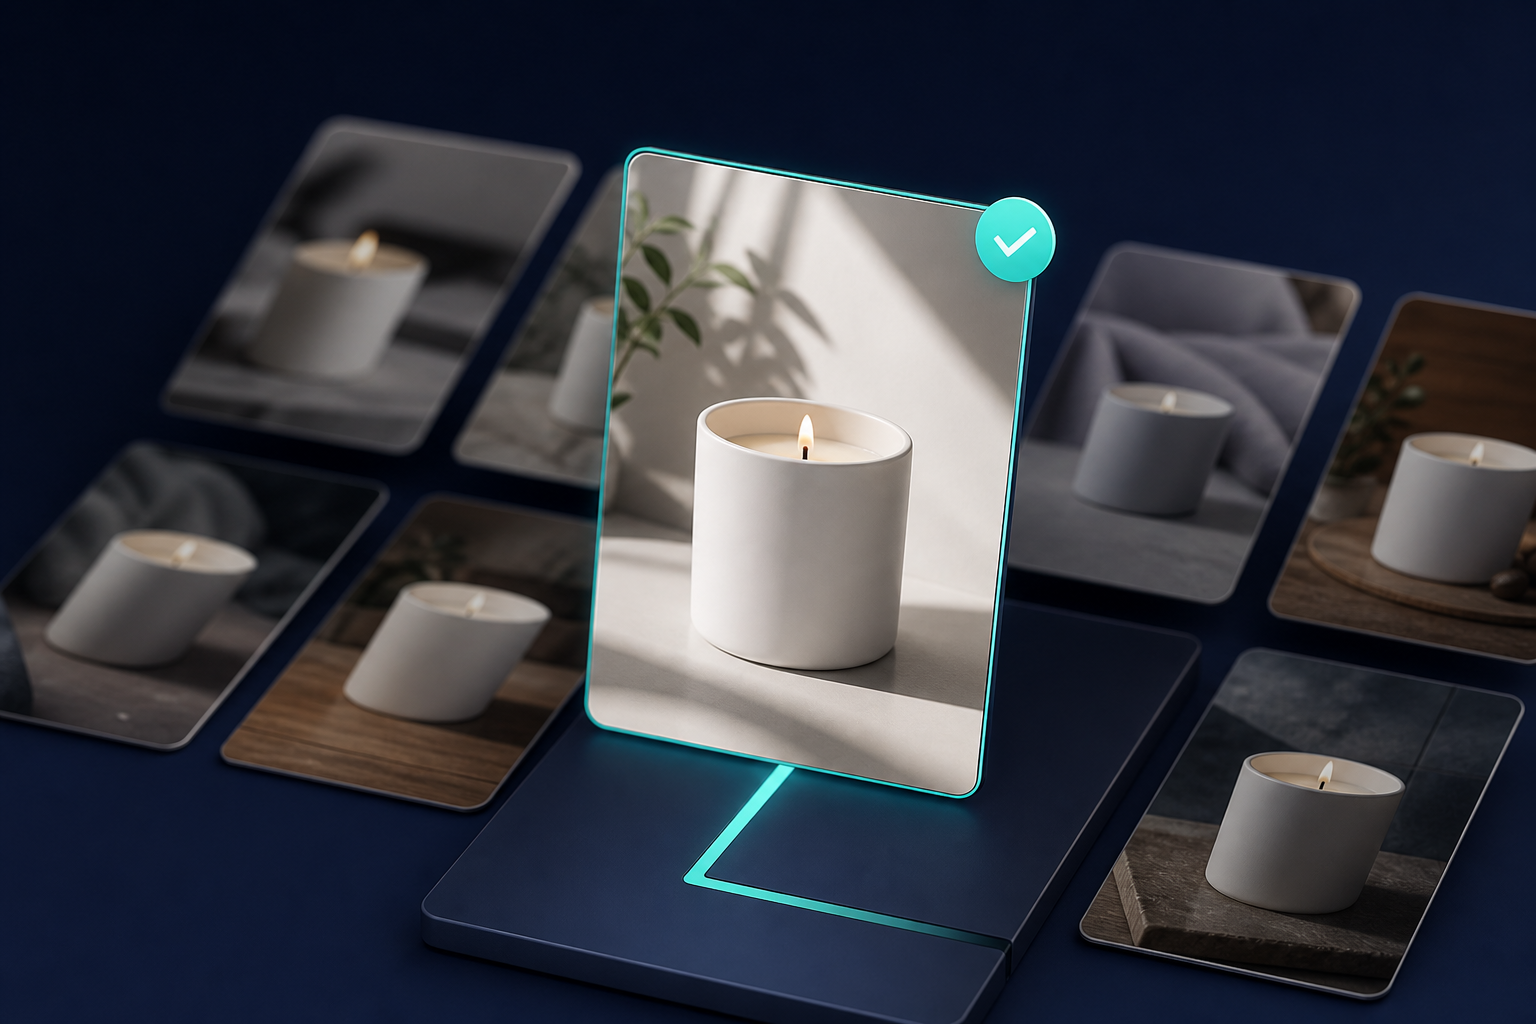
This decision gives the batch a single point of truth. It also makes review faster: instead of debating whether four generated images feel right, the team can compare each one with the approved source. If your source needs work first, use a light cleanup pass—remove a distracting background, correct lighting, or improve sharpness—then approve that cleaned version before asking for lifestyle variations.
That order matters. In a previous workflow, I covered replacing a Shopify product background without changing the product; the same principle applies here. Change the context deliberately, but protect product truth.
Write a Four-Part Photo Brief Before Generating
A good brief is short enough to reuse and specific enough to prevent drift. For every image group, decide four things before opening the editor:
- Output job: product-page hero, collection tile, lifestyle detail, ad crop, or email header.
- Environment: clean studio, kitchen counter, bedside table, boutique shelf, or another scene that supports the product.
- Camera and light: top-down, eye-level, close crop, soft daylight, or high-contrast editorial light.
- Non-negotiables: product color, shape, logo placement, material texture, and any packaging detail that must remain accurate.
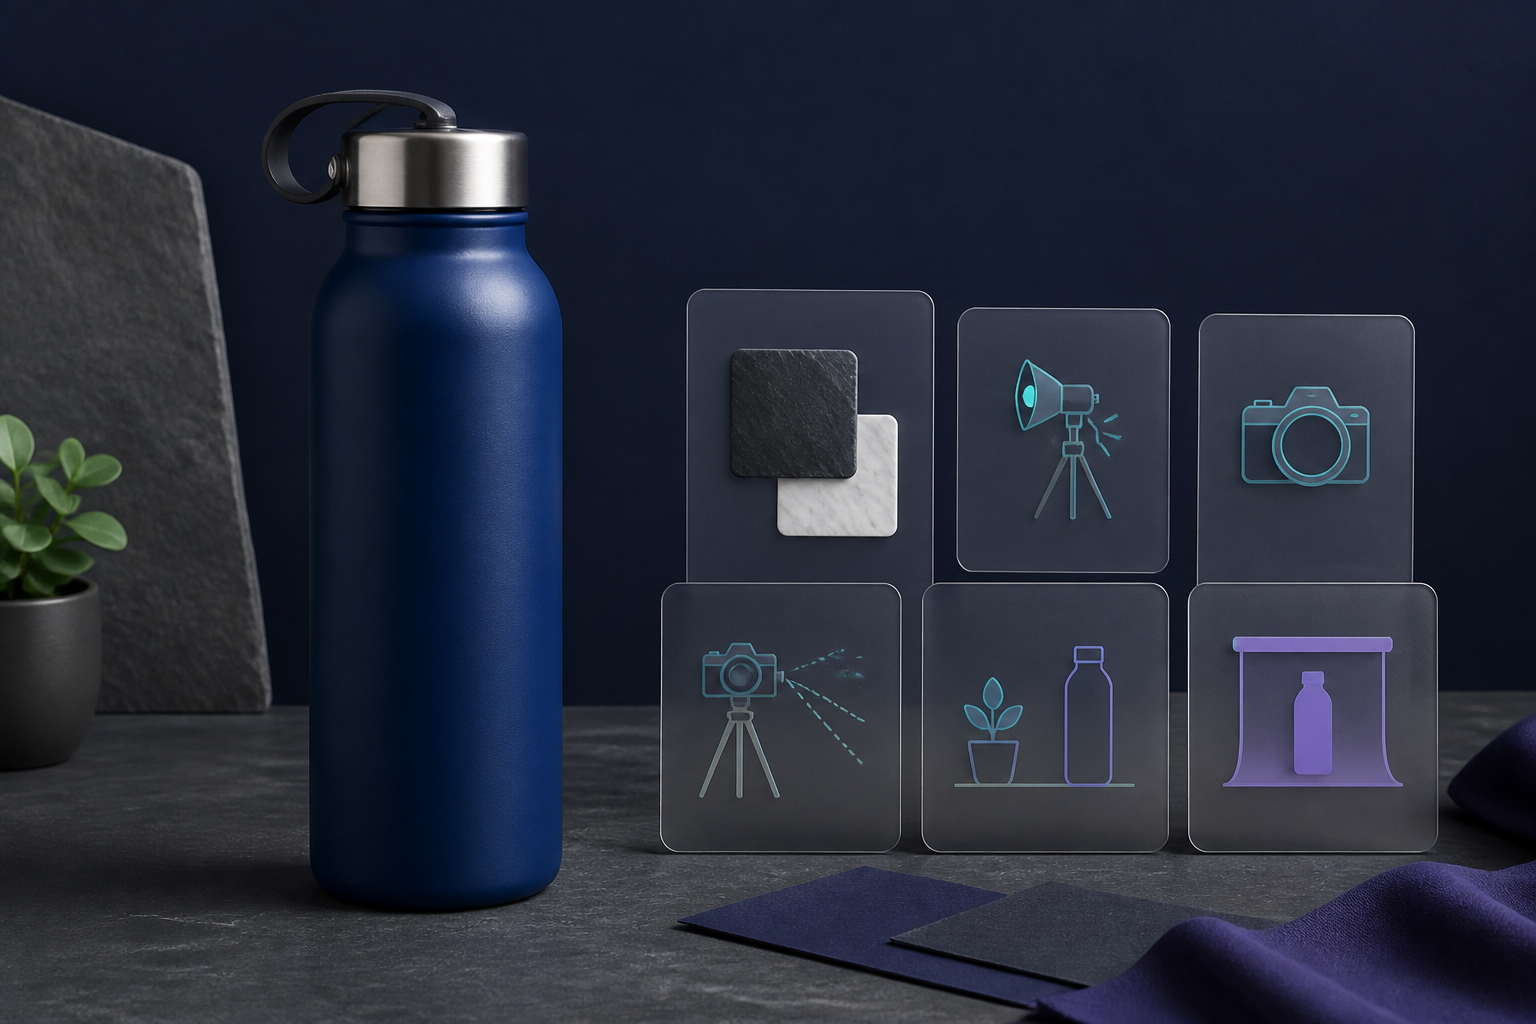
For example, a reusable bottle launch might need: “eye-level bottle on a light stone surface; soft window light; deep blue matte finish and steel cap must remain unchanged.” That is more useful than “make it look premium.” It tells you what to judge and makes another batch possible next month without rebuilding the direction from scratch.
If you are still deciding which scenes to request, begin with a reusable set: one clean catalog image, one contextual lifestyle image, one detail crop, and one social-friendly crop. This is a leaner version of the reusable product-photo shot-list approach: each output has a job, so you do not generate twenty images only to use two.
Generate by Output Job, Not by Vague Style
Now create one variation at a time. In Supra AI Photo Studio, object placement can put a product into a chosen environment, while enhancement tools can address sharpness, lighting, and background cleanup. Fashion teams can use virtual try-on when the output needs a model rather than a product-only scene. The app’s product page also shows these workflows alongside AI video and mockup options, which is useful when the launch needs coordinated assets beyond still photos.
Keep the first pass narrow. Generate a single candidate for the catalog hero, inspect it, then move to the lifestyle scene. When you change several dimensions at once—background, crop, pose, angle, and mood—it becomes much harder to identify what caused a bad result. Small, purposeful variations save review time and conserve generation credits.
Run a Product-Truth QA Pass Before Publishing
Before images reach Shopify, inspect the entire set side by side. A simple four-question check catches most launch-day issues:
- Is the product’s color consistent with the approved source?
- Are the silhouette, hardware, seams, label, and proportions intact?
- Does each background support the product without competing with it?
- Do the crop and resolution fit the destination where the image will appear?
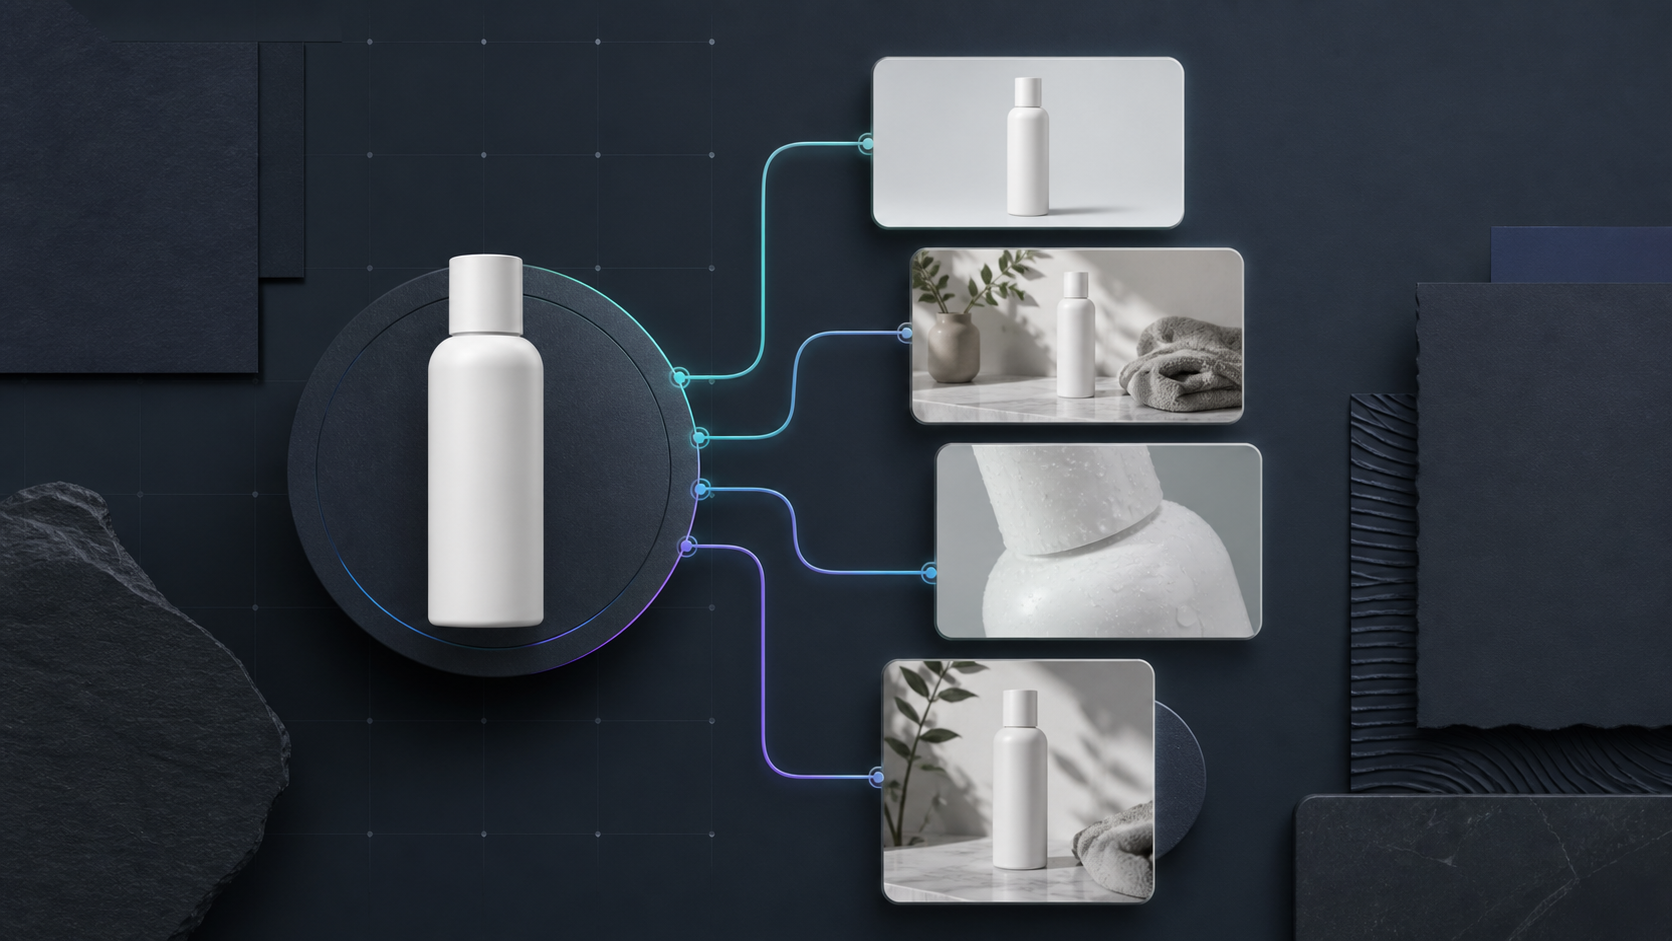
For large catalog updates, make that QA a named release step rather than an informal glance. My earlier Shopify photo QA pipeline uses the same logic: separate image creation from the decision to publish. It is much easier to replace one weak image than to unwind a live product page, paid ad, and email after the fact.
Publish the Smallest Useful Set First
Once the hero, lifestyle, detail, and social versions pass review, publish the product-page assets first. Use the new images where shoppers need clarity, then reuse the approved set in collection pages and campaign creative. Keep the source image and brief with the project so a later restock, colorway, or seasonal edit starts from a proven baseline.
The goal is not to make every launch look generated. It is to make the product look consistent wherever a customer finds it. If your team is spending too much time rebuilding simple product scenes, install Supra AI Photo Studio, start with one approved hero image, and run this four-part brief on your next product batch.
One strong source, a clear brief, focused variations, and a final QA pass are enough to turn a photo task into a repeatable launch system.

Comments
Post a Comment