How to Prep Shopify Products for Clean 3D Capture
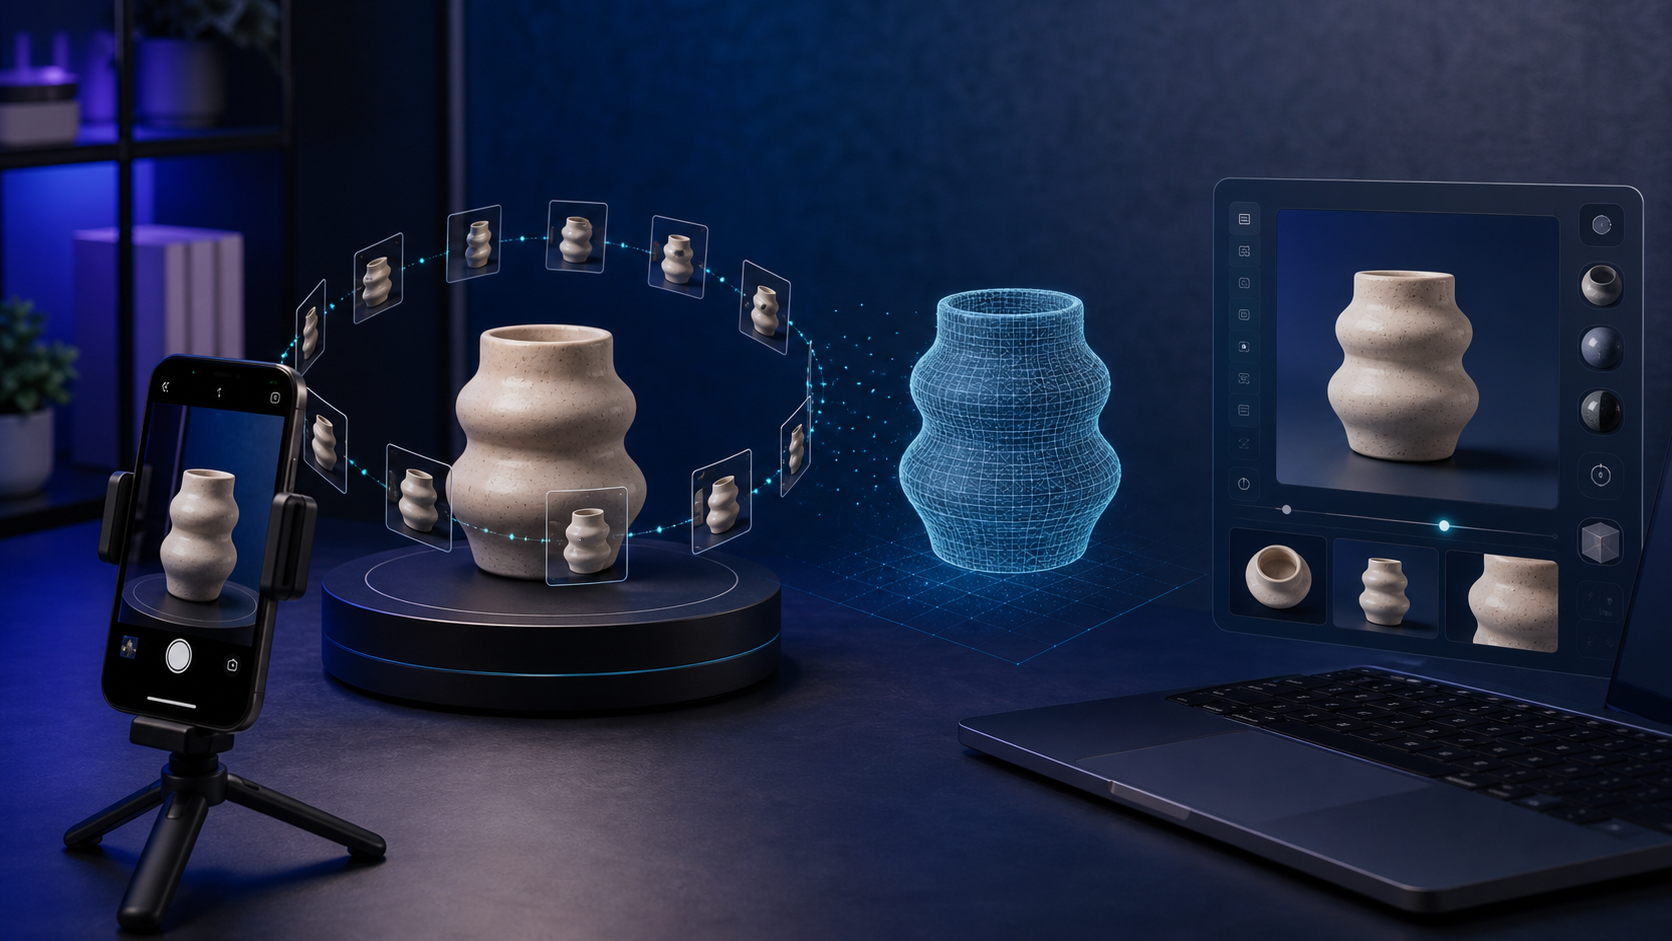
If your 3D scans keep coming back messy, the problem is usually not the app. It is the prep.
Before you open a capture session, decide whether the product deserves 3D, clean the object, lock the light, and give the camera a simple path to follow. That is the fastest way to turn a phone photo set into a model worth publishing on a Shopify product page.
Supra 3D Capture is built for that workflow: snap 10+ guided photos with a regular phone, process them into a web-ready GLB, then publish the model straight into Shopify. If you are still sorting your catalog, pair this checklist with How to Rank Shopify Products for 3D Capture by Return Risk and How to Build a Shopify 3D Capture Scorecard That Works.
1. Start With A Product That Actually Benefits From 3D
The easiest way to waste time is to scan a SKU that would not gain much from interaction. Products that benefit most from 3D usually have shape, depth, or proportion that flat photography does not explain well.
- Good candidates: home decor, bottles, shoes, bags, appliances, toys, and anything where shoppers want to inspect the silhouette.
- Better candidates: items that generate returns because buyers misread size, curvature, or surface detail.
- Harder candidates: transparent, mirror-like, or extremely fuzzy products unless you have time to control the lighting.
If you want a second opinion on which SKUs should get the effort first, use How I Decide Which Shopify Products Are Worth a 3D Scan and How to Choose Which Shopify Products Deserve 3D Models First.
2. Prep The Object Like A Photo Shoot
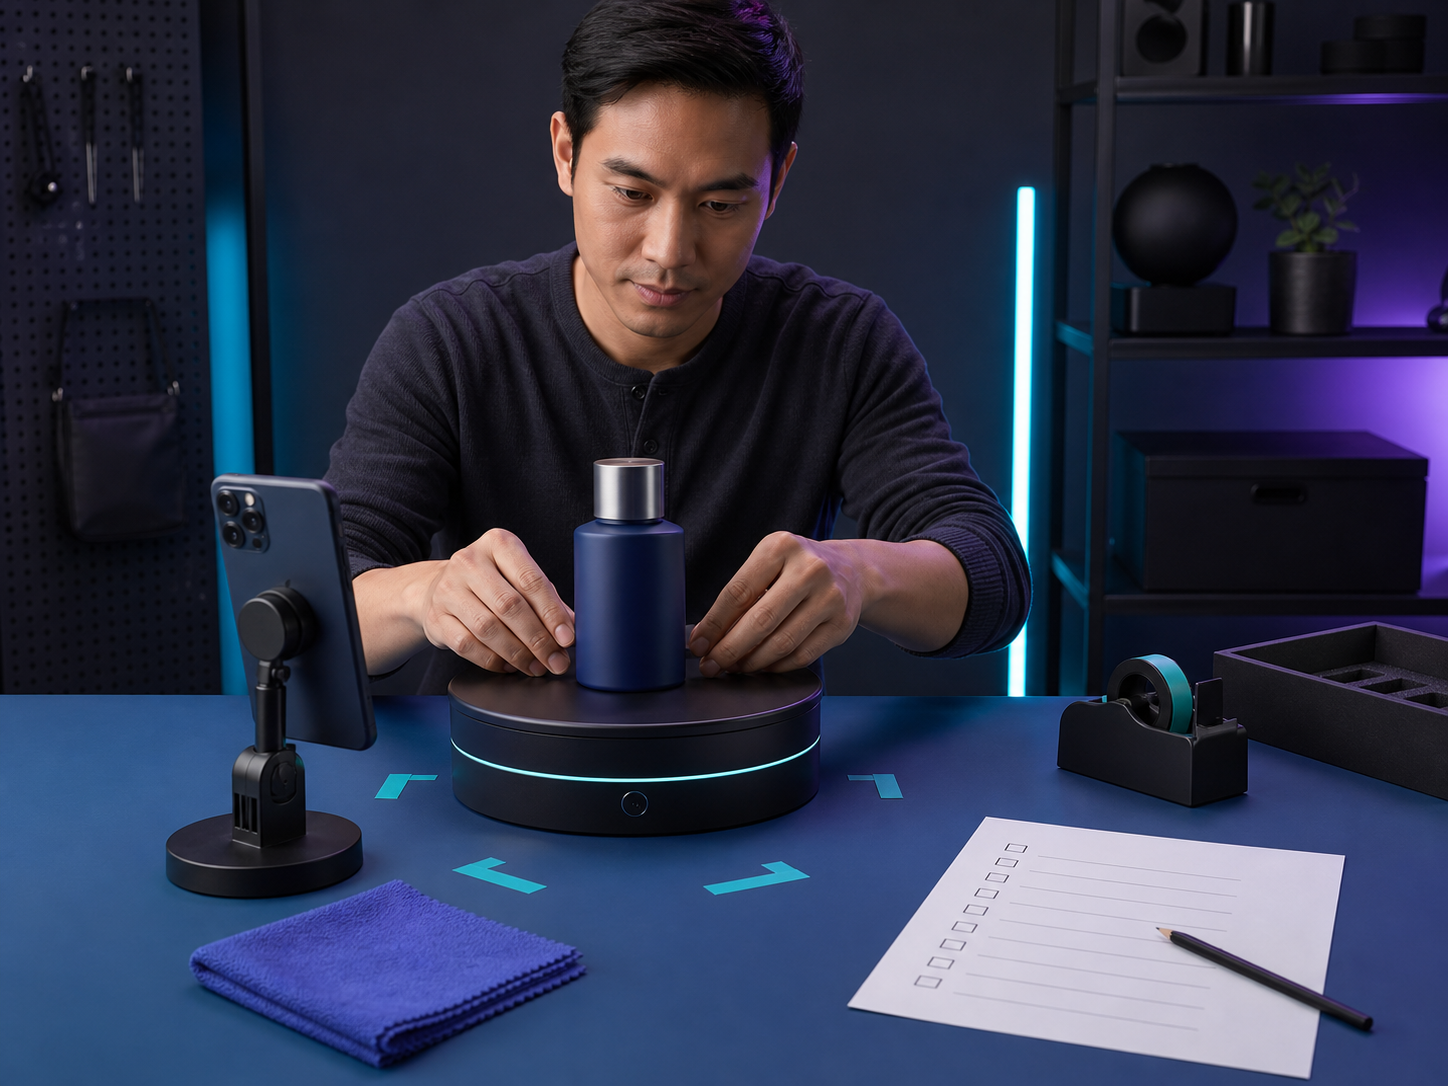
Clean capture sessions start with boring work: dust removal, fingerprint cleanup, label checks, and a quick inventory of anything that should or should not be in frame. If the product has inserts, tags, or packaging elements that are not part of the buyer experience, remove them before you begin.
Then place the product on a stable base. A simple turntable or marked center point is enough. What matters is that the object stays centered and the shot-to-shot geometry stays consistent.
- Remove reflective clutter from the table.
- Keep the product centered and level.
- Use the same base for the whole session.
- Lock accessories in place so they do not shift between shots.
This is the part that makes a guided workflow like Supra 3D Capture on the Shopify App Store feel effortless instead of fragile.
3. Set The Light Before You Open The Capture App
Most capture problems are lighting problems. Mixed color temperatures, hard reflections, and changing shadows are what turn a clean product into a reconstruction headache.
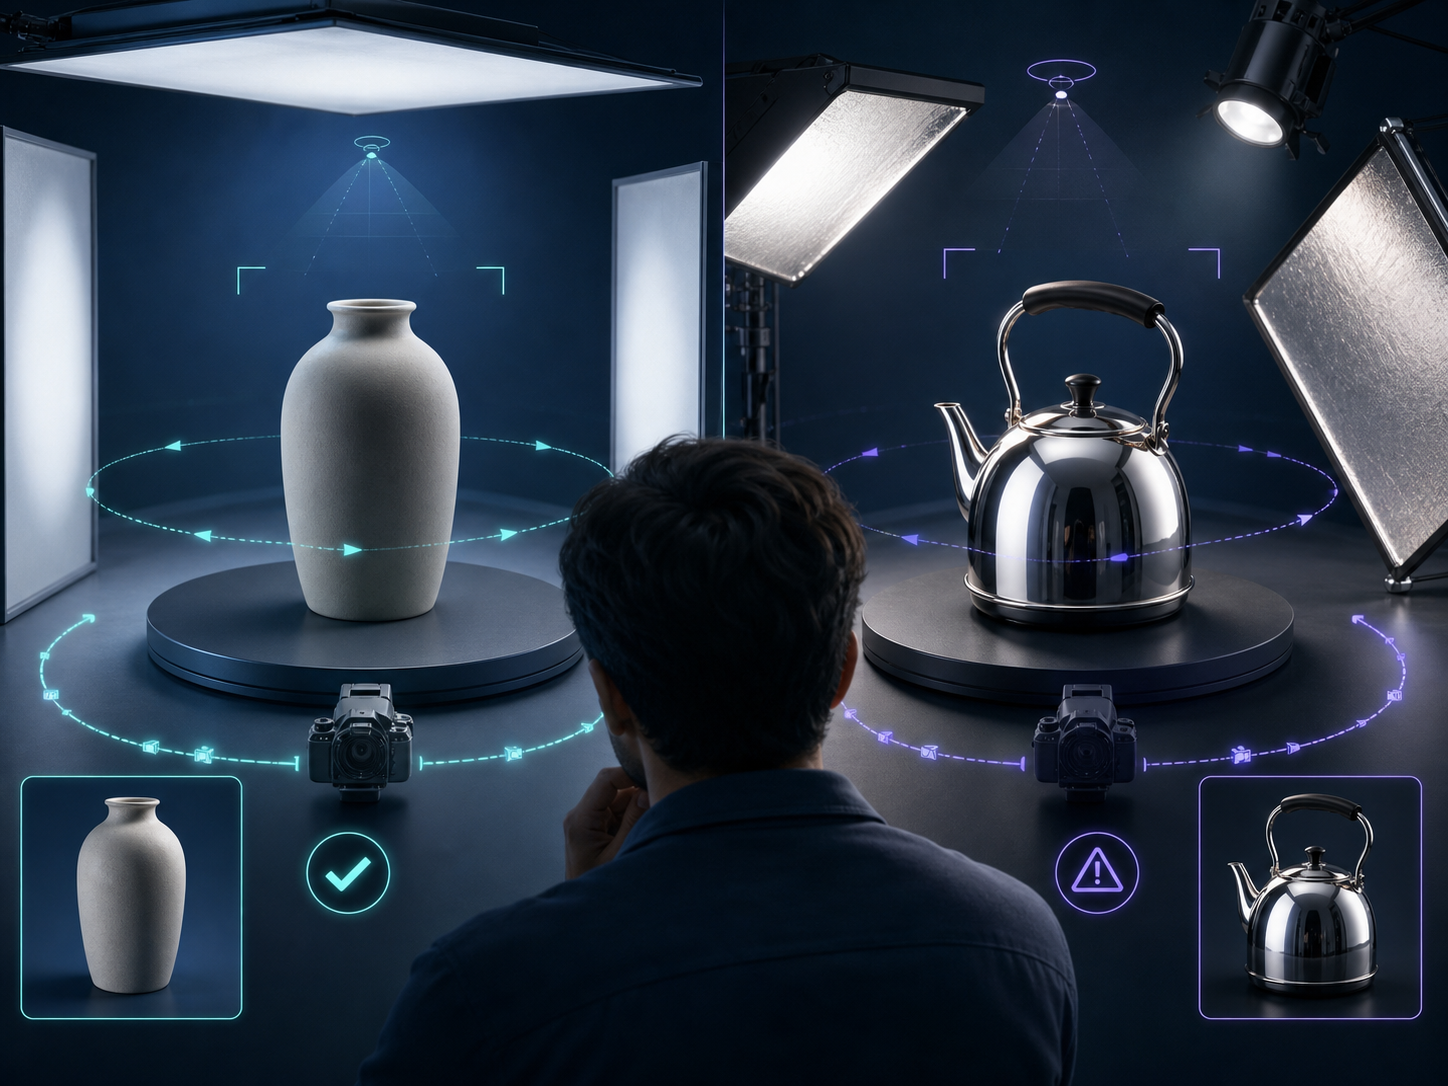
Use soft, even light when you can. A window with diffusion or a pair of soft lights is usually better than a bright bare bulb. If the product is glossy, watch the highlights as you move around it. You want controlled reflections, not hot spots that jump from frame to frame.
The comparison below shows the difference between a matte-friendly setup and a more reflective product that needs tighter control.
4. Keep Your Orbit Simple And Consistent
Once the product and light are stable, the capture path should be almost automatic. Do not zoom in and out. Do not change height every few shots. Keep a steady radius and move at a pace that lets the app see the object from the same general angles each time.
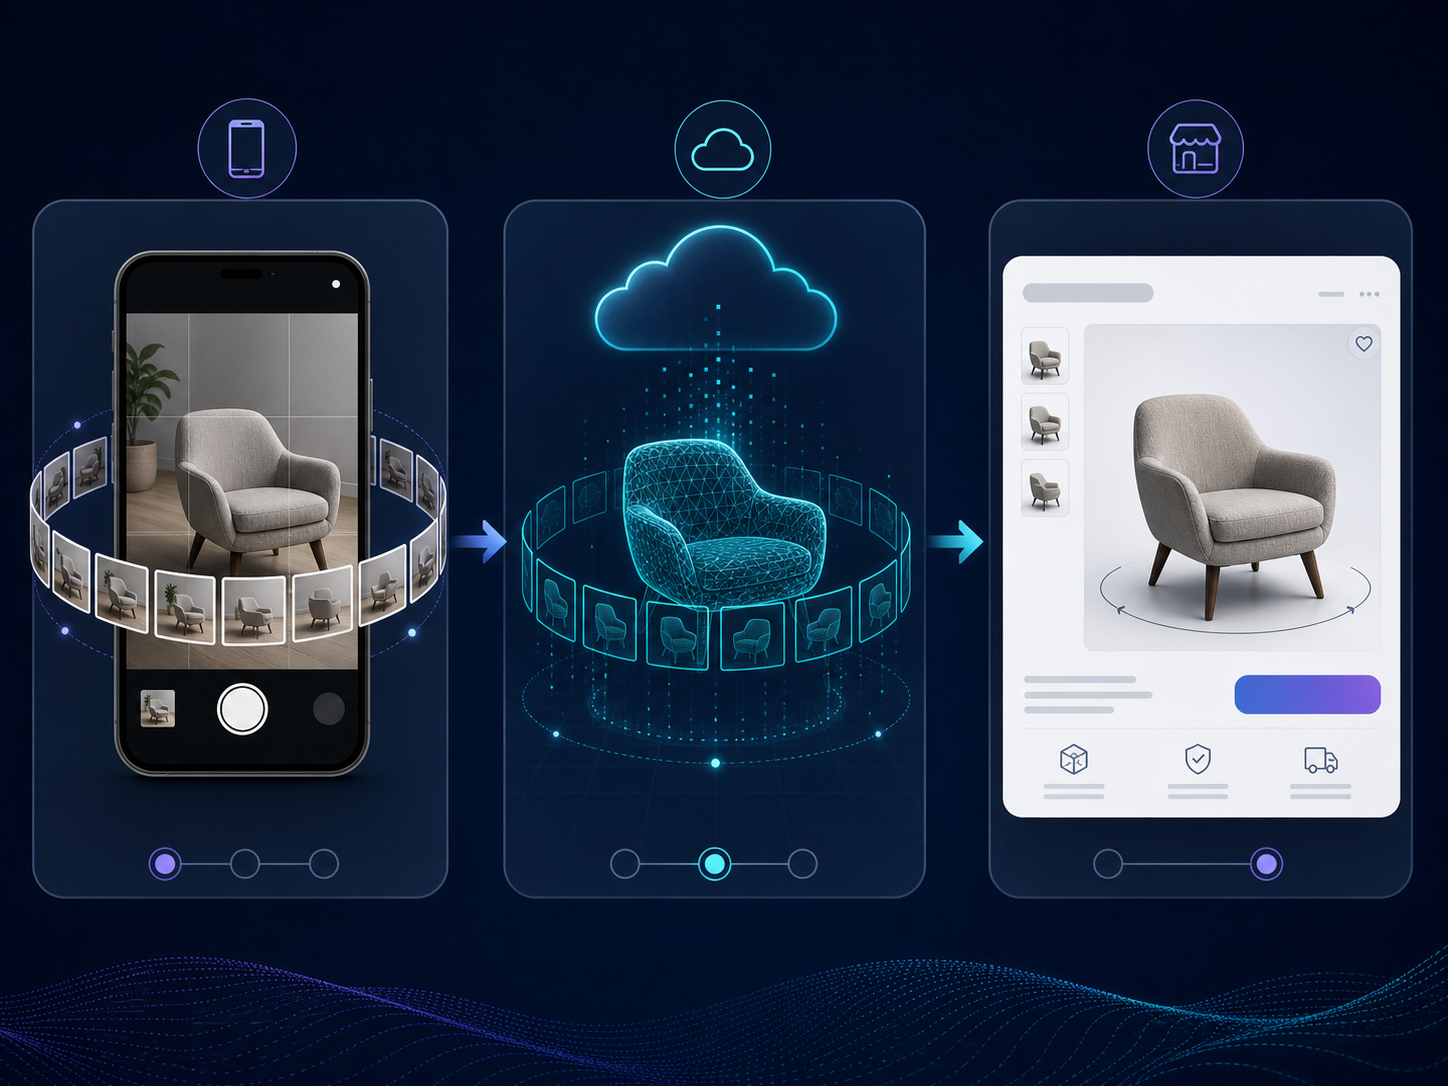
That is why guided phone capture works so well for merchants. Supra 3D Capture tells you when each shot is in frame, so you spend less time guessing and more time collecting usable angles. If your first pass is clean, the cloud pipeline can turn it into a polished GLB instead of a messy reconstruction.
Think of the orbit as a product-page insurance policy: the more consistent the shots, the less likely you are to end up with a model that needs a second pass.
5. Run A 30-Second Sanity Check Before The Full Scan
Before you commit to the whole orbit, take a quick test pass and inspect the result. You are looking for edge blur, missing surfaces, unstable reflections, and any part of the object that disappears when the angle changes.
- If the product looks soft, slow down the capture.
- If the highlights jump around, change the lighting.
- If the base disappears, raise or re-center the object.
- If the object shifts, stop and stabilize it again.
That small check saves a lot more time than reprocessing a failed scan later.
6. Publish The Model Where It Changes Shopper Behavior
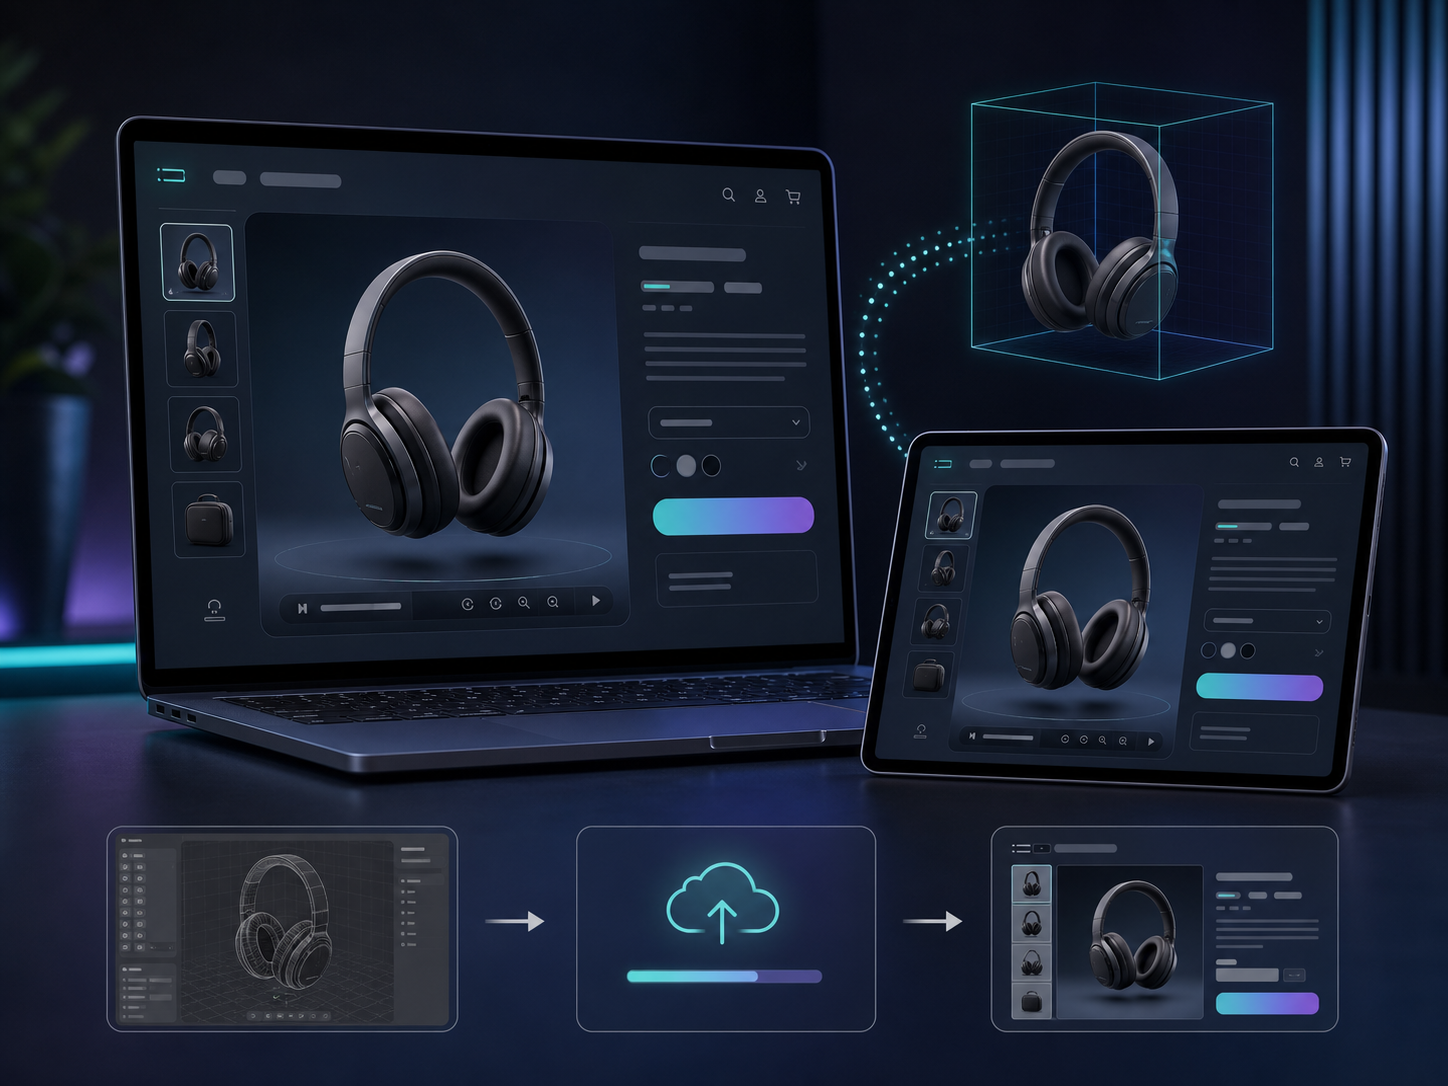
Once you have a good GLB, put it where customers will actually use it. Native Shopify 3D media works well when the product page needs better shape and size context. The Online Store 2.0 app block is useful when you want the model featured in a specific section or landing page.
The goal is not to force 3D onto every SKU. The goal is to make the right product pages more interactive, more confident, and easier to buy.
That is where 3D earns its place: less guessing, fewer expectation gaps, and a product page that feels more like the real object.
If you want the shortest path from prep to publish, install Supra 3D Capture, scan one product with your phone, and publish it to a Shopify test product before rolling it out to the full catalog. If you want to pressure-test the decision before you scan, the crosslinks above are the fastest way to compare your SKU against a stronger candidate.
Next step: pick one product, clean the setup, and run the capture once before you try to optimize the whole catalog.

Comments
Post a Comment