How to Refresh Old Shopify Product Photos Before a Big Sale
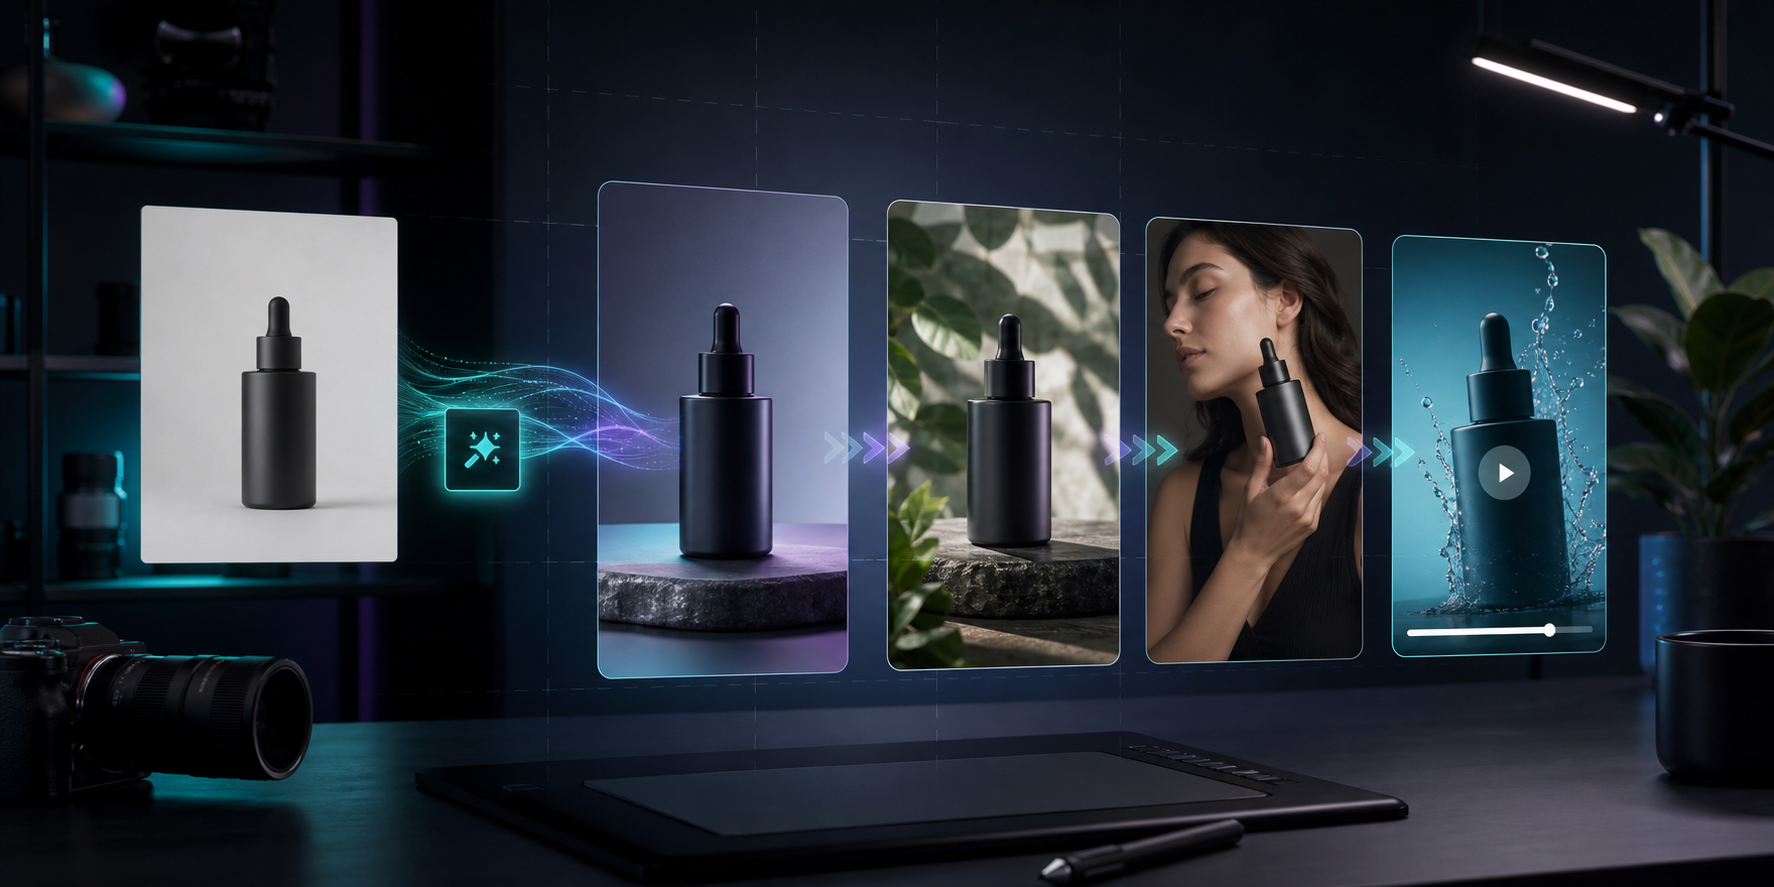
Old product photos do more damage during a sale than most merchants expect. The discount can be strong, the offer can be timed well, and the copy can be sharp, but if the visuals look tired the whole promotion feels less trustworthy.
The practical fix is not to rebuild your catalog from scratch. It is to refresh the weakest images first, then create a small set of visuals that can carry the product page, ads, and email without looking inconsistent. That is exactly where Supra AI Photo Studio is useful. It can remove or replace backgrounds, upscale and enhance the original image, build model try-ons, place products into new scenes, and generate short video assets from existing photos. If you want the broader overview first, the landing page and the demo trailer are the fastest starting points.
Start With The Photo You Already Trust
The best sale-ready edit usually starts with the cleanest base photo you already have. The app’s help guidance is straightforward: isolate the product, start with high-quality images, and be specific about the edit you want. That is the right order. If the source image is blurry, cluttered, or badly lit, every downstream edit has to work harder than it should.
My first pass is simple:
- remove distraction from the background
- fix lighting and color before adding any scene changes
- use upscaling only when the image is too soft for product-page use
- keep the crop and framing consistent across the collection
If a product still looks weak after that, it is usually not a copy problem. It is an image problem.
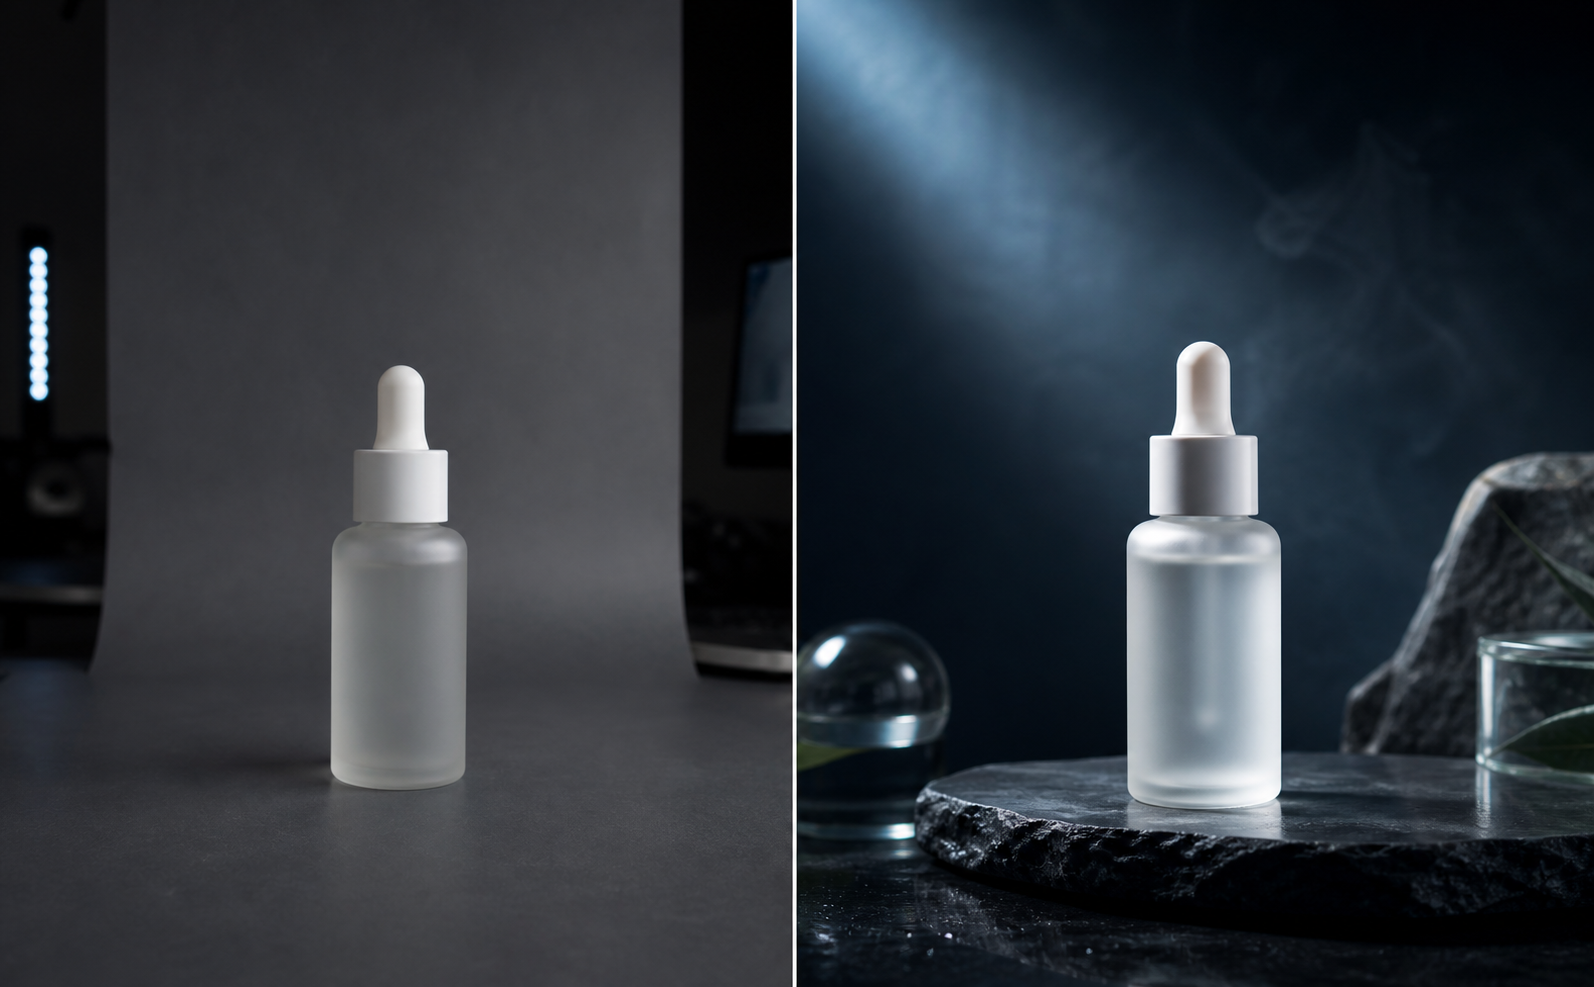
Pick The Right Edit For The Product Type
Not every SKU needs the same treatment. One of the biggest time savers is choosing the smallest edit that solves the actual problem. That is the same thinking I used in A Practical Shopify Product Photo Decision Tree for AI Editing and How I Review a Shopify Product Photo Before I Generate Variants.
- Use enhancement when the product is already framed well, but the lighting, sharpness, or background makes it feel dated.
- Use object placement when the product needs context, like a kitchen, boutique, desk, or outdoor scene.
- Use model try-on when apparel, jewelry, or accessories need human context to sell properly.
- Use video or b-roll when the sale needs motion for ads, social posts, or a more dynamic landing page.
That is the difference between an image that looks edited and an image that looks intentional. The point is not to use every tool. The point is to pick the smallest change that makes the product feel current again.

Build A Small Sale Asset Set, Not Just One Hero Image
For most products, I would rather make four good assets than one overworked masterpiece. A sale-ready set usually needs a clean catalog image, one lifestyle image, one channel-specific variant, and one motion asset if the product benefits from it. That gives you enough material for the product page, email, paid social, and a collection landing page without forcing every channel to use the same crop.
For fashion and accessories, try-ons are the fastest way to add realism. For cosmetics, home goods, and other physical products, placement into a believable scene can do more than a generic studio retouch. And if you want more context on how the pieces work together, How I Build a Shopify Product Photo Pipeline That Feeds Every Channel and How I Turn One Product Photo Into Store Photos, Try-Ons, and Ad Clips are the closest companions to this workflow.

For ads and social, motion matters just as much as the still image. A short clip can give you a more convincing product reveal, a stronger scroll-stopper, or a quick variation for testing different hooks. That is why Supra AI Photo Studio includes AI product videos and b-roll, not just static image edits.

Keep The Catalog Consistent Enough To Feel Deliberate
The fastest way to make a refreshed catalog look messy is to give every product a different visual language. Sale traffic is unforgiving. If one product feels bright and clinical, another feels warm and cinematic, and a third feels like a screenshot from a different app, shoppers notice the mismatch before they notice the product.
To keep the store coherent, I would standardize the following:
- one background family per collection
- one lighting direction per product group
- one crop style for the main image
- one review standard before publishing
That last point matters. Supra AI Photo Studio can publish immediately or save as a draft, which is a better default than pushing every image live without a quick human check. The app is strongest when automation handles the repetitive work and review handles the edge cases.
A Simple Pre-Sale Workflow
- Pick the top products that will actually receive traffic during the sale.
- Start with the clearest source image and clean it up first.
- Choose the smallest edit that solves the merchandising problem.
- Create one or two supporting visuals for the same SKU.
- Save the first pass as a draft if the product is sensitive or high-value.
- Publish once the set feels visually consistent across the collection.
If you want the broader no-shoot workflow from another angle, How to Turn One Product Photo Into a Shopify Creative Kit is a useful companion. It covers the same general problem from a more asset-pipeline perspective.
The shortest version is this: do not wait for the next product shoot to fix stale visuals. Refresh the photos you already have, turn the strongest ones into a consistent set, and use the sale window to make the catalog look current again. If you want to test that workflow, install Supra AI Photo Studio or open the landing page and try the free plan on the products that matter most.

Comments
Post a Comment